—-
User Tools
Sidebar
Emitter 3Ditor
This is where you can get really down and dirty with the emitters.
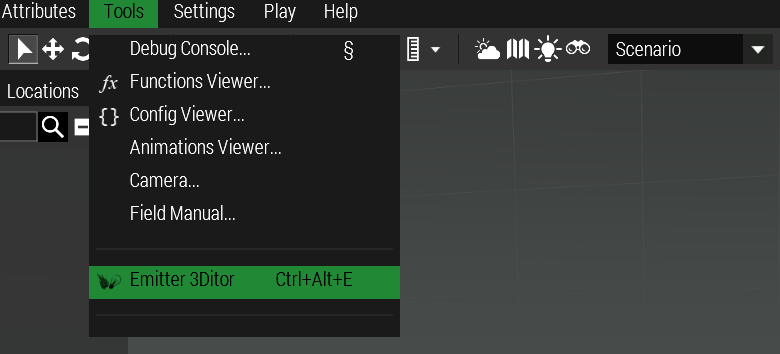
The tool is launched from Eden’s toolbar; Tools → Emitter 3Ditor, or by keyboard shortcut CTRL + ALT + E

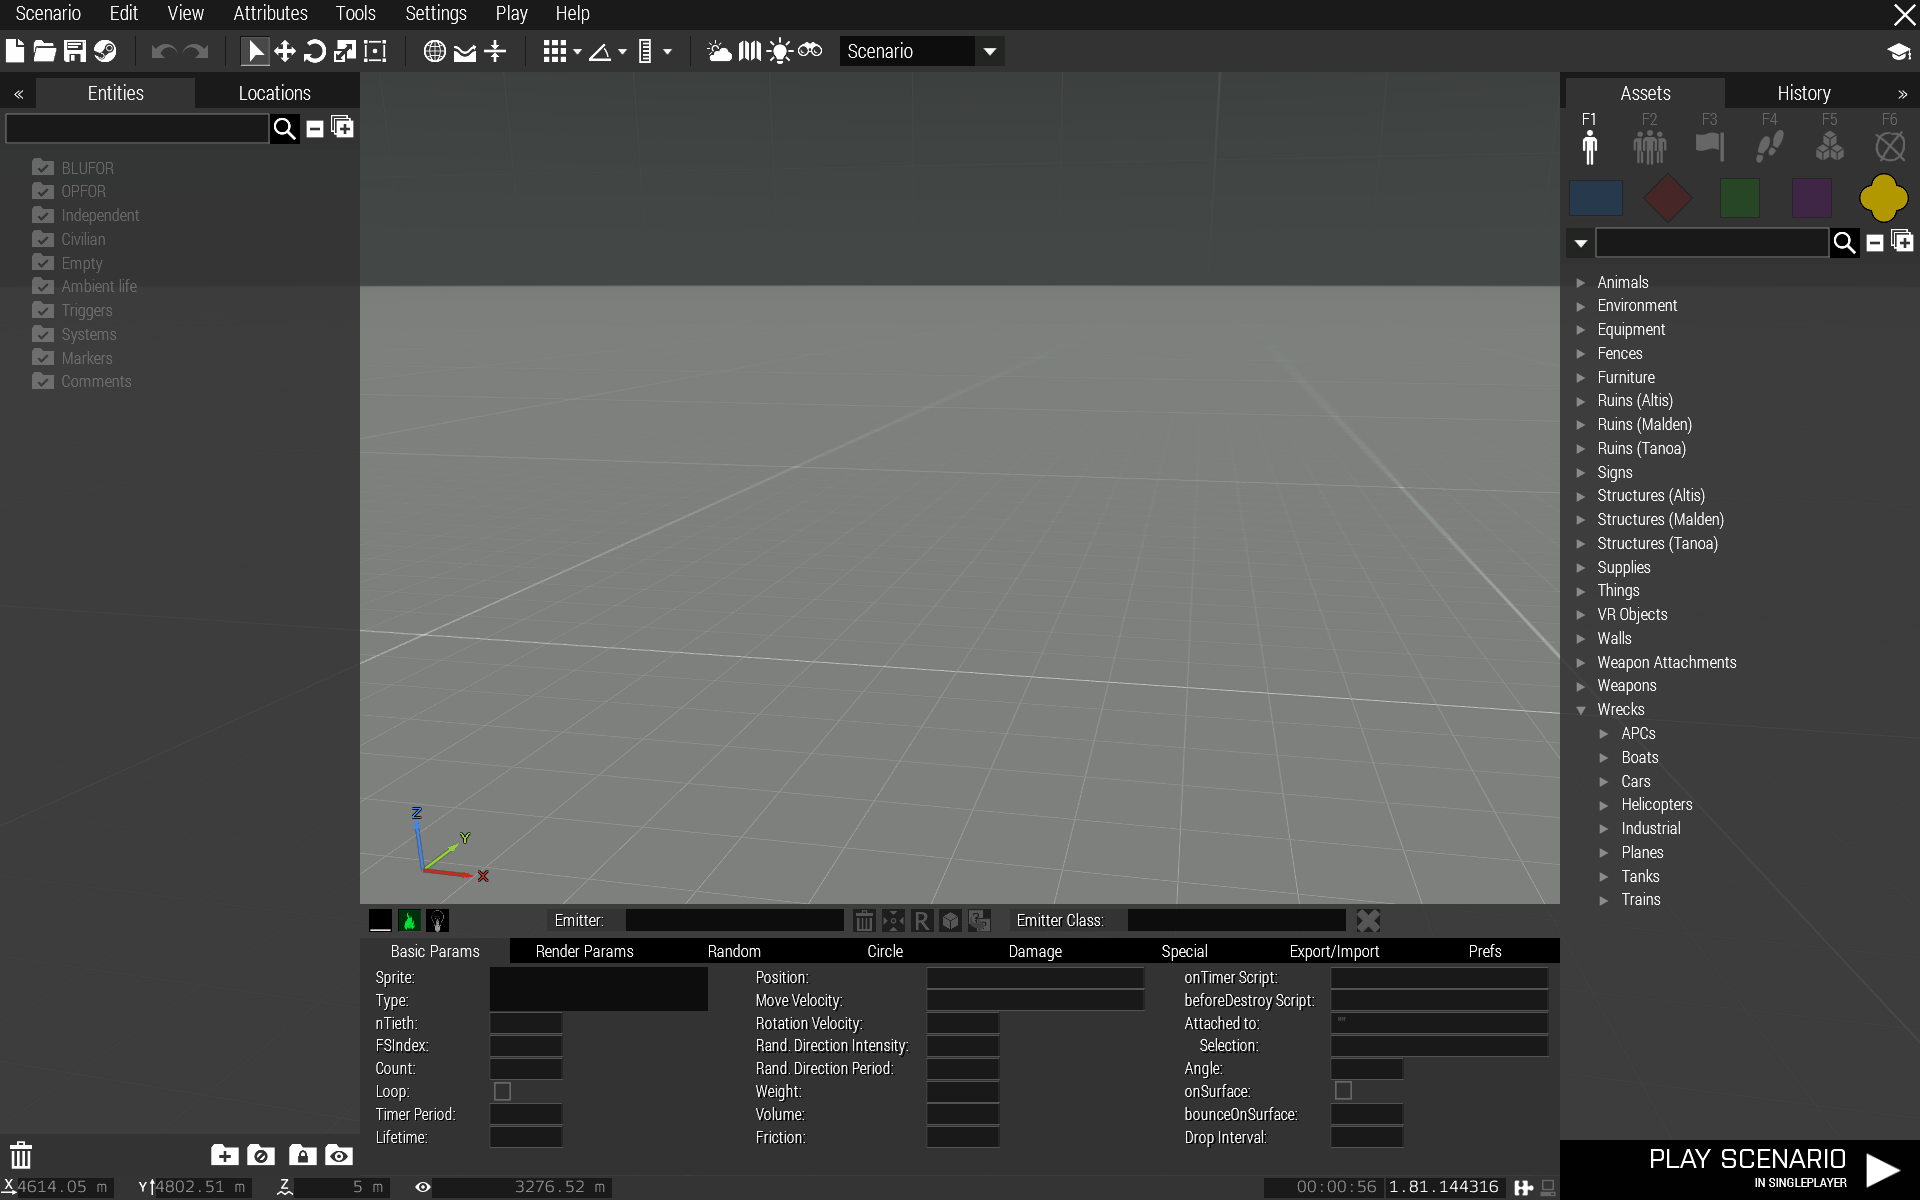
Once you do that you will be greeted with this kind of UI at the bottom of Eden:

I know, I know, it makes the edit area even smaller. Don’t worry, it can be hidden/shown either individually or with Eden UI.
But more about that later.
NOTE that your mileage may vary with the tool UI:
On smaller resolutions and larger UI scales (normal and up) the tool can obscure the Eden side panels. More details on this in the section UI Shenanigans …
The tool is comprised of two sections, one for particle emitters and the other for light emitters.
The sections can be switched by pressing the buttons on the left on tool top menu:

When the button is glowing green it means the section is selected.
There are also keyboard shortcuts for selecting the tool sections: ALT + F1 → particle editor and ALT + F2 → light editor.
 Particle editor
 Light editor
Ok, let’s take a look at this part of the UI first, I’m calling it main menu.
This is the Particle Editor main menu:

The menu has “leafs” and on the particle editor section of the tool they are:
- Render Params (these first two include basically what you would give a particle emitter with the scripting command setParticleParams)
- Random (setParticleRandom)
- Circle (setParticleCircle)
- Damage (setParticleFire)
- Special
- Export/Import
- Prefs
Selecting leafs also have keyboard shortcuts, for particle editor CTRL + 1-7.
So CTRL + 2 selects Render Params, CTRL + 3 selects Random, and so on.
And this is the Light Editor main menu:

- Light params
- Directional
- Save Preset
- Load Preset
- Export
- Special
- Prefs (this is the same exact Prefs as with the Particle Editor)
For the Light Editor main menu the keyboard shortcuts range is 1 – 6.
