—-
User Tools
Sidebar
Table of Contents
Examples
I guess the easiest way to get hang of the tool is with some “practical” examples as done with the attribute emitters. I’m going jump right into the deep end and use as many of the features the tool has as possible.
Baking Oven
Load some of the vanilla terrains. I’m using Malden on this sample, at pos ASL [7195.34, 8076.05, 210]; so open debug console and exec the following code:
get3DENCamera setPosASL [7195.34, 8076.05, 180];
get3DENCamera setVectorDirandUp [[-0.484988,0.714168,-0.504743], [-0.283566,0.417564,0.863268]]
and you can see the stone building with the broken oven (or whatever it is):
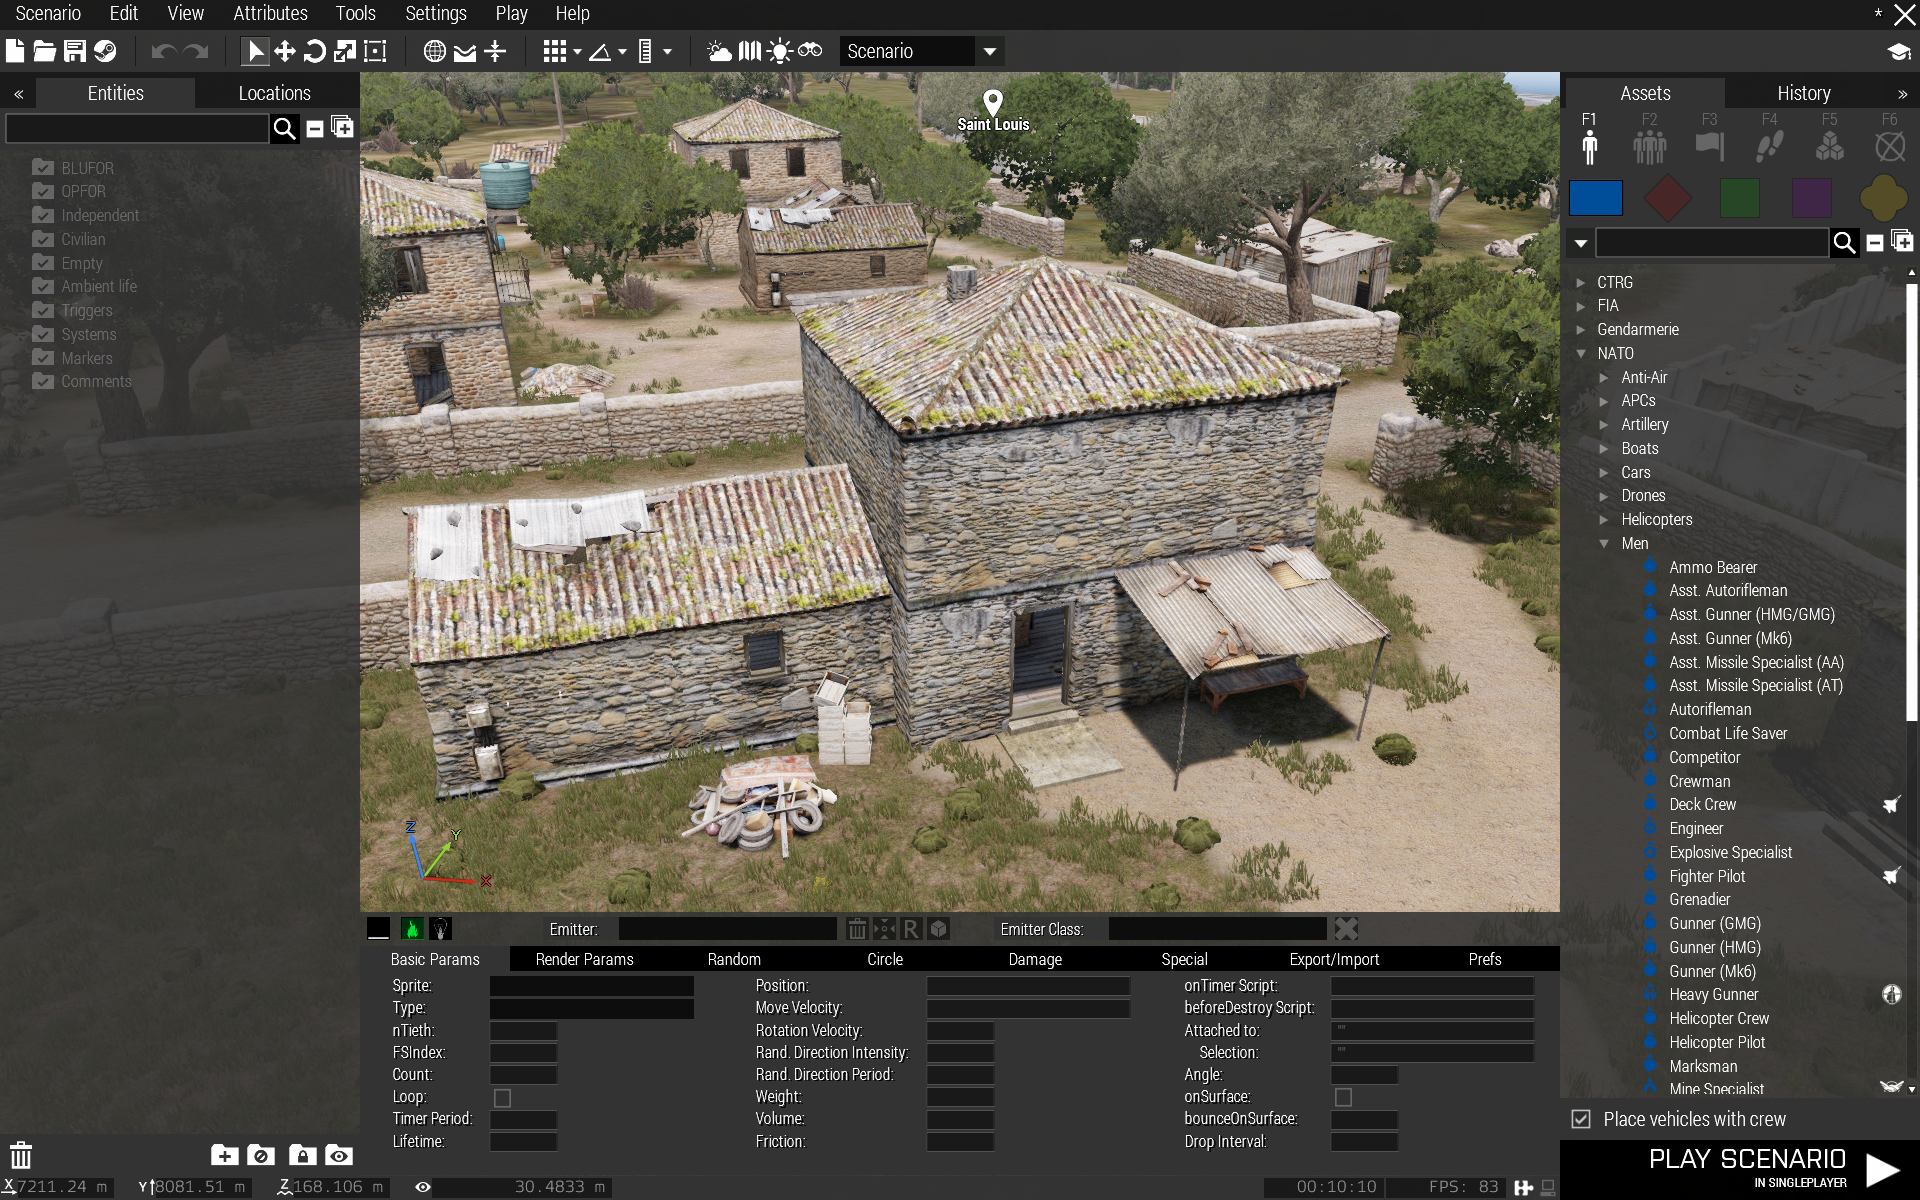
Select the particle editor (ALT + F1), go to the tool Prefs leaf (CTRL + 8) and check the Use default emitter set box. Move to the baking oven, disable Eden Surface Snapping, point the mouse cursor somewhere near the oven and press SHIFT + INSERT. The default emitter set appears, maneuver it into the baking oven using the translation widget and you now have a fire in the oven:
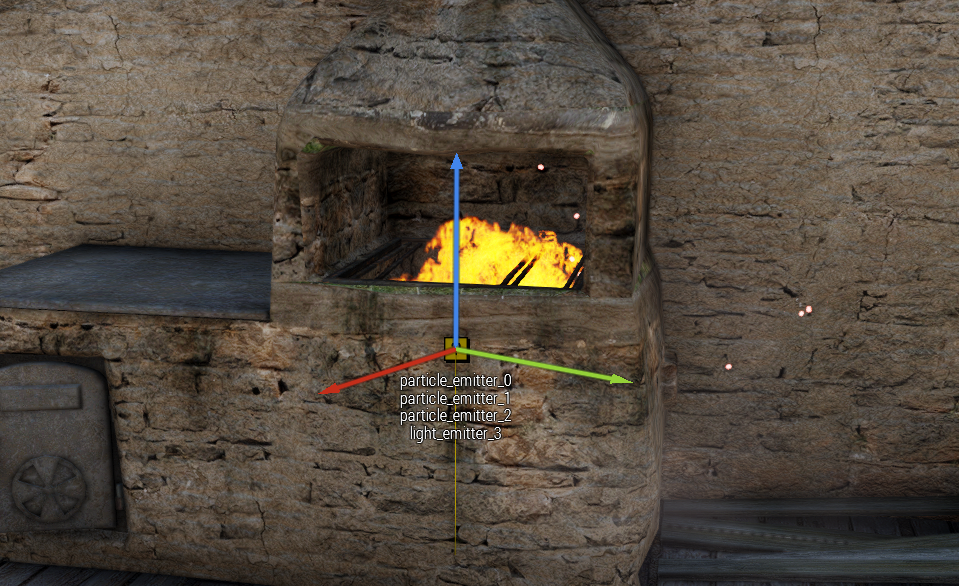
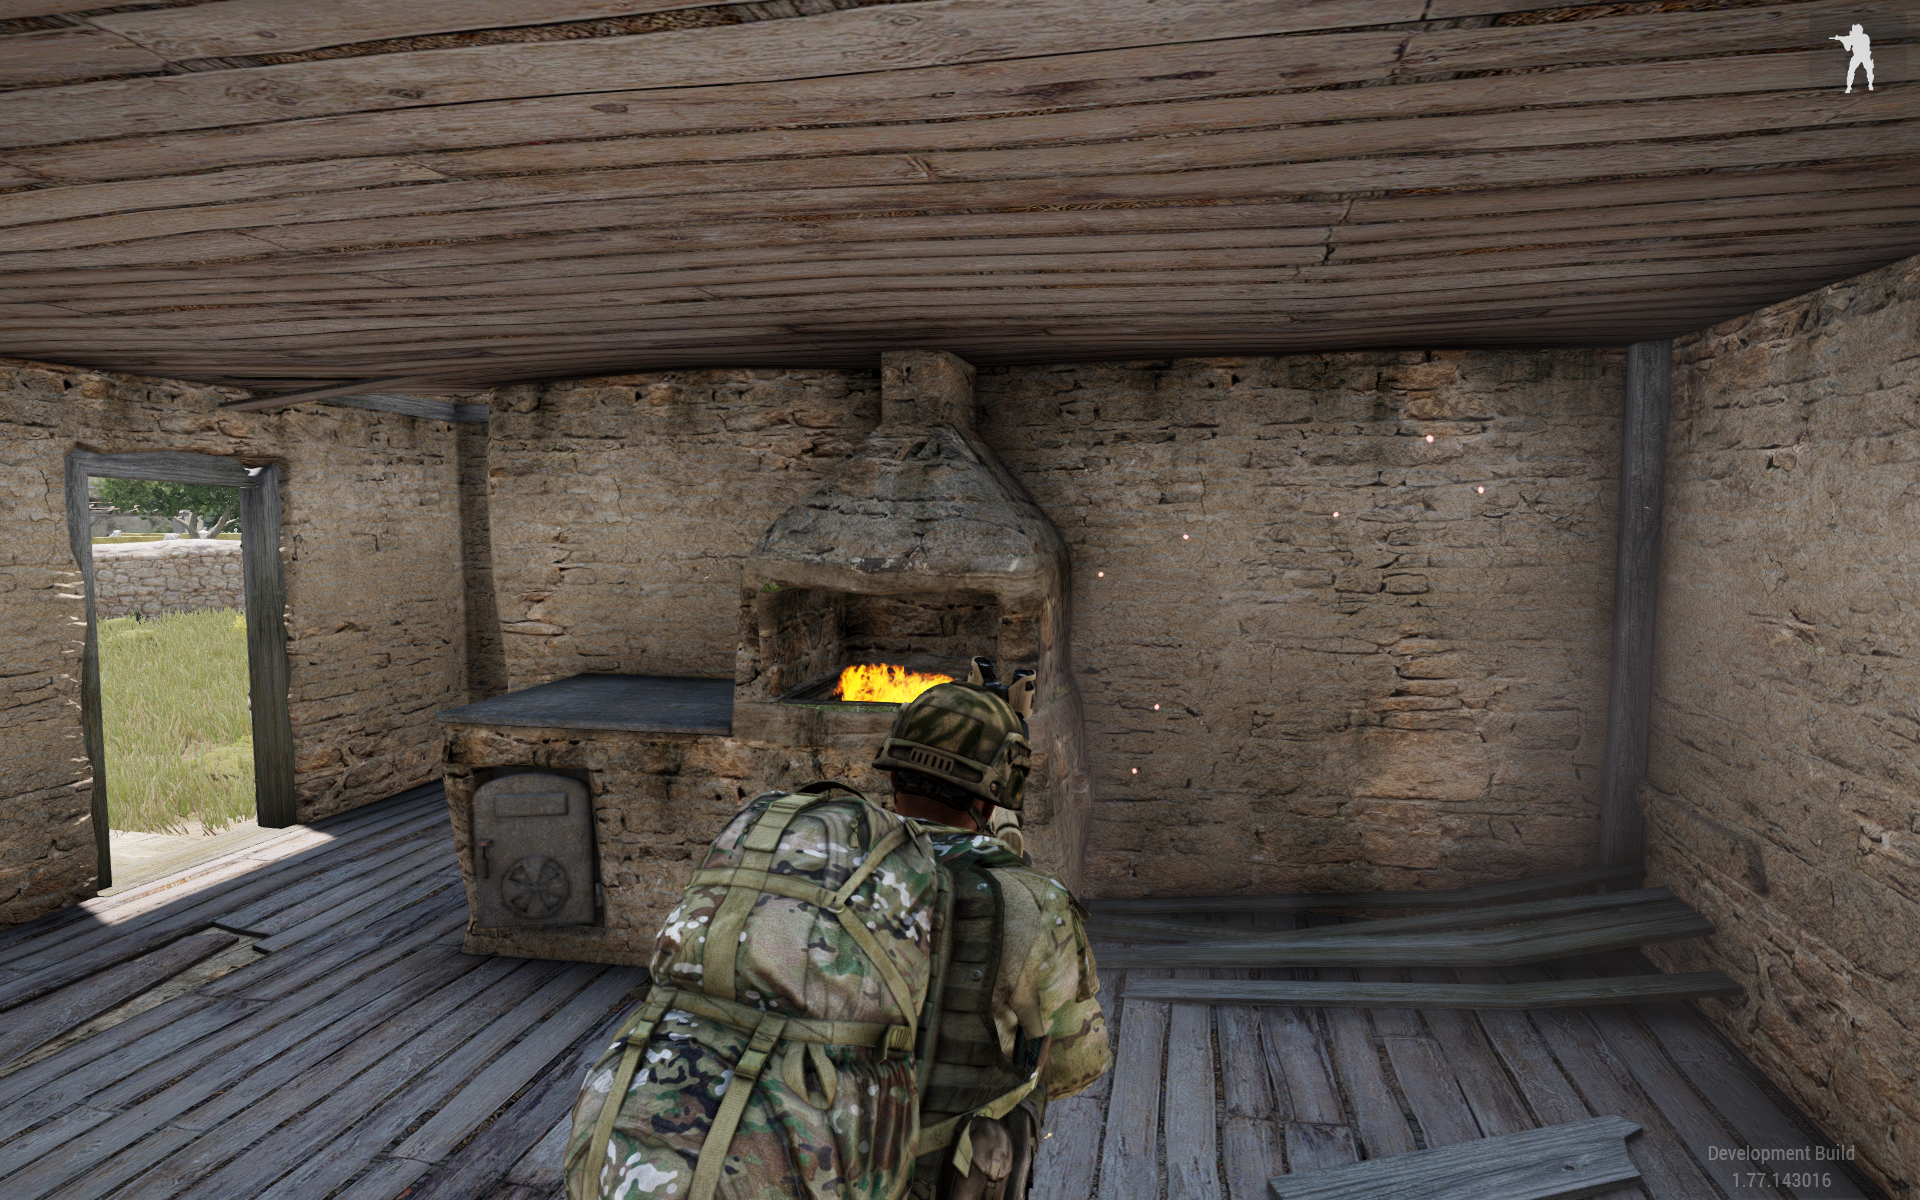
Let's add smoke coming from the chimney.
Move camera outside and position it so that you can see/access the chimney, press INSERT to insert a single emitter and select SmallDestructionSmoke class for it:
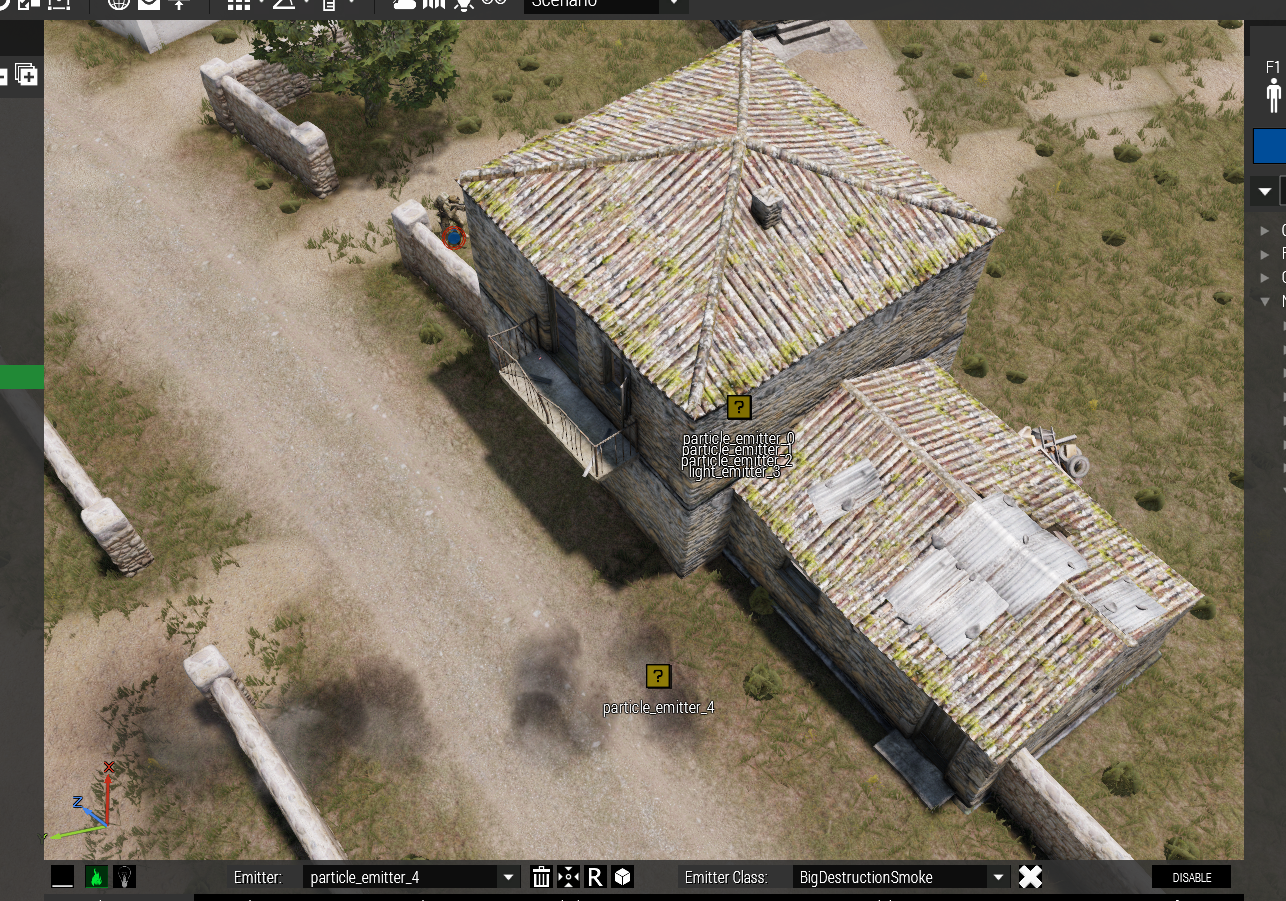
Go to the Basic Params leaf and change lifetime to 20.
IMPORTANT NOTE:
When you change the lifetime param you can see how shortly after you have typed 20 the parameter field changes color briefly to yellow. This means the input is being validated and only after the field turns back to white is the input validated successfully and applied to the emitter. In case of faulty input you get a red Eden notification, the field turns red for a moment and then the field gets applied with either the default datatype for that field or the last known validated input.
You have to wait for the validation to finish until you can change a value in any other param field.
This makes things annoyingly slow but if there wasn’t such a validation faulty data could be “injected” into the emitter causing errors which in turn could cause tools database corruption which would mean the scenario would most likely be FUBAR….
You can also change parameter data with the mouse scroll wheel, see details in Inserting data into data fields.
Then in Render Params using frame nr 0 set color alpha to full, change to frame nr 1 (click the right pointing arrow button) and set color alpha to about half way.
You have two ways to set the smoke on the chimney, either drag the emitter over the building while Eden Surface Snapping on, or use the attach feature of the tool:
Click on the Attachmode selection button on the tool’s top menu (or press SHIFT + A) until the button changes from ![]() to
to ![]()
The box looking one means basic attach and the globe looking one means global attach.
Basic attach means that when attaching emitter/emitter set it will be attached to the Eden entity on it’s default position when placed in the world (like at soldier’s feet).
Global attach means what is says, you can freely attach the emitter/emitter set anywhere on an Eden entity or most terrain objects. Global attach can be a tad annoying to use because the object surface detection is checked from many directions so which ever, the cursor or the emitter itself, collides with the surface there’s the surface position so the emitters may behave “oddly” and jump of to surfaces not even near the cursor. But that is a feature, not a bug.
Anyways, choose the global attach method, point the cursor somewhere (but not at the emitter!) and press ALT + A. You will hear a sound, the emitter will move to the camera “aim” center and a globe will appear above the navigation widget. It indicates you’re in the Global attach mode.
To move the emitters do NOT click left mouse button yet because that attaches the emitter and exits the global attach mode.
Instead press and hold down the right mouse button and move the mouse around, the emitter will follow the camera aim center. Moving it around like this you’ll notice how the emitter follows for example terrain object’s shape. When the emitter is over an object surface a green “reticule” appears to indicate this:
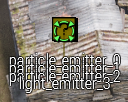
NOTE that the way the object surface detection is done with this attach method is such that even though the emitter may appear to be over an object the reticule may not appear, meaning the tool determines it not to be over an object…
Move the emitter on the chimney and press left mouse button:
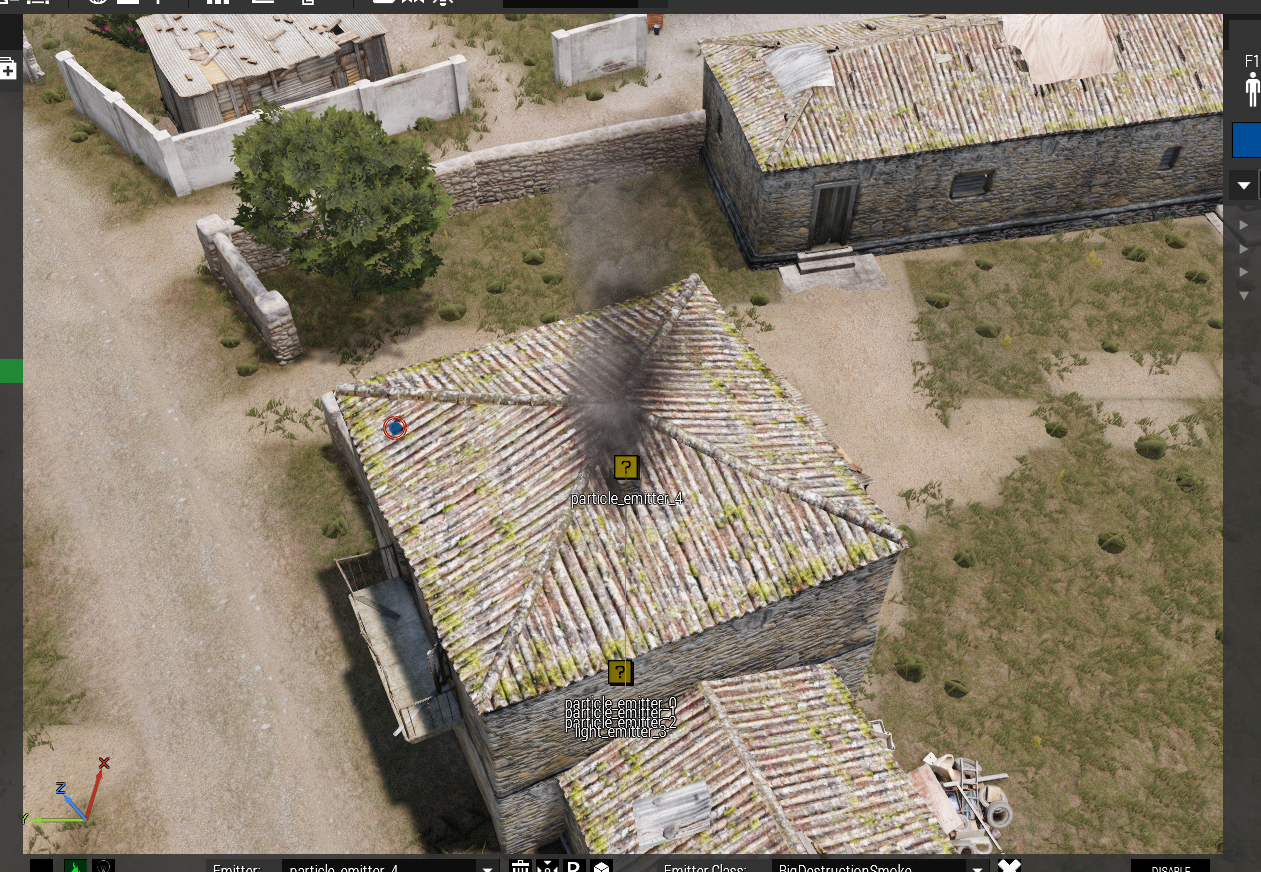
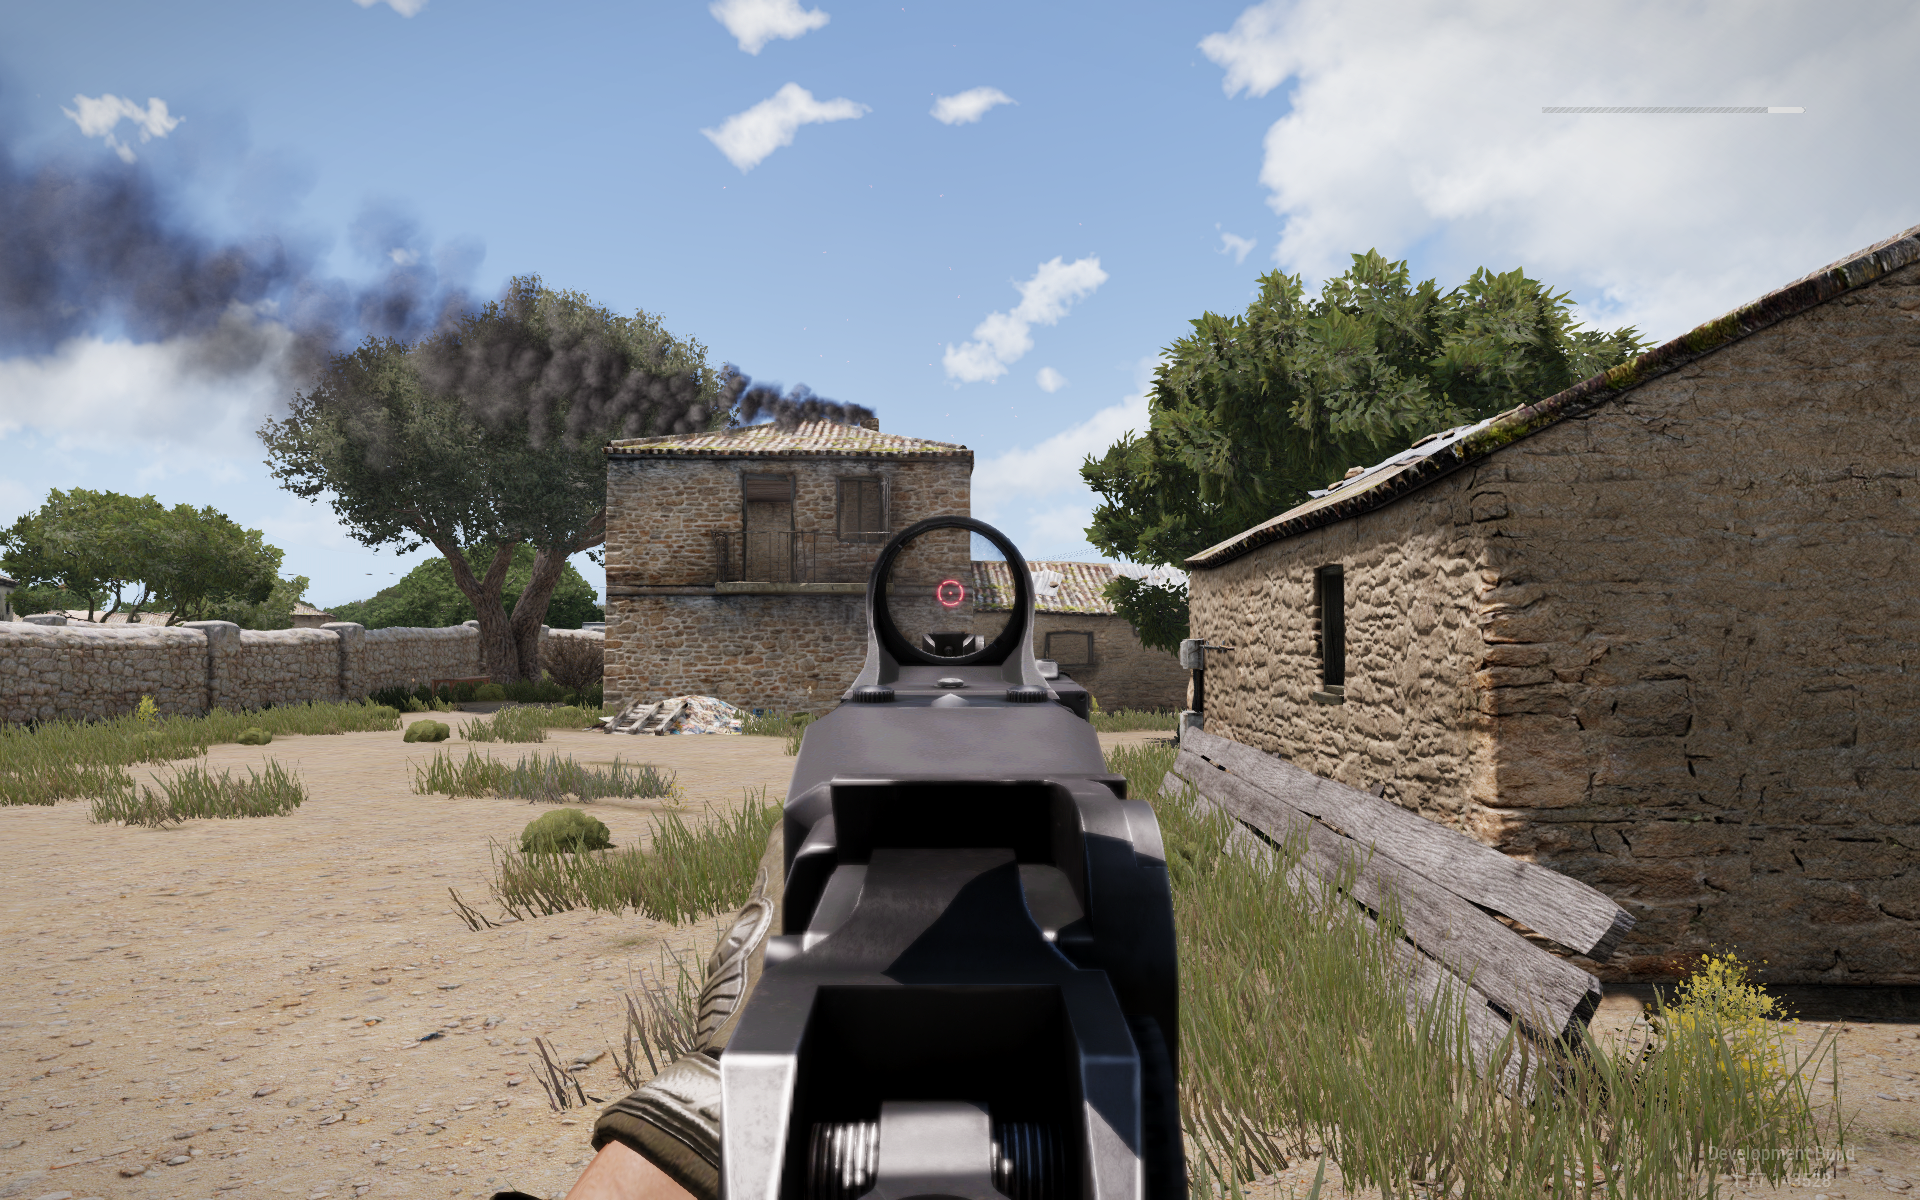
Now the smoke should look something like this, it also gets thrown around by the wind:
Truck On Fire
Another Global attach example:
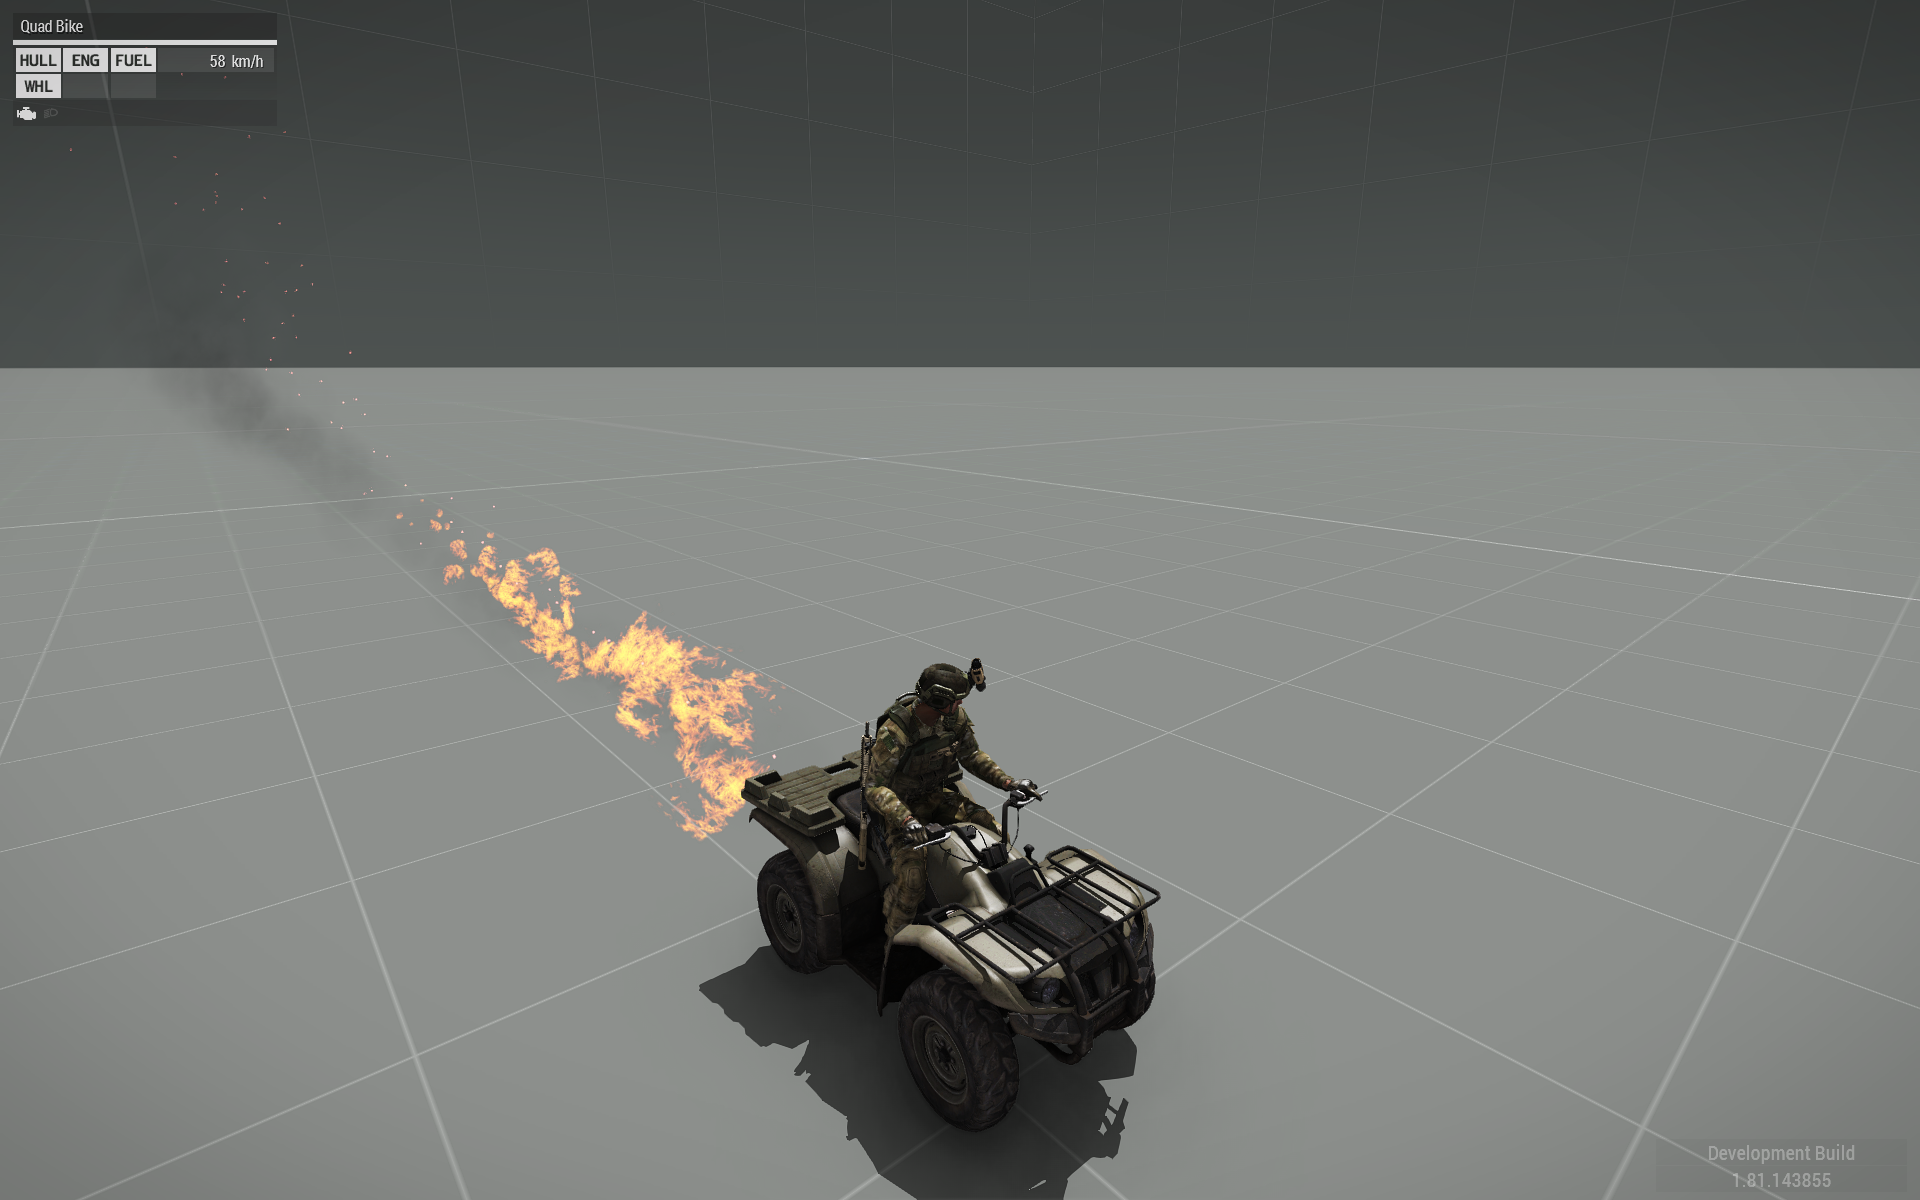
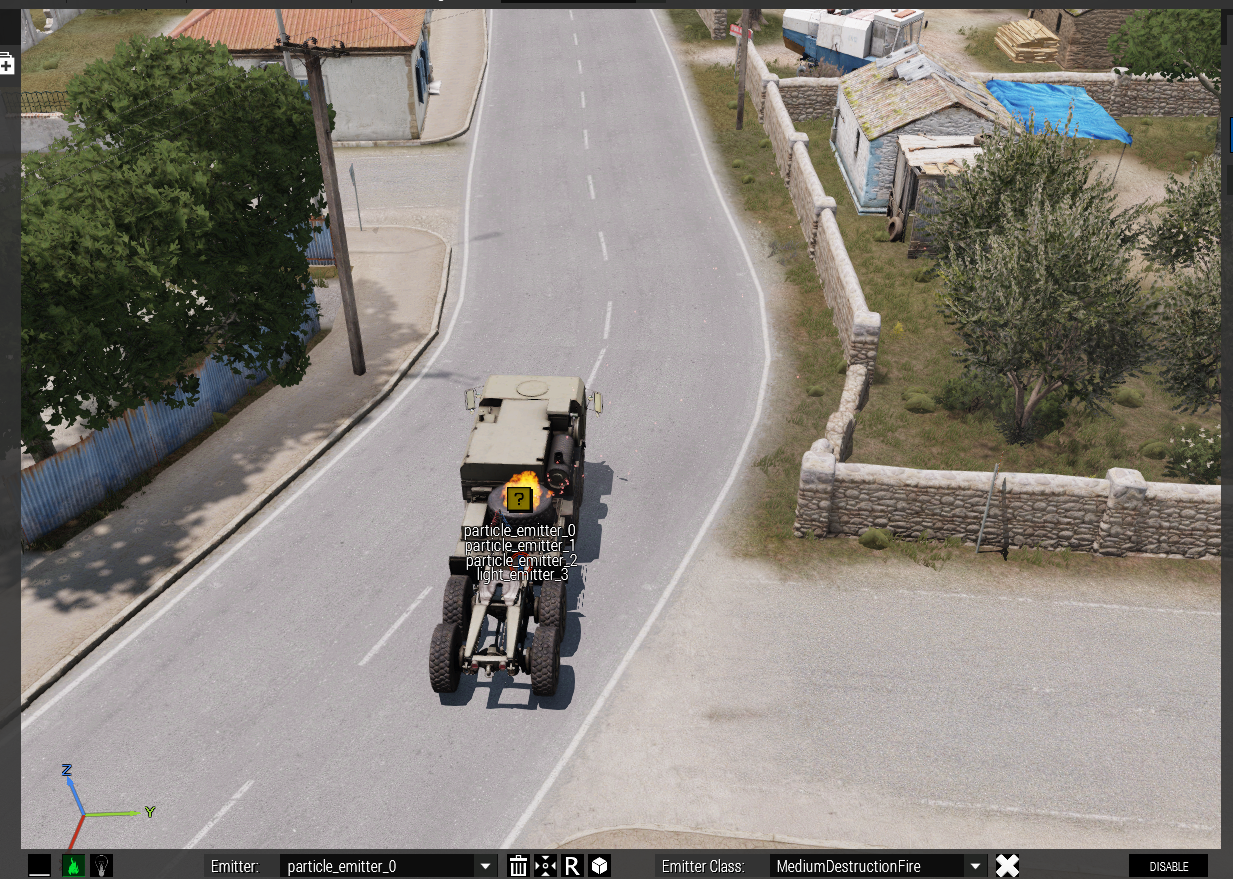
Place a HEMMT truck (player as driver), insert a default emitter set next to it (SHIFT + INSERT), select the Global attach mode from the Attach mode selector button (![]() ), press ALT + A and move the emitter set over the HEMMT’s spare tire like in the previous example by holding down left mouse button and moving/targeting the camera. Once on the spare tire press right mouse button.
), press ALT + A and move the emitter set over the HEMMT’s spare tire like in the previous example by holding down left mouse button and moving/targeting the camera. Once on the spare tire press right mouse button.
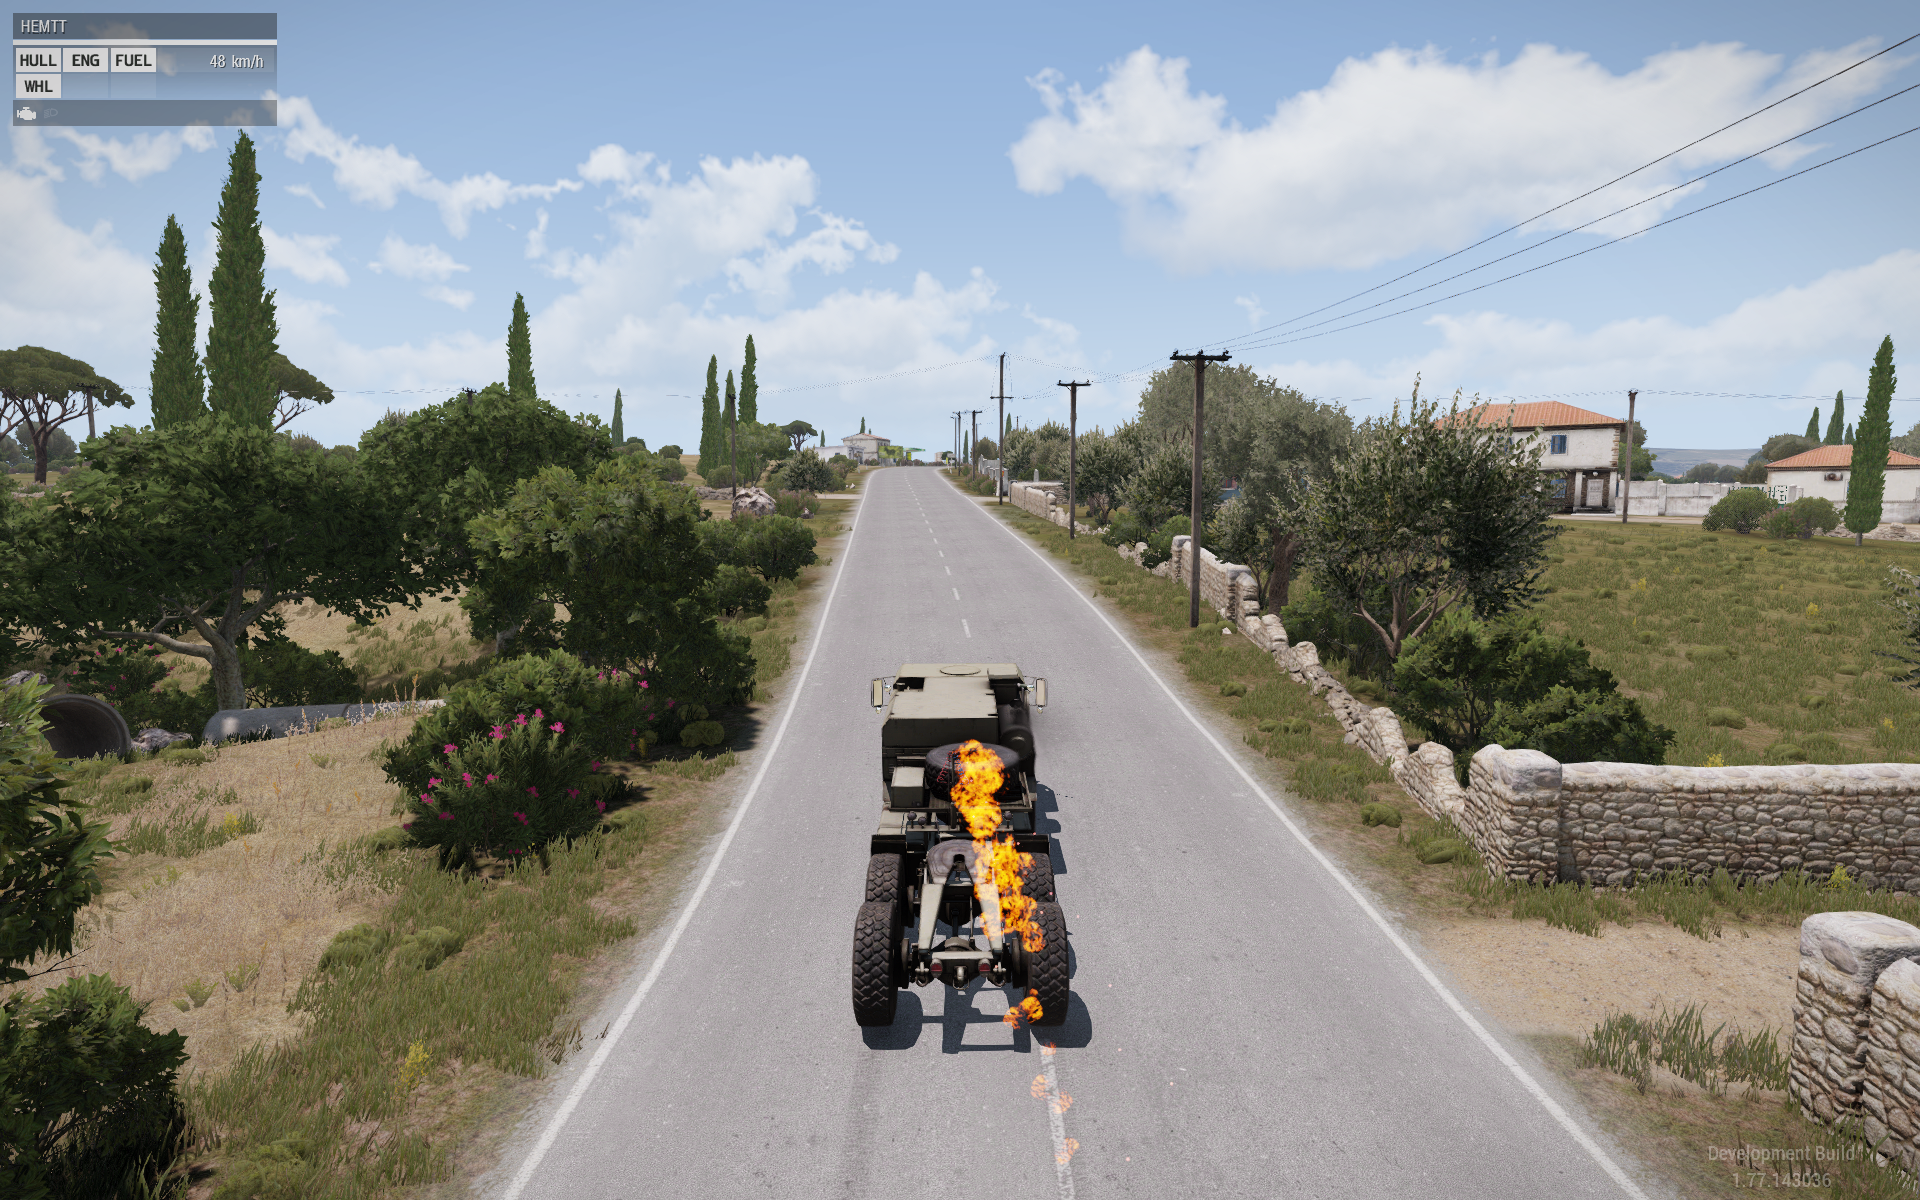
You can then preview and drive around with a burning spare tire:
Burning Tires
Since we’re on the topic of attaching, the Basic attach is really simple stuff:
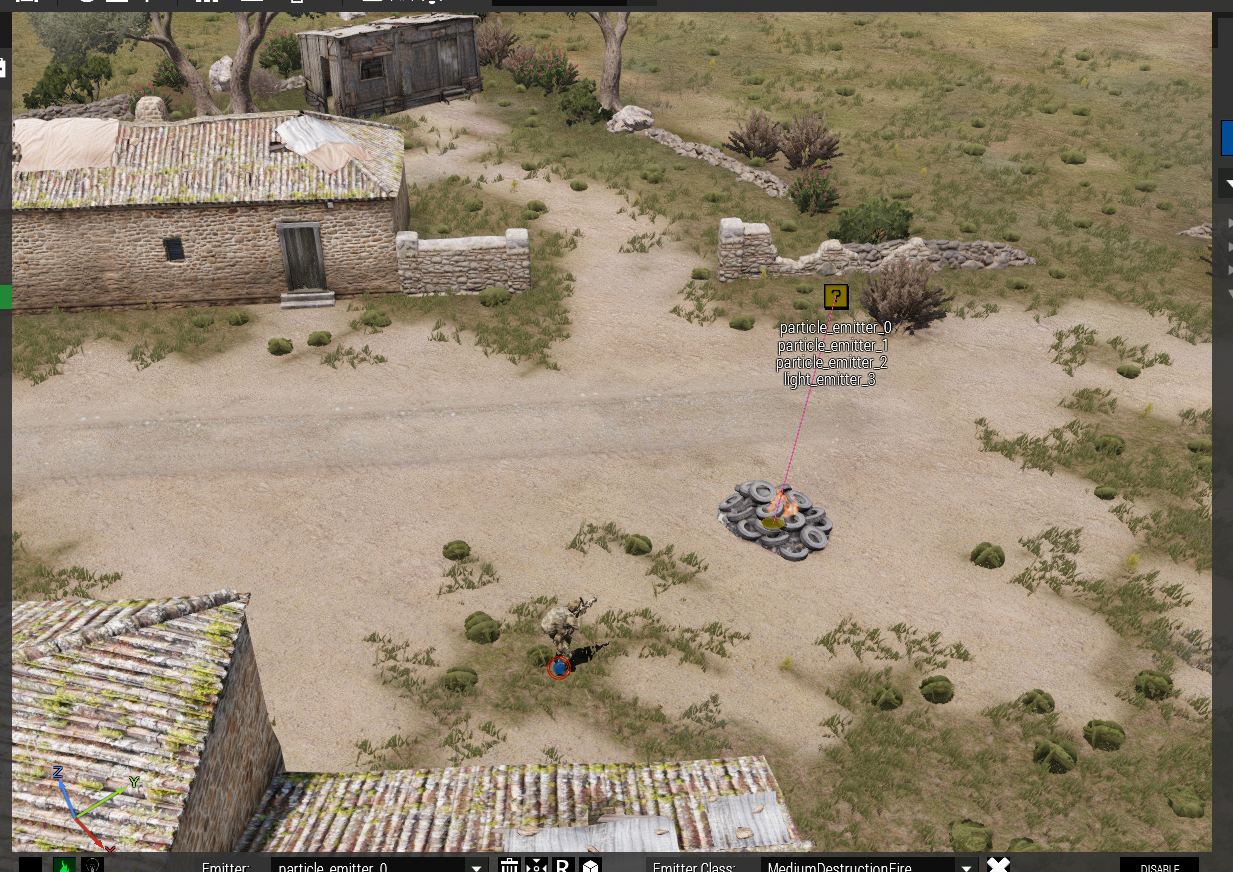
Make sure that the basic attach mode is selected (![]() ), place a tire heap, place default emitter set next to it, hover over the tire heap so that it gets highlighted and press ALT + A.
), place a tire heap, place default emitter set next to it, hover over the tire heap so that it gets highlighted and press ALT + A.
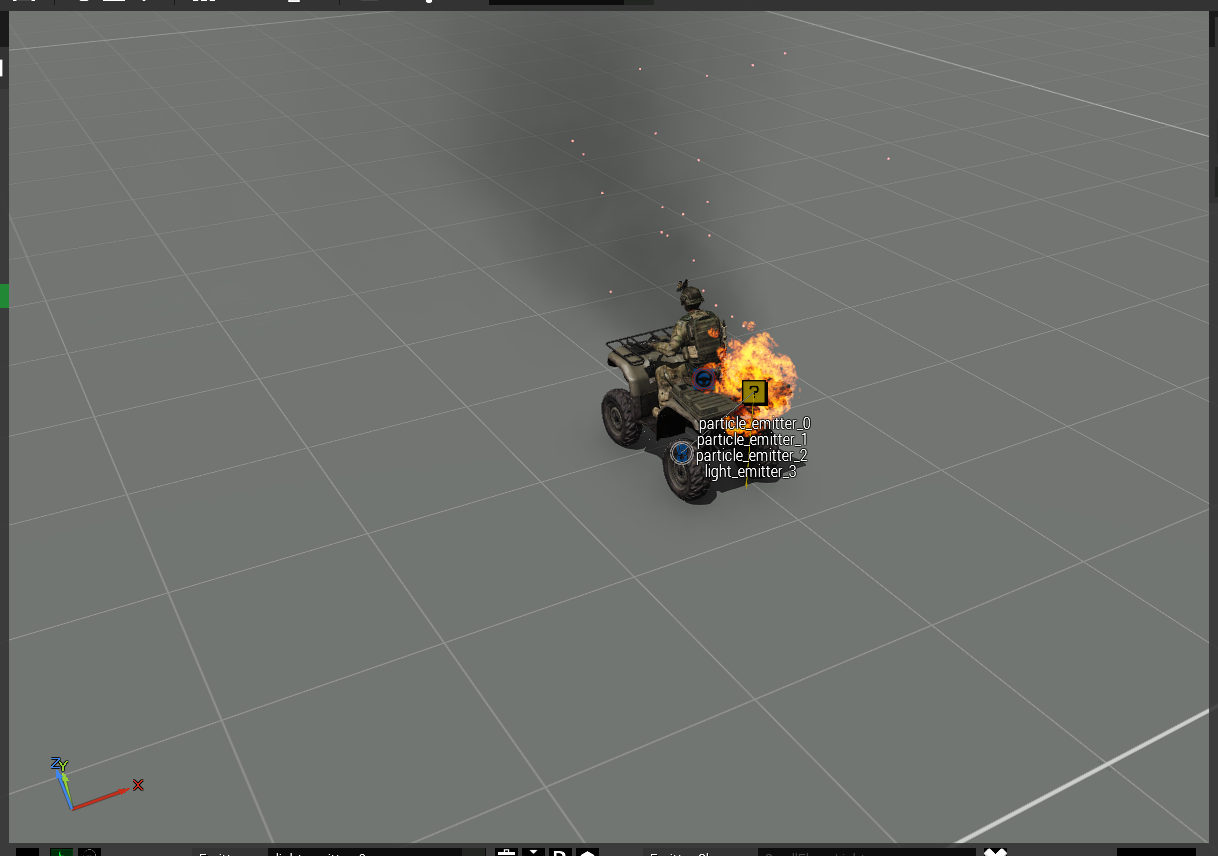
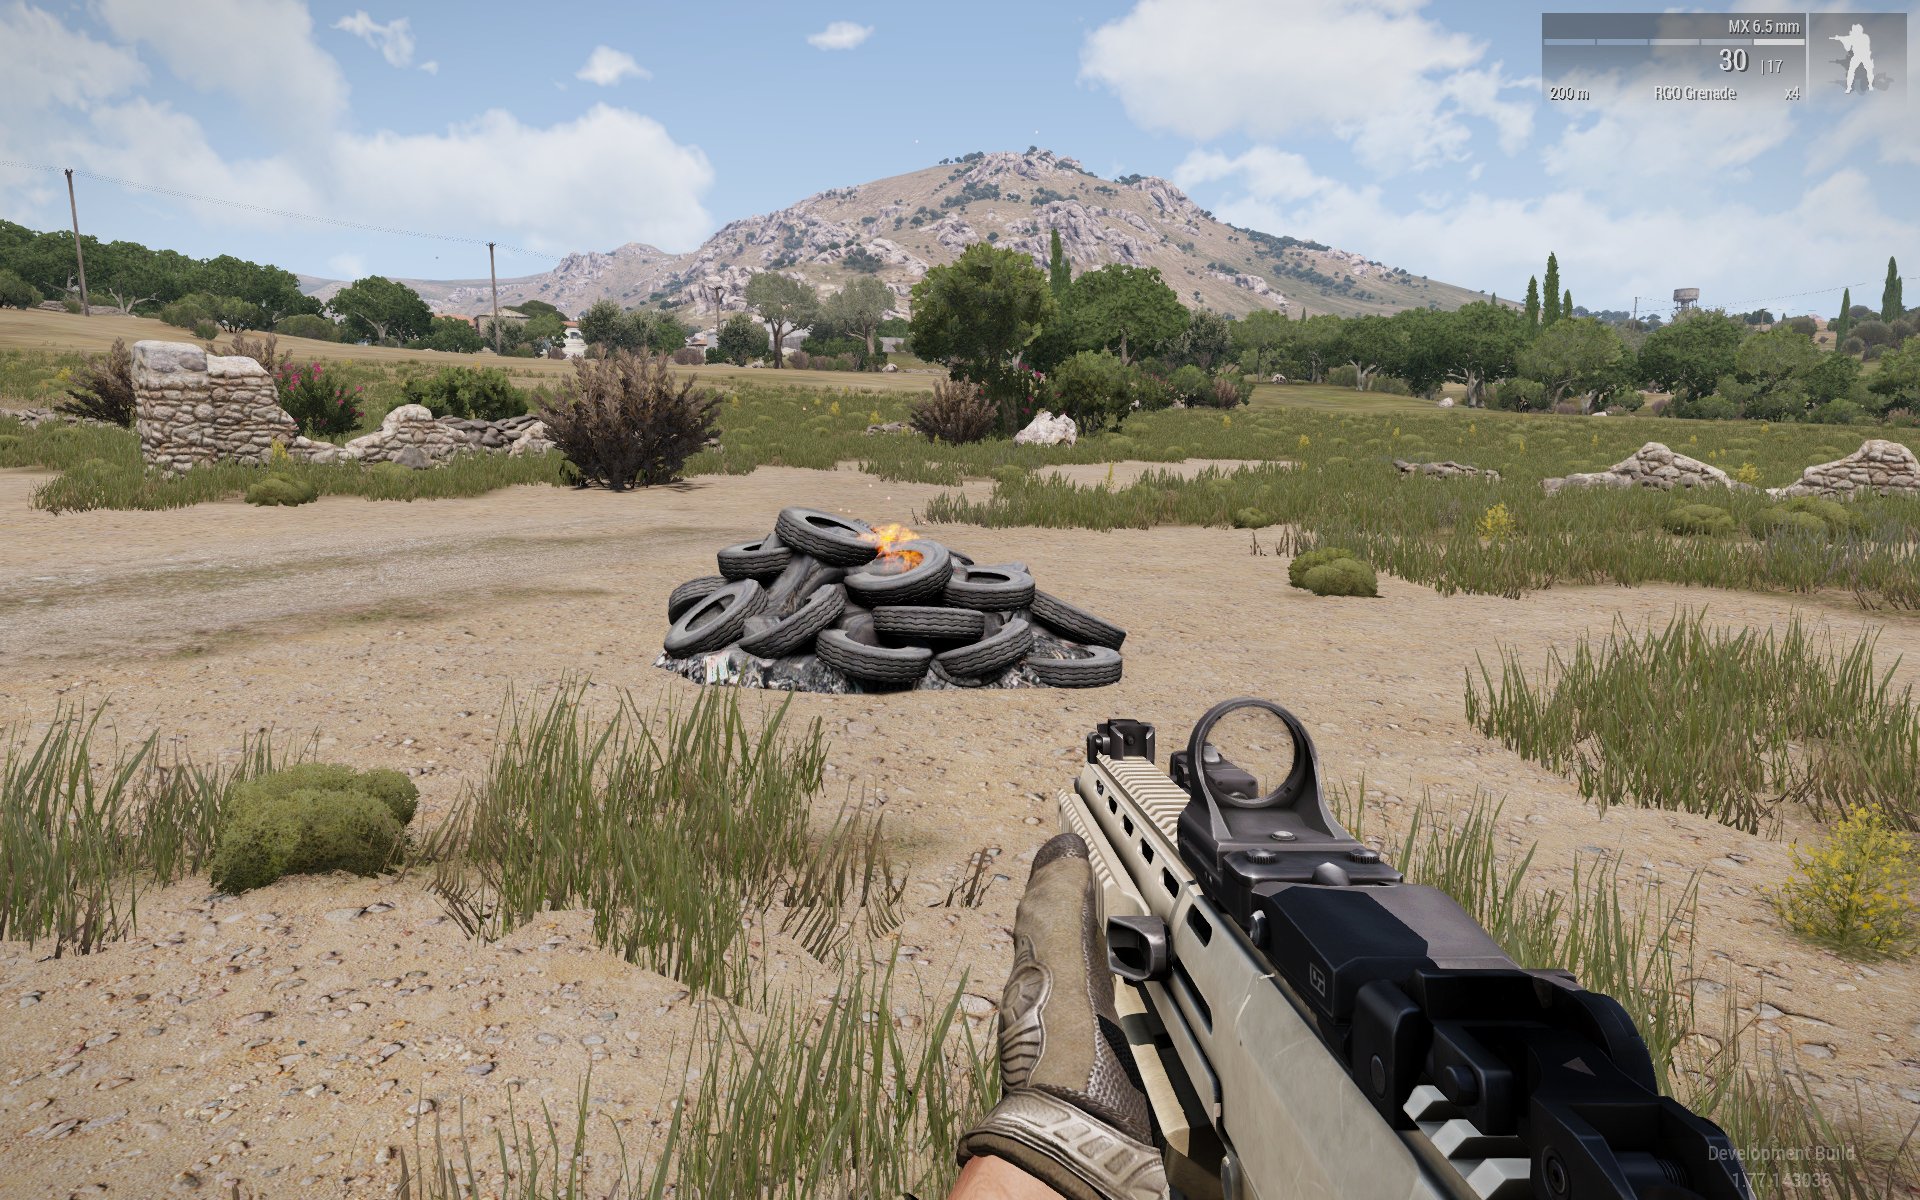
The particles and light start emitting from tire heap position and the ? Icons are linked to the heap it with a pink line (“attach line”).
Now you can move the heap around and the flames follow. This is basically the same stuff as the attribute emitter stuff.
The Towering Inferno
The third attach mode available is Selection attach.
It is indicated by a grid on the attach mode selector button ![]()
This does what the name suggests, with this attach mode you can attach emitters on model selections on any Eden entity with model selections in its model, or any terrain object with selections in its model.
If model selections are not a familiar territory, refer to BIS Wiki.
I'm using BI Malden in this examnple, go to:
get3DENCamera setPosASL [7987.99,9844.45,54.97];
get3DENCamera setVectorDirandUp [[0.849757,0.246517,-0.466021], [0.447571,0.129842,0.88477]]
Place default emitter set next to the control tower (SHIFT + INSERT), select the Selection attach mode, press and hold down T on yout keyboard. Now you can see the terrain objects being highlighted when you move the mouse cursor over them.
Hold down T and move the cursor over the control tower so that it’s highlighted with green color and press left mouse button. The highlight turns blue meaning the object is now selected so you can stop holding down T (if you press T again the object is deselected).
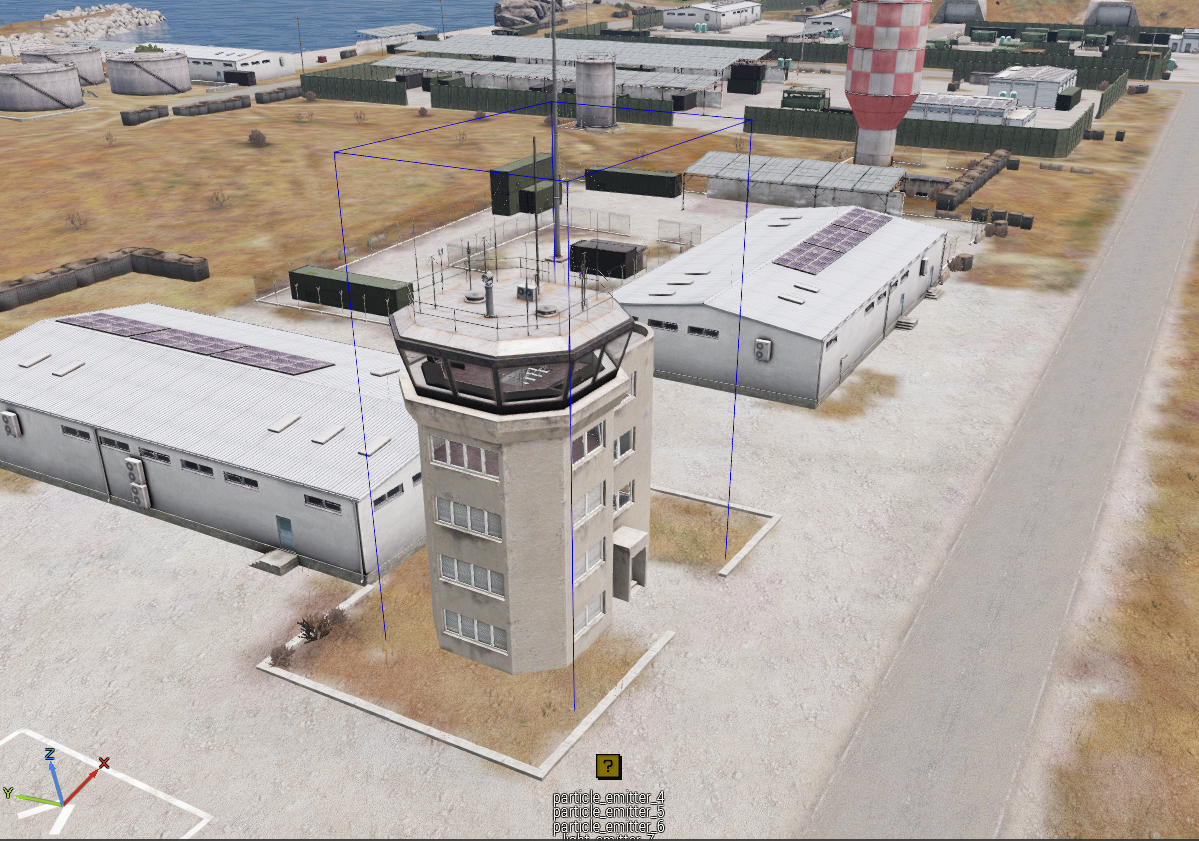
While the object is selected (blue highlight) press ALT + A, and a new sub-leaf opens on the tool UI listing the selections the building has. In case of a building selected this includes the buildingPositions as well.
Select Building Pos 14 and you see the emitter set behind the control tower window.
Pressing OK confirms the attach.
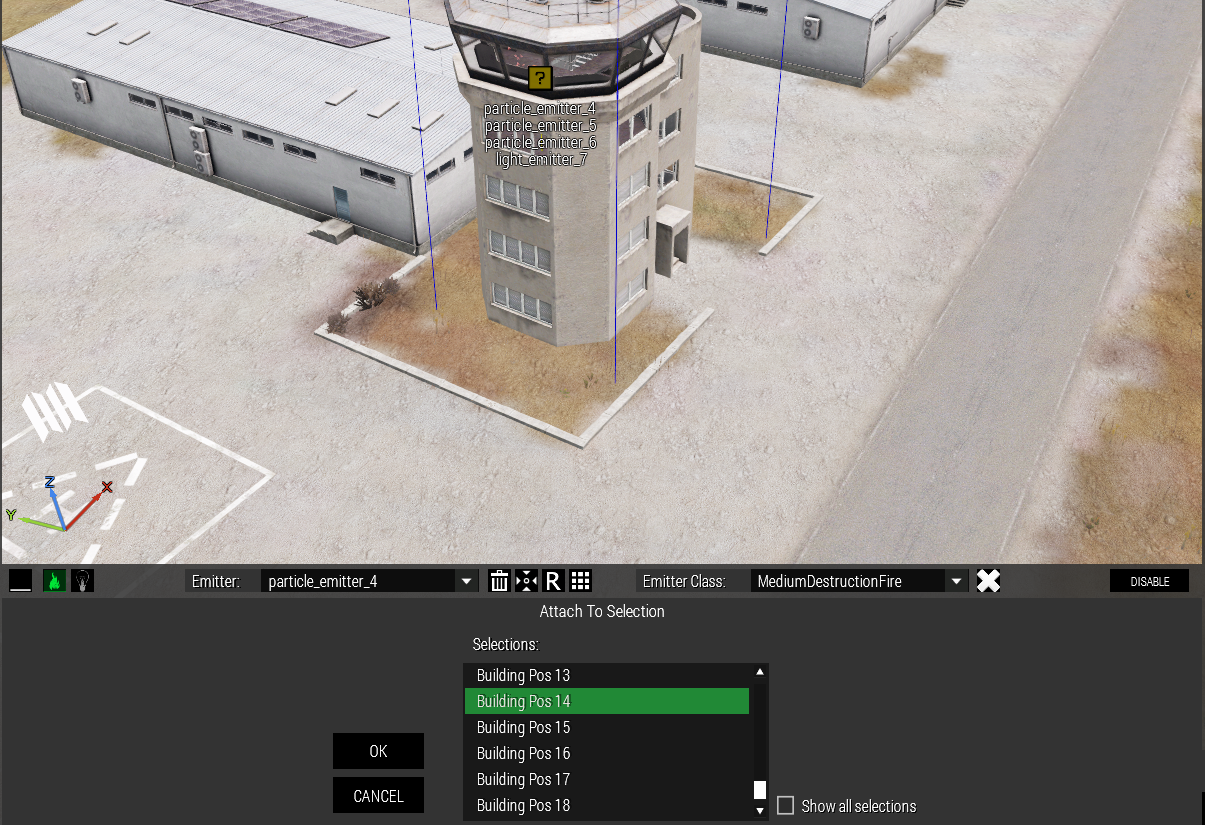
The selection list by default only lists selections that are off the object position, if you want to include the omitted ones check the Show all selections box.
When attaching to terrain objects it’s just a figure of speech, the emitter(s) just gets positioned on the selected position because terrain objects don’t move so there is no need for a “real attach”.
When building is destroyed the particles will not follow the falling to ruins stuff though, instead they’re just deleted.
If you move the “attached” emitter(s) just a hair it will detach from the terrain object.
Which is kinda a nice segway to the next example of getting burning building ruins.
Ruins On Fire
This side steps from the attach stuff into trigger sync stuff covered in Attribute emitters.
In case you did not read it long story short: you can sync triggers with the emitters to control when they appear/disappear.
Move to a building of your choosing.
Insert a single emitter and give it the class BigDestructionFire and change the following params:
- Lifetime to 3
- Weight to 0.03
- Friction to 0.15
- Random leaf → lifetime to 1
- Render params → Frame 0 scale to 5
- Frame 1 scale to 2.5 (change color to “full” and raise the alpha some)
Place down another single emitter and give it class BigDestructionSmoke.
Time to introduce another feature: grouping to set.
Select the smoke emitter, hover mouse cursor over the flame emitter and press ALT + G. This will group the two separate emitters into an emitter set which will then behave like the default emitter set in previous examples (to un-group emitter from it’s set select the emitter and hover over empty area and pres ALT + G).
Now move the fire & flame set onto the building, remember to disable Eden Surface Snapping first to avoid the emitter set following the object surfaces.
Place down a trigger on or near the building, sync it with the emitters.
NOTE that this is exactly the same as with the attribute emitters so the basic sync in Eden does NOT work, you have to use the sync provided by this tool: SHIFT + ALT + S.
So, select the emitter set, hover over the trigger (so that it “lights” up) and press SHIFT + ALT + S.
In the trigger’s condition field write:
damage (nearestBuilding thisTrigger) > 0.5
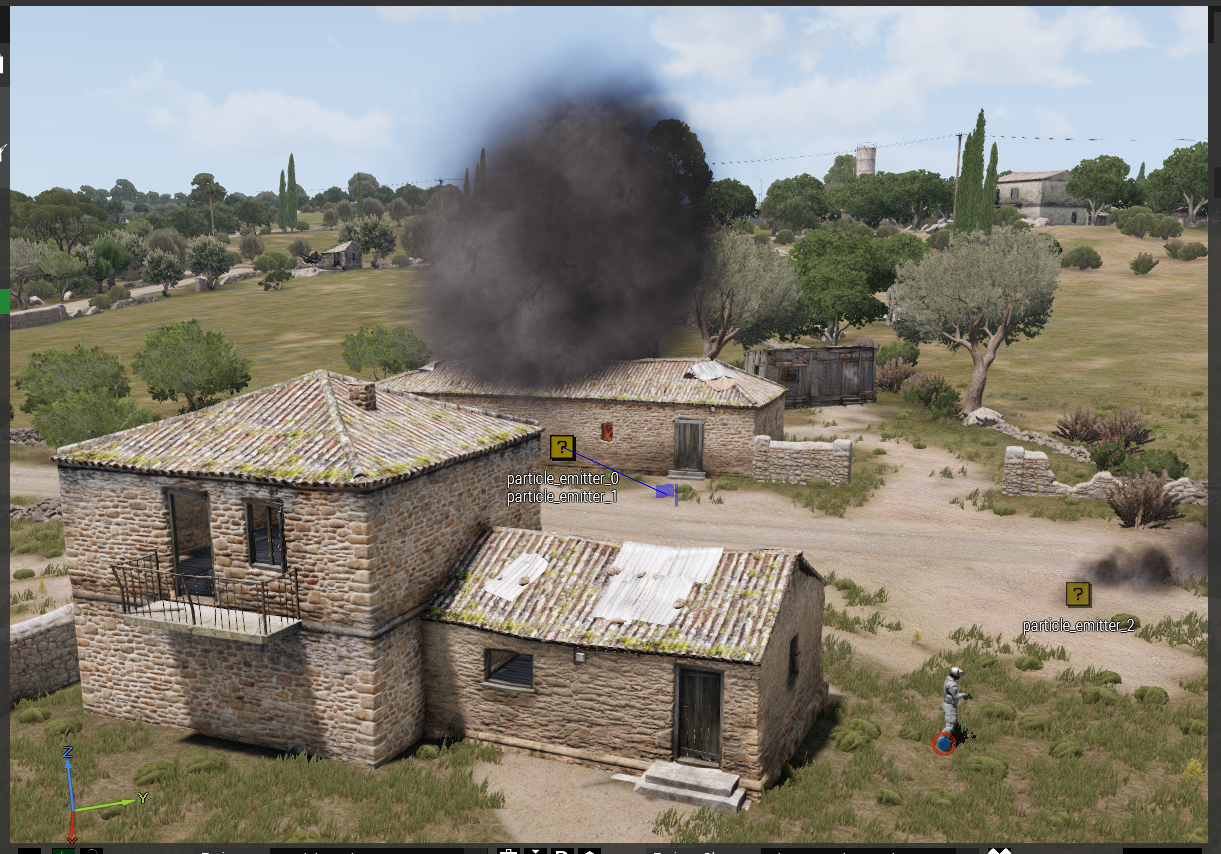
Place down some player entity with a weapon and disable damage to the entity (so you won’t die when the building collapses if too close), and Play Scenario.
While in game you will see, like with the attribute emitters that no particles are emitted. Aim at the building and open the debug console (ESC) and in the Execute field write
cursorObject setDamage 1
Execute and exit the console.
You will see the building collapse and once the default collapse smoke cloud starts to clear you will see the flames and the smoke in the ruins. Not the most awesome looking particle effects but gets the idea across.
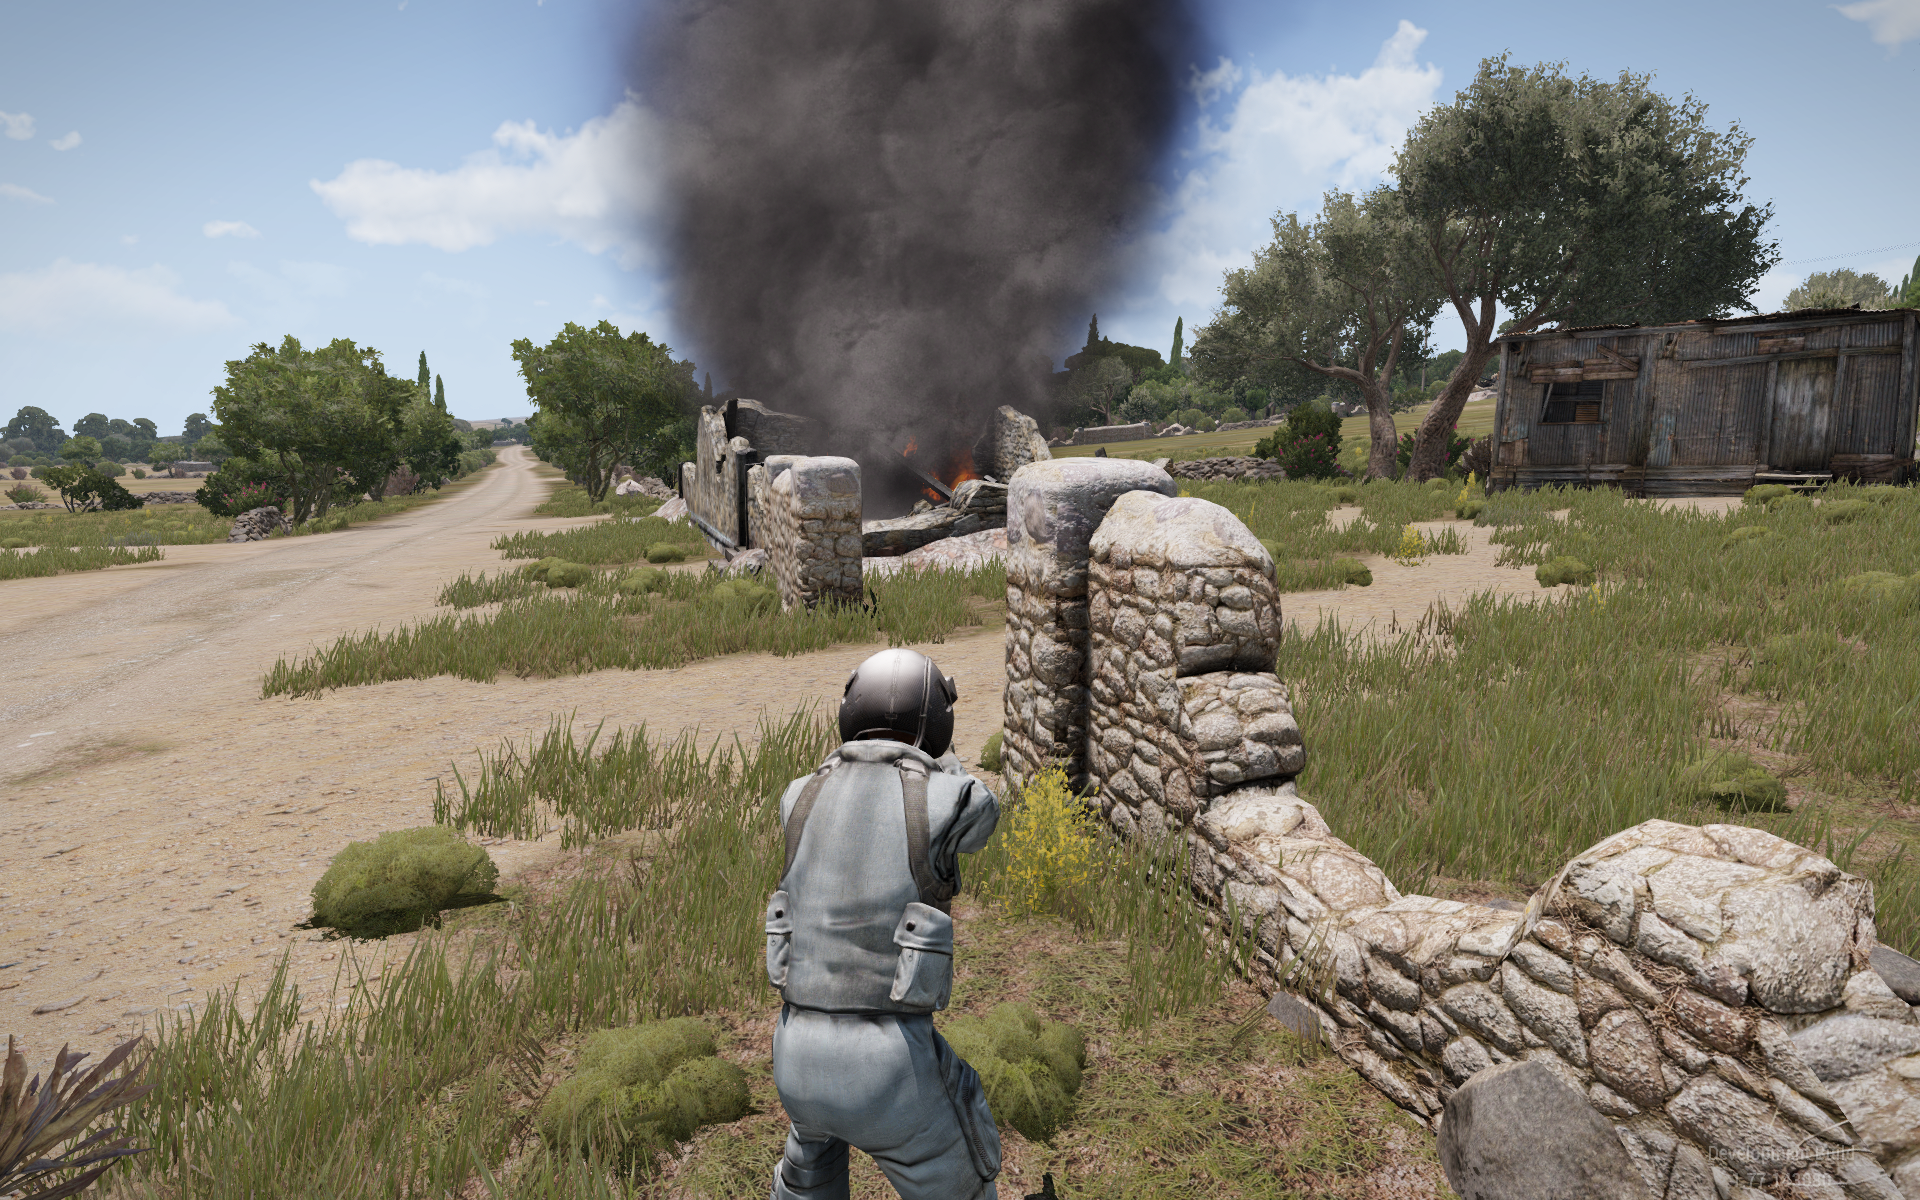
Tactical Bacon Balls
This far the examples have all been dealing with the effects on a large scale but these also work on smaller level, so let’s create the following scenario: some guy’s tactical bacon is shooting fireballs (yes, very practical example).
NOTE that due to the automatic data validation you need type the values into an array quite fast, or alternatively wait after each element for the validation to finish. The time how fast the validation starts can be tweaked from the tool’s preferences, this is described further in Particle Editor Section - UI Details - Prefs
And yes, this can be quite annoying so you might wanna go ahead and adjust that time value..
So, place down a table object and a civ next to it (doesn’t matter which ones, this is just an example), place tactical bacon can on the table. Then place a single emitter and give it the FireSparksSmall class and change Random → Move velocity to [1,1,1].
I'll use this example to show the emitter renaming feature: either double-click on the emitter, or select it and press the R button on the tool UI (![]() ) or SHIFT + ALT + R. In any case a renaming window opens.
) or SHIFT + ALT + R. In any case a renaming window opens.
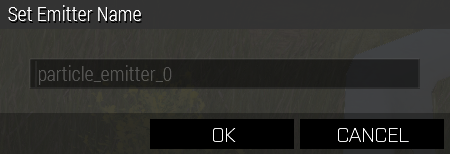
Type in the name you want (I used ballsoffire) and press OK → the name shown in all the lists and below the emitter changes.
NOTE that names can only include English alphabet letters, no number as first letter of the name and from special characters only underscore is allowed.
Then move the emitter as close to the bacon can as you can, move camera closer, then either select the Global attach mode and move the emitter onto the bacon can and press left mouse button, or switch Eden Surface Snapping on and drag the emitter over the can and if you wish press SHIFT + ALT + A while keeping mouse cursor on the emitter; this attaches the dragged emitter to the can (this is explained in more detail in the next example).
When working with small objects it’s quite handy to have the Eden preference Adaptive Speed enabled so things are a bit easier to control.
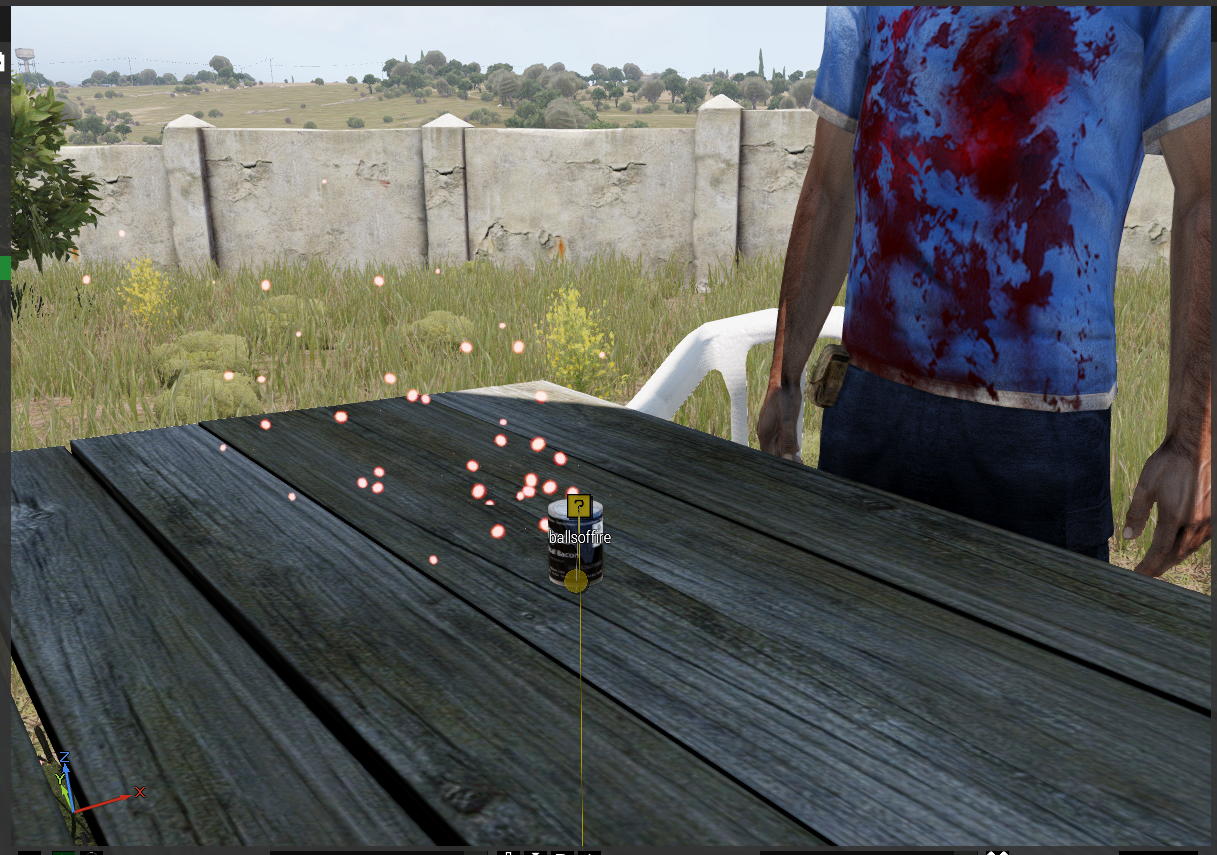
One More Attach Method
If you used global attach in the previous example here’s an example for the “drag attach” mentioned in the previous example:
When you drag emitters around with Eden Surface Snapping on the emitters will attempt to follow object surfaces. When dragging an emitter over for example an entity that can move this is tad faster to do that using the Global attach method (which has other advantages over this method).
This methiod is automatic and thus has no mode to select via the attach mode button.
Place down a vehicle, like Quad Bike. Then insert for example the default emitter set and drag it onto the vehicle somewhere and press SHIFT + ALT + A.
NOTE that the way the object surface detection works you may not see the exact results you might be expecting so it can be a bit fiddly. The dragged emitter(s) may not follow the mouse cursor exactly 100%
Import Module
Lastly let’s test the Import Module functionality, a button that can be found in the Special leaf.
What it does it imports any BI fire or smoke effect modules present in the scenario into the tool. The import process removes the modules and replaces them with the emitters with the parameters the modules were using.
This can be done in two ways, either let the tool import all those modules when you load up the scenario into Eden or import them later; all modules or just selected one(s).
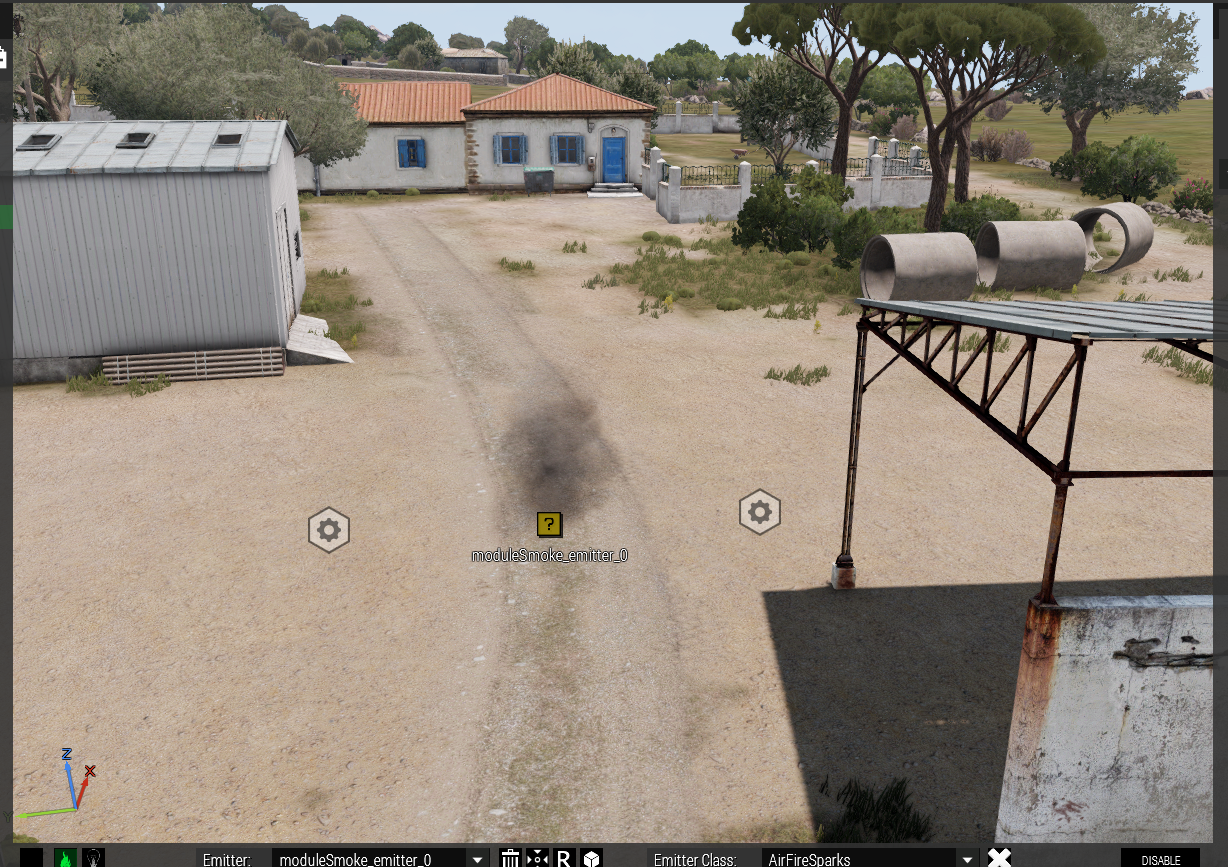
If the module has a name the name will be adopted for the created emitter, if not the emitter will get a default moduleSmoke_emitter_X or moduleFire_emitter_X name.
You can test this for example by loading up some scenario of yours which has these mentioned BI effect modules in it into Eden. Doing so you will be greeted with the following pop-up:
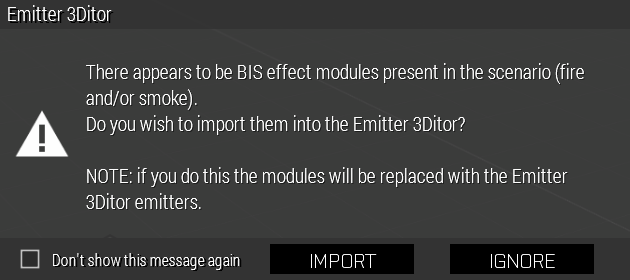
NOTE that in order for the pop-up to appear the tool itself must be running before you load the scenario (launched via the tools menu or the kb shortcut), otherwise the scenario will load normally.
Pressing Import will import all the modules, Ignore will of course ignore them.
Importing takes some time, depends wholly on how many of those modules are there.
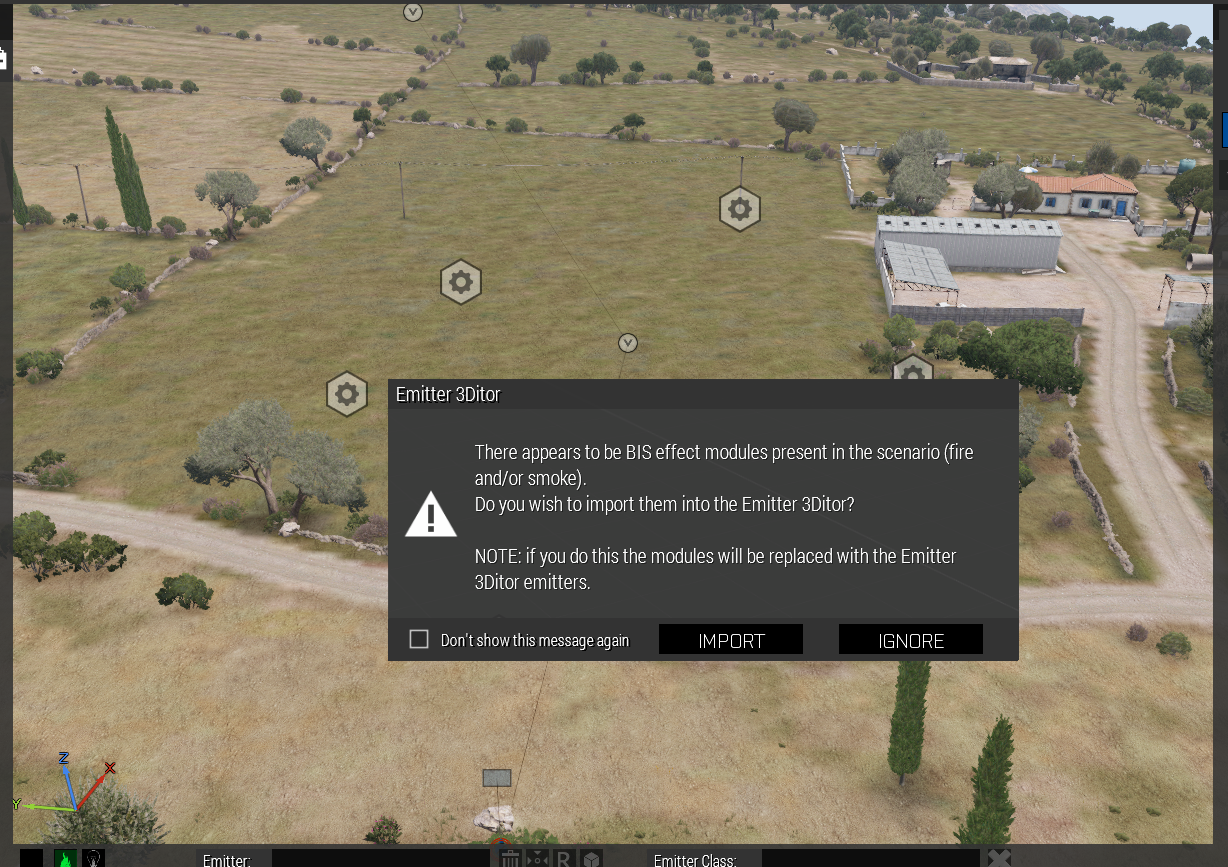
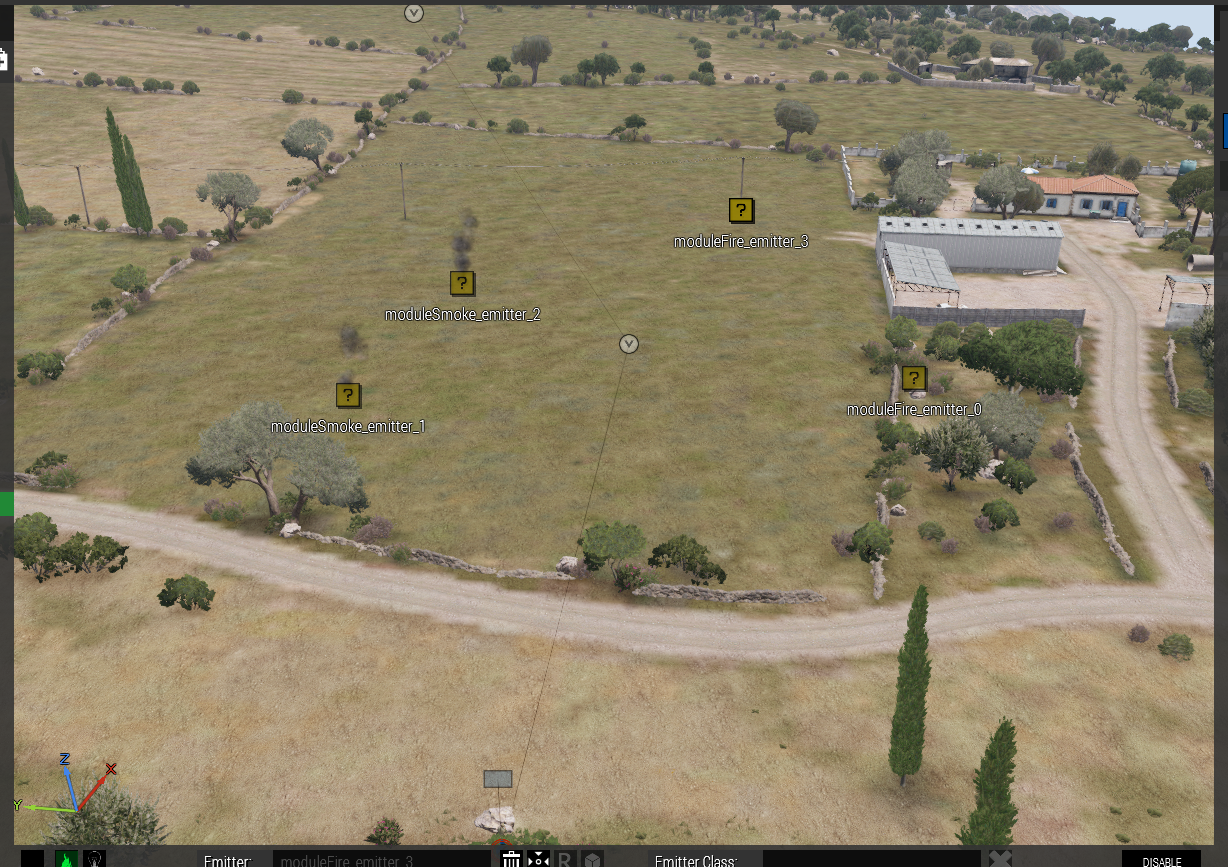
As stated you can also import only the selected ones. So, either reload the previous scenario and press Ignore in the pop-up or start a new scenario and place down a couple of those fire or smoke effect modules (Systems → effects →).
Switch to the Special leaf, there you will find Import Module(s) button enabled.

Select one of the modules and press Import Module(s). The selected module will change into an emitter. You can of course select multiple modules as well.
