—-
User Tools
Sidebar
Table of Contents
Some tool functionality in more detail
Here I will go over some of the tool features/functionality in more technical detail, like the various attach methods and so on.
Some of the features depend on Eden actions/features and I will not explain those in detail as I would assume you already know your way around the Eden editor…
Inserting data into "data fields"
This can be done in the obvious normal way of just typing.
But if you’re one prone to typoing (like me :P) you might get frustrated, especially with the automated data validation turned on. Since tool version 1.025 the tool allows for changing the values on these data fields using the mouse middle scroll wheel, with additional “modifier” keys:
Just scroll (no modifier keys pressed):
- on numeric data fields changes the value up/down by 1
- on array data fields changes the first array element value up/down by 1
- on sliders changes the slider position with the slider step value from config
Scroll + SHIFT
- on numeric data fields changes the value up/down by 0.001
- on array data fields changes the second array element value up/down by 1
- on sliders changes the slider position with: the slider step value from config / 10
Scroll + CTRL
- on numeric data fields changes the value up/down by 0.01
- on array data fields changes the third array element value up/down by 1
- on sliders changes the slider position with: the slider step value from config * 10
Scroll + ALT
- on numeric data fields changes the value up/down by 0.1
- on array data fields, if the array has four elements changes the fourth array element value up/down by 1
- on sliders changes the slider position with: the slider step value from config * 5
Scroll + Windows Key
- on numeric data fields changes the value up/down by 10
- on sliders changes the slider position to min/max
there seems to be some sort of limitation on the game’s edit fields or something; when your value gets high enough it will not show more than one number below the decimal. So editing large values is best done by hand.
Coffee Mug
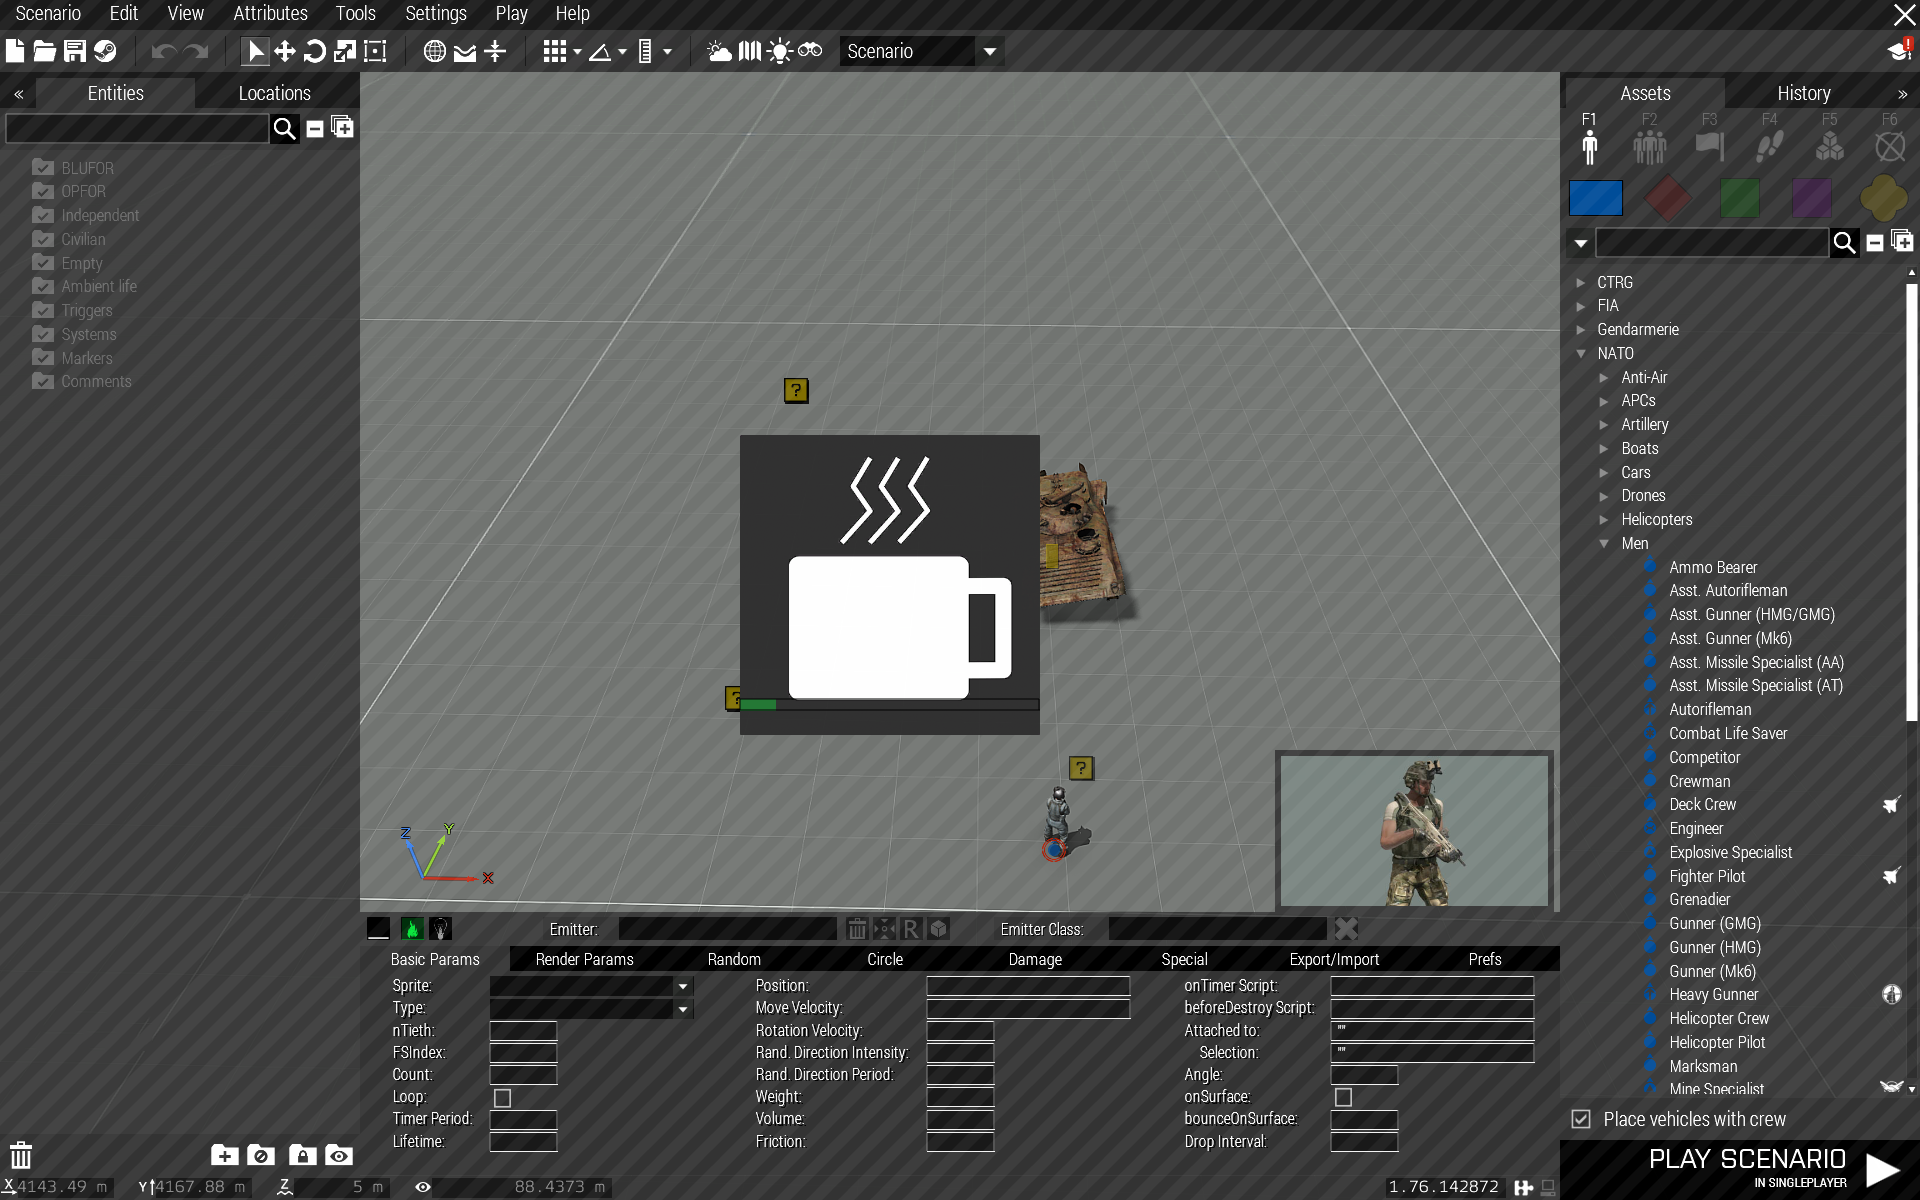
When the tool does something that takes a while like loading up a scenario into Eden (previously edited with this tool), or returning to Eden and so on you will get a coffee mug shown and Eden is disabled until the operation is finished.
There’s two types of these “coffee mugs”, one is with a progress bar that will show the progress of the operation, other is without the progress bar and used on operations that can not be “measured” via scripting; such operations that are so heavy the game “freezes” while performing them.
Inserting Emitters
When inserting emitter(s) over water and Eden Surface Snapping is on the emitter(s) will be created on water surface. If Surface Snapping is off the emitters will be created at seabed.
If Surface Snapping is on inserting emitters on an object will create the emitters on that object surface. However, due to the nature of the object detection being a bit fiddly this may not work 100%. Also as the cursor position is in 2D and you’re viewing a 3D scene what may appear to be on object for you may not appear so for the tool.
Inserting emitters on map view is disabled because there seems to be no way to translate cursor position on the Eden map view into cursor position in the 3D view. Basically the map view is just an overlay on the 3D view so the cursor positions are as if you were moving it in the 3D space even though the map is shown.
Emitter Sets
As touched upon in the examples emitters can grouped with each other to form emitter sets or you can place a default emitter set defined in the tools preferences. Emitter sets will behave as if it was a one single emitter when you move them, attach them, sync them with triggers, or delete them.
You can however select single emitters within a set and edit their parameters, either from the Eden entity list on the left panel or from the tools own emitter list, you can also select next and previous emitter in the list with ALT + Q (next) and ALT + Z (prev).
You can also de-group single emitters from a set if it’s a custom grouped set; default emitter set can not be de-grouped. To de-group, select the emitter from the set, move the mouse cursor over empty area and press CTRL + ALT + G
Default Emitter Set
This is the emitter set that can be inserted either with SHIFT + INSERT or just with INSERT depending on your selected settings in the Prefs leaf, as discussed earlier in this manual. In the Prefs leaf check the Toggle default emitter set box and then press the Build Default Set button and the following dialog opens up:

This is pretty straight forwards stuff:
As you can see the default emitter set can consist from up to 4 emitters, it can be one but that doesn’t really make sense.. Anyway, when the box next to the Emitter X is checked it means that emitter is “active” in the set, unchecked of course means it’s not.
The “factory default” set is as shown in the image, using some of the games basic particle and light classes to form a flame with smoke, sparks and light.
- Emitter type:
This can be either Particle or Light, self-explanatory.
- Effect type:
This is a bit more complex thingy; the effect type can be either a Class, a Preset you have saved, or an emitter you have inserted.- Class:
The same thing as you would select from the Emitter class list. - Preset:
Emitter preset you have saved previously. There are no “factory presets” available. - Emitter:
Selecting an emitter from the list will give its parameters to the default set emitter in question. This can be any previously inserted emitter, be it a single emitter or an emitter part of a set.
- Effect:
This is the effect to be applied; in case of Class selected in the previous list this lists the available classes, in case of Preset lists the available presets and when using an emitter this just shows “Custom”.
Pressing OK confirms the new selections as a new default emitter set which will be the inserted when you insert the default set from now on.
NOTE that previously inserted default sets of course stay as they were, only changes the set to be inserted after making the changes in this dialog.
Pressing Cancel returns you to the Prefs main leaf without making any changes into the set.
Dragging Emitters
If you drag the emitters around with Eden Surface Snapping on you will notice how the emitters will attempt to follow any object surfaces as you drag them on the terrain, like when placing Eden entities and you drag the entity icon over the edit area.
NOTE that when dragging over objects you wish to place the emitters on you should drag really slow because there is not one single eventhandler that would fire fast enough to follow the mouse cursor 100% so going too fast makes the emitter “lag” behind the cursor and it may start doing weird stuff as the “on object ray-casting” considers both the emitter position and the cursor position when trying to figure out if on object or not, so the emitter might be on the object but the cursor has already gone off object..
So if this annoys you switch Surface Snapping off.
Dragging emitters over water and Surface Snapping on the emitters will follow the water surface, Surface Snapping off the emitters will follow the seabed.
If you have Surface Snapping on and you drag emitters onto an entity you can attach the emitters on that entity to that exact spot by pressing SHIFT + ALT + A.
NOTE: You can turn this Surface Snap Slavery off in the Prefs leaf.
Grouping Emitters
This is for particle emitters only, not much sense in grouping lights into a lump of lights…
To group particle emitters into an emitter set select the emitter you want to group to another emitter, hover mouse cursor over the to emitter and press CTRL + ALT + G.
NOTE that Eden grouping does NOT provide this functionality, has to be CTRL + ALT + G.
NOTE that you can not group “regular” emitters with “Attribute emitters” (as in emitters placed on an object via the object attributes).
To de-group an emitter from a set, select the emitter you wish to de-group, hover the mouse cursor over an empty area and press CTRL + ALT + G.
Cloning Emitters
The emitters can not be copy/pasted like regular Eden entities, instead you can clone them using either the Clone button (![]() ) on the tool UI or the keyboard shortcut SHIFT+ ALT + C.
) on the tool UI or the keyboard shortcut SHIFT+ ALT + C.
To clone, select the emitter/emitter set you wish to clone and either press the button or use the keyboard shortcut.
NOTE that you can only clone one emitter/emitter set at once.
Selecting any emitter from set and cloning will clone the whole set.
If you wish to make a copy of an entity with attribute emitters you can not copy/paste it the regular way either, you have to select (one of) the attribute emitter(s) and press the Clone button or SHIFT + ALT + C.
This will clone both the entity and the emitters.
NOTE that the possible synced triggers or additionally attached emitters to an entity with attribute emitters are NOT cloned.
Rotation Widget
There is a “hidden” feature in the tool, more precisely it’s a left over from tested ideas early on in the development.
You can change the particle emitters move velocity param by rotating the emitter with the Eden Rotation Widget.
You can test this: place a particle emitter, select the TestParticleEffect class for it and then rotate the emitter with the Rotation Widget. Each time to stop rotating the move velocity for the emitter updates and the particle effect should change direction.
Not sure if this is of any use since to be perfect it should also modify all other params related to particle movement direction but that’s way waaaaaayyyy of my skill set.
Since game version 2.06 (and this tool version 1.026) you can adjust the orientation of a directional light source using the Rotation Widget. The direction updates once you stop adjusting the rotation.
Selecting Terrain Objects
As shown in the examples you can highlight and select terrain objects by holding down the T key on your keyboard and moving the mouse cursor over terrain objects. The terrain object highlight mode is indicated by a folded map type of icon over the navigation widget:
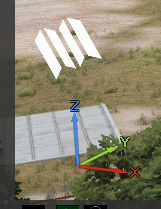
- Buildings/objects with model selections and/or building positions are highlighted yellow
- Buildings/objects with no model selections or building positions are highlighted red
- Vegetation is highlighted green
To select the highlighted terrain object press right mouse button, you will hear a sound play and the highlight color turns to blue.
To deselect a terrain object, press (and release) T.
To start highlighting terrain objects again hold down T and move the mouse cursor around.
Attaching Emitters
As demonstrated in the examples there are four (4) ways to attach emitters to entities and terrain objects. Three of them have attach modes referred as Basic attach, Selection attach and Global attach.
The fourth is a keyboard shortcut only feature working paired with dragging emitters with Eden Surface Snapping on.
As demonstrated in the examples the attach mode is selected with the attach mode selection button:

By pressing the button or SHIFT + A you can “scroll” through the different attach modes.
Normal Attach

This is basically the same as obj1 attachTo obj2 so it just attaches the emitter to the selected objects position in model space. You can not move the attached emitter by dragging it, it will stay attached to the object.
However, with terrain objects you can move it because there is no reason for “real attach” as the terrain objects don’t move anywhere.
To attach the emitter to an Eden entity, select the emitter/emitter set you wish to attach, hover over the entity and press ALT + A. The particle effect/light moves to the entity, the emitter icon itself stays next to the entity attached to it with a pink line.
To attach the emitter to a terrain object first select the terrain object by holding down T and selecting the desired object as explained earlier in Selecting Terrain Objects, then select the emitter, hover over the selected terrain object and press ALT + A.
To detach from an entity, select the emitter attached to the entity, move mouse cursor to an empty area and press ALT + A (or delete the pink “attach line”). The emitter will detach from the entity and move back to the emitter icon.
Selection Attach

Does what it says on the tin, attaches the emitter to the selected model selection. On terrain objects building positions are also included.
Obviously it’s not possible to attach to an entity/terrain object with no selections with this.
From Eden entities it is quite impossible to know beforehand whether it has selections or not, but Props are most probable ones with no selections, all moving objects have plenty.
Terrain objects have a color “scheme” to them regarding this functionality, as mentioned in Selecting Terrain Objects buildings and objects that have selections are highlighted yellow when you hold down T and move the mouse cursor over the object. Buildings/objects that have no selections are highlighted red.
To attach an emitter to entitys model selection select the emitter/emitter set, change the attach mode to Selection attach, hover over the entity and press ALT + A.
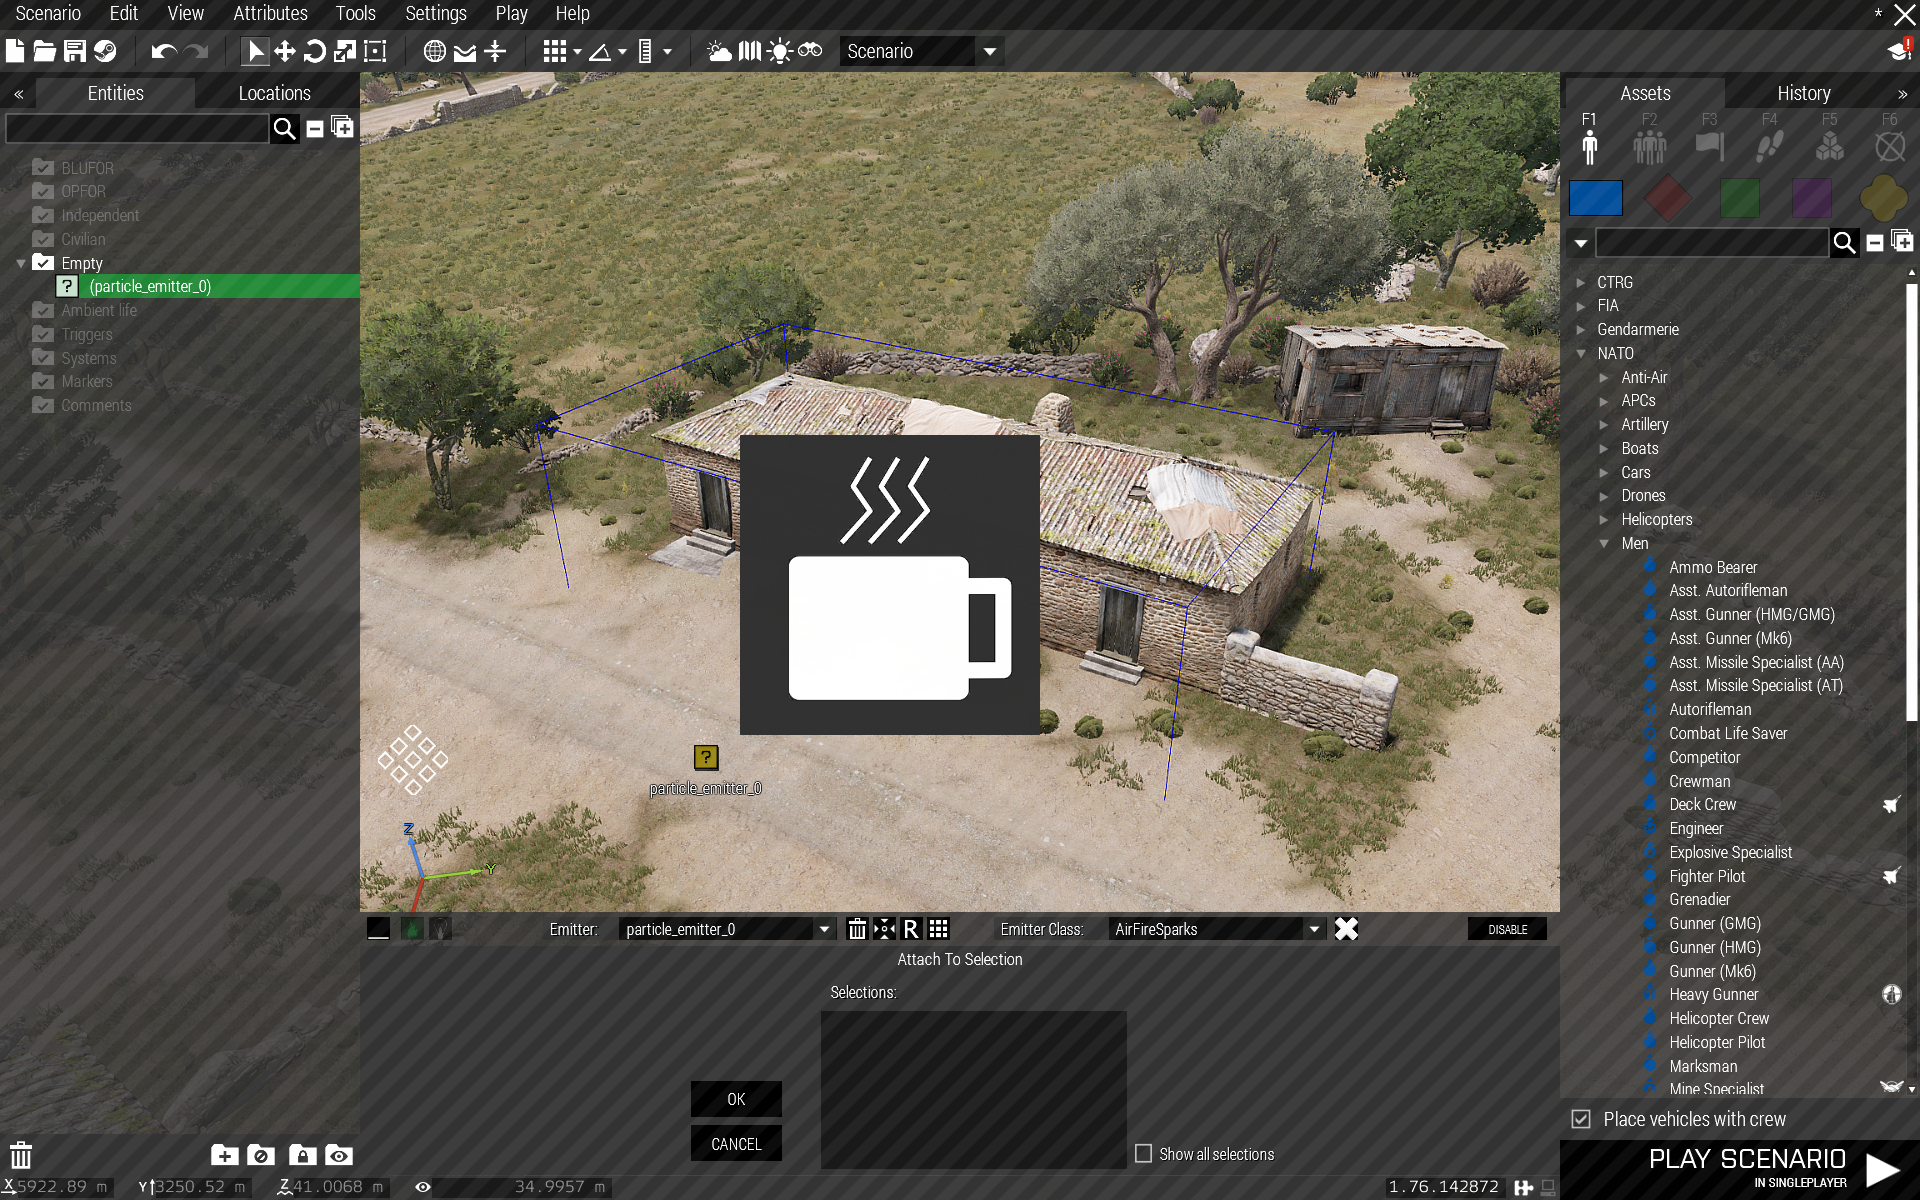
You will hear the attach sound play and a new dialog open up on the tool UI:

You will also see the emitter connect to the entity with a red line.
UI is quite self-explanatory: model selections that can be obtained via scripting are listed on the list (including proxies), you select a selection from the list and press OK (or ENTER on the keyboard) to attach the emitter to the selection or Cancel (or ESC) to cancel the attach process.
By default selections listed on the list are selections that are not at the position of the object (in model space) because it’s a bit pointless as it would the same to use the Basic attach mode then. By checking the box Show all selections you will get the list updated with all the selections on the model.
When using Show all selections you may see the same selection listed twice, like “head” on soldiers, with some additional details like: “Head (Hitpoints)”. The (Hitpoints) there means that's the model LOD the selection is located in as some models have the same selection name in several different LODs.
NOTE that some selections may not be at the same position in Eden and in-game, some selections appear at object position (ie. at the feet of a soldier) in-game even though they appear in some other position on the model in Eden, or the other way around. No idea why this happens… So sometimes you need to preview to see the end result properly.
To detach the emitter from the selection: select the emitter, hover mouse cursor over empty area and press ALT + A (or delete the pink “attach line”).
To attach an emitter/emitter set to a terrain object with selection: select the emitter/emitter set, hold down T and move mouse cursor over the desired building, if it is highlighted yellow it has selections. Press left mouse button to select the building. Then select the selection attach mode, hover mouse cursor over the highlighted building and press ALT + A.
NOTE that when you insert an emitter/emitter set it will automatically be the selected emitter for the tool so you don’t always have to select the emitter separately → you can also do: select terrain object, insert emitter, select selection attach mode, hover over selected terrain object, press ALT + A.
The same dialog opens as with Eden entities:

As with the entity selections the selections that are at the object position (in model space) are excluded by default. To include the excluded selections check the box Show all selections.
To detach emitter from terrain object selection: just drag the emitter away from the object.
Global Attach

With this you can attach the emitter on any objects surface at any position. This can be a tad annoying to use because the object surface detection is checked from many directions so which ever, the cursor or the emitter itself, collides with the surface there's the surface position so the emitters may behave “oddly” and jump of to surfaces not even near the cursor. But that is a feature, not a bug.
Does not work properly on “people” but on other objects it works quite well. Also allows for attaching inside of objects.
Active Global attach is indicated by a globe icon over the navigation widget:
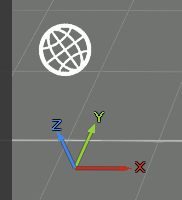
To attach an emitter to the an entity: select the emitter, select global attach mode, hover over the entity and press ALT + A.
You will hear an attach sound play, and the emitter/emitter set moves to the camera center. Now if you move/rotate the camera you will see that the emitter moves with the camera aim, and if you move the emitter over some object it will follow the object’s surface. Emitter being over object surface is indicated by a green “reticle” icon that appears over the emitter icon:
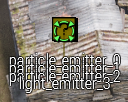
NOTE that the object surface detection is multi-sided so in some camera-angle-to-the-object situations the tool will decide the emitter is not over an object surface even though it looks it is.
Pressing left mouse button attaches the emitter to that position on the object and it will stay on that position in-game.
This works also inside buildings so you can attach emitters to building inside ceiling, walls etc.
NOTE that the mouse cursor moves in 2D and the scene you’re watching is in 3D so even though it might appear to you that the cursor is over the object it might not be for the “ray-casting” that finds the object surface. So it can be a bit frustrating at times especially if you get into macro details.
Even though the Global attach can be used with terrain objects it’s a bit moot given the fact that you can already have the emitter/emitter sets follow object surfaces while dragging them with Surface Snapping on.
SHIFT + ALT + A "method"
This keybind attaches the emitters dragged over an Eden entity with the Eden Surface snapping and the tools Surface Snapping slavery on (this 'slavery' is on by default). Works only on Eden entities.
This is very similar to the Global attach mode, the key differences are that this is of course done via dragging the emitters to the desired spot on the entity instead of the emitters following the camera aim, and unlike with Global attach this works on the outside surfaces of the entity only.
So, to reiterate: drag some emitter onto an Eden entity and press SHIFT + ALT + A and the emitter will be attached to that spot on the entity.
Attach Finesse
Emitters attached to an entity with any of the attach methods, except Selection Attach, can have their positioning fine-tuned in two ways:
- Adjusting the values in the Position field. Note that the values are in model space.
- Adjusting the emitter's position with the Translation Widget; activate the widget, select the emitter to adjust, press and hold down CTRL on your keyboard → the emitter gets a green “move reticle” indicating it can be move with the widget:
Trigger Sync
Like already touched on in the various examples this allows for a control over when emitter emits via a trigger synced to the emitter.
NOTE that the normal Eden Sync does NOT work with this, you have to use the tool specific sync that can only be achieved with the keybind ALT + S
The sync works so that when synced to a trigger the emitter will not start emitting in-game until the trigger is activated, and if the trigger is set to Repeatable emitter will also stop emitting once the trigger deactivates.
To sync an emitter to a trigger: select the emitter/emitter set, hover over the trigger (so that it’s highlighted, the color changes darker) and press SHIFT + ALT + S. You can see the trigger name change in the entity list, with single emitter it says activator_*emitter name* and with more emitters or emitter sets the name will include parts of the names of all synced emitters:

NOTE that you can only sync one trigger to the emitter. You can however sync several emitters to one trigger.
To de-sync emitter from the trigger: select emitter, hover mouse cursor over empty area and press SHIFT + ALT + S (or delete the blue “sync line”).
Importing BI Fire/Smoke Modules
This is done by pressing the Import Modules button that can be found under the Special leaf of the Particle Editor section, or automatically when you load a scenario that has these modules present into Eden.
What it does it imports any BI fire or smoke effect modules present in the scenario into the tool.
The import process removes the modules and replaces them with the emitters with the parameters the modules were using.
If the module has a name the name will be adopted for the created emitter, if not the emitter will get a default moduleSmoke_emitter_X/ moduleSmoke_emitter_X name.
When loading a scenario with the modules into Eden the tool will give you a prompt asking if you wish to import the modules:
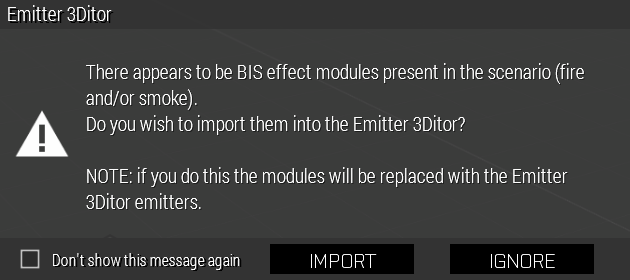
If you check the Don't show this message again box this prompt will not be shown again (unless you go to the Prefs Leaf and press the OK pop-ups button).
Die Out
This can be found under the Special leaf in Particle Editor section and in the Params leaf of the Light editor section.
As explained in the examples this is timer in seconds after which the selected emitter/emitter set will be deleted.
The timer starts from the moment the emitter starts to emit in-game.
NOTE that the emitter will not die out gradually, it will be deleted immediately when the time is up.
NOTE that this will start a looping script for the emitter, and in an emitter set for each individual emitter.
Follow objectHide
This can be found under the Special leaf in Particle Editor section and in the Params leaf of the Light editor section.
Does what it says on the tin, makes the selected emitter/emitter set hide/show depending on the hideObject status of the object it is attached to (to confuse, the name of this functionality is derived from the scripting command isObjectHidden, not hideObject).
Meaning if the object is hidden with obj hideObject true in-game the emitter will also “hide”, as in stop emitting. And when the object is shown again with obj hideObject false the emitter will also show up and start emitting again. This should make this dynamic simulation friendly.
This is optional for a reason: this will spawn a looping script for each object it is used on, single emitters and emitter sets act alike, one script spawned for the object they’re attached to.
Ie. if you have 50 emitters attached to one object there’s still only one spawned script. But still optional as it might raise a performance concern if forced on each object by default, if you have 50 objects with attached emitters it would mean 50 scripts…
The loop is “sleepy” so it doesn’t run on every frame or anything, each iteration is paused for a random time between 0.3 and 1 second.
NOTE that due to the pause in the loop the emitter will not react immediately to the object hide, there’s a small delay.
Why a looping script? Because there is no eventhandler to detect if object is hidden or not.
NOTE: does nothing if the emitter/emitter set is not attached to anything.
Diagnostics
When running the diagnostic.exe of the game the particle related diagnostic switches are available in the Special leaf:
- Particles:
Shows the diagnostic data of the particles in the scene; counts and effect class names. This is a tad sucky because emitters inserted with this tool get their effect name from several scriptnames for some reason so the names block the count data.. - Particle names:
Shows a name attached to each particle emitted by the emitters in the scene
Data Validation
The parameter fields on the tool UI all except the menus have a data validation system “built” into them. Earlier in this manual when the different parameters were explained there was a Datatype is number type of things mentioned. Those refer to this validation as the parameter fields only accept certain type of data; number, string or array.
When you insert some value into a parameter field the field and the data in it will turn briefly to yellow which indicates the data is being validated:

Once it validates it turns back to white.
NOTE: With arrays the data may stay yellow until you finish filling up the array.
If it doesn’t validate it turns red:

Also a notification is shown on the top of the screen which can vary: usually you will get “Illegal character in data!” if using string where number should be used and so on.
When using some global variable that doesn't exist (like some entity name) you will get “Wrong data type”.
The param field stays red for annoyingly long time to remind you what you just did and then turns back to white and fills the field with either its default data or last successfully validated data.
Some faulty data is so faulty that the game can't continue with it and a visible scripting error is shown and the validation for that field can break down (stays yellow or red). That I can't do anything about because there is no way to detect scripting errors, so you just have to be careful..
NOTE: You can turn the data validation off in the Prefs leaf, at your own possible peril.
"Importing" Parameters
As mentioned in the Export/Import leaf explanations it was briefly mentioned that you can “paste” parameters “into” an emitter.
Meaning that you can paste emitter parameters into the “export fields” and press Paste params button to “inject” the parameters into the selected emitter.
NOTE that there are some limitations to this though, for example if the parameters you are going to pass include references to an object, be it as the “attachedto” parameter or via some calculations on direction or whatever will not work.
Obviously each parameter “type” has to be pasted into the correct field, self-explanatory but for particles
- parameters for setParticleParams go into Particle Params field
- parameters for setParticleRandom go into Particle Random field
- parameters for setParticleCircle go into Particle Circle field
- parameters for setParticleFire go into Particle Fire field
- parameter for setDropInterval go into Drop Interval field
And for lights
- parameters for setLightColor go into Light Color field
- parameters for setLightAmbient go into Light Ambient field
- parameters for setLightIntensity go into Light Intensity field
- parameter for setLightFlare go into Use Flare field
- parameter for setLightFlareSize go into Flare Size field
- parameter for setLightFlareMaxDistance go into Flare Max Dist. Field
- parameter for setLightDaylight go into Daylight field
- parameters for setLightAttenuation go into Attenuation field
- parameter for setLightIR go into isIR field
- parameters for setLightConePars go into Dir Params field
- parameters for setLightVolumeShape go into Shape Params field
This works the same for both particle and light emitters. Let’s say you have something like this in your script:
_p setParticleParams [
	["\A3\data_f\ParticleEffects\Universal\Universal_02", 8, 0, 1, 0],
	"",
	"Billboard",
	1,
	0.5,
	[0, 0, 0],
	[0, 0, 0],
	1,
	1.23,
	1,
	0.2,
	[0.6, 1.8, 2.5],
	[[0.5, 0.5, 0.5, 0.14],[0.6, 0.6, 0.6, 0.06],[0.7, 0.7, 0.7, 0.02],[0.8, 0.8, 0.8, 0.006],[0.9, 0.9, 0.9, 0.001]],
	[5],
	0.1,
	0.1,
	"",
	"",
	"",
	0,
	false,
	0,
	[[0, 0, 0, 0]]
];

_p setParticleRandom [
	0.2,
	[0.08, 0.08, 0.08],
	[0.3, 0.3, 0.3],
	20,
	0.15,
	[0, 0, 0, 0],
	0,
	0,
	1,
	0
];

_p setDropInterval 0.0035;
To “import” that place a single particle emitter, select it and go to the Export/import leaf.
There is already data because the placed emitter by default has some parameters. So wipe those off first (press the Clear button).
NOTE: Using wrong parameters in wrong fields causes errors on “import”. Only paste the parameters, nothing else.
Then copy paste the parameters only, as in the value after the scripting command (array or number), on their respective fields on the tool and once done press the Paste Params button. The “missing” parameters get automatically populated with the default values and the emitter starts emitting the effect. Including the ; after the value is not an error so no need to worry about that.
In case of this example the “imported” effect is a smoke (values are from ArtilleryShell1 class), you should see this kind of result:
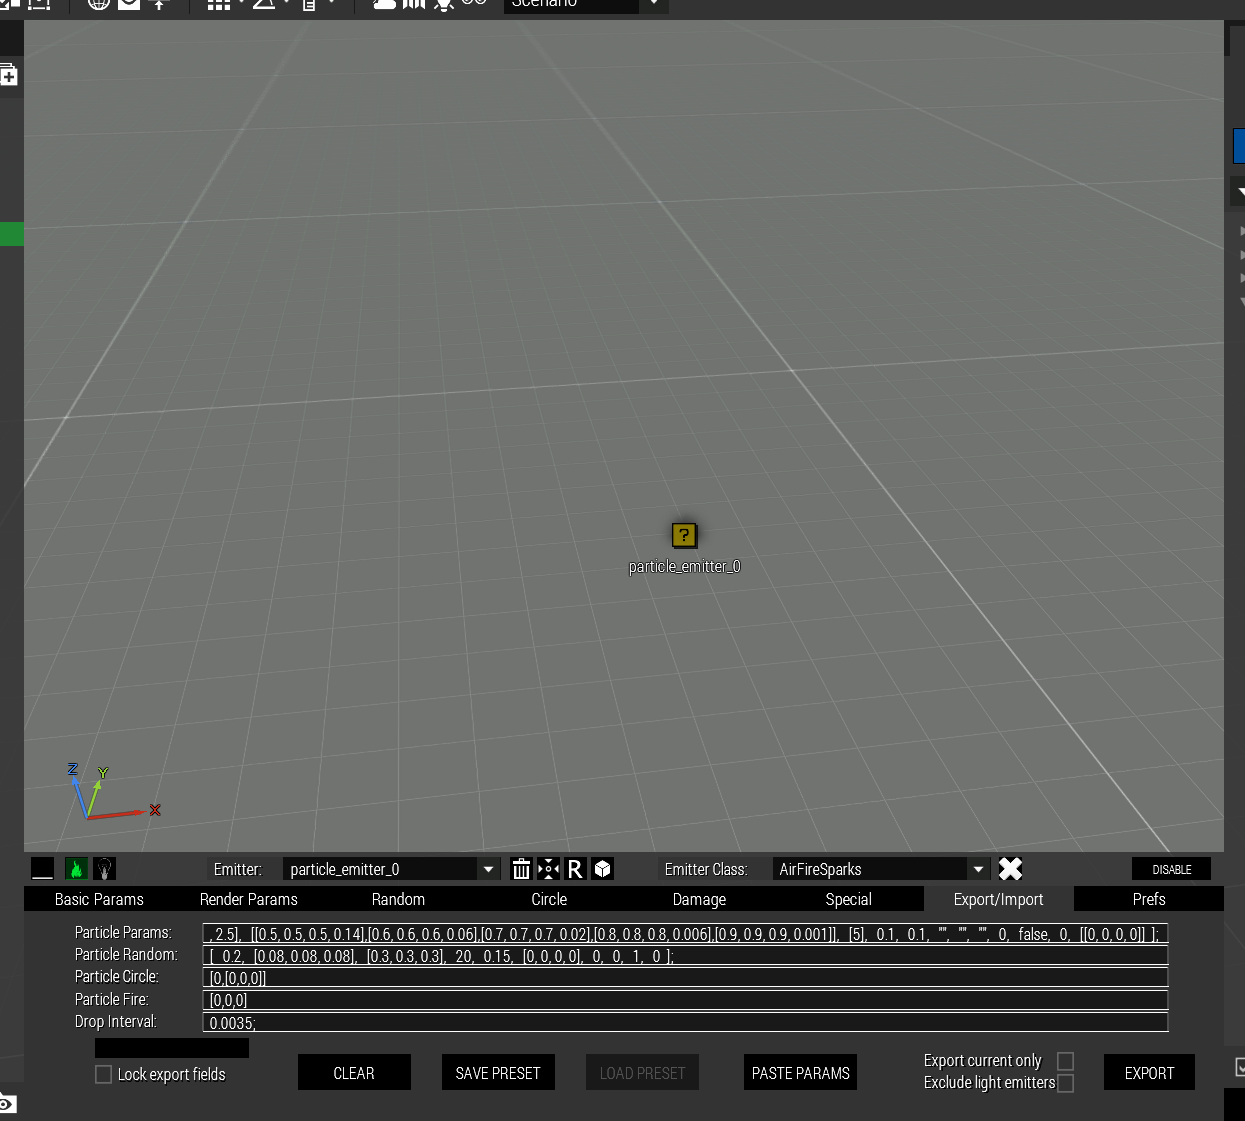
It’s exactly the same method for lights, with the only exception of the export/import leaf looking a bit different.
NOTE: the tool uses intensity as lights brightness value as setLightBrightness is outdated command, so if you use setLightBrightness in your “imported” script you have two options:
- Change setLightBrightness into setLightIntensity and multiply the value with 3000 (brightness x 3000 = intensity)
- just paste the brightness value into the Intensity field and hold down CTRL while pressing the Import button and the tool will do that conversion

