—-
User Tools
Sidebar
This is an old revision of the document!
Table of Contents
Some tool functionality in more detail
Here I will go over some of the tool features/functionality in more technical detail, like the various attach methods and so on.
Some of the features depend on Eden actions/features and I will not explain those in detail as I would assume you already know your way around the Eden editor…
Inserting data into "data fields"
This can be done in the obvious normal way of just typing.
But if you’re one prone to typoing (like me :P) you might get frustrated, especially with the automated data validation turned on. Since tool version 1.025 the tool allows for changing the values on these data fields using the mouse middle scroll wheel, with additional “modifier” keys:
Just scroll (no modifier keys pressed):
- on numeric data fields changes the value up/down by 1
- on array data fields changes the first array element value up/down by 1
- on sliders changes the slider position with the slider step value from config
Scroll + SHIFT
- on numeric data fields changes the value up/down by 0.001
- on array data fields changes the second array element value up/down by 1
- on sliders changes the slider position with: the slider step value from config / 10
Scroll + CTRL
- on numeric data fields changes the value up/down by 0.01
- on array data fields changes the third array element value up/down by 1
- on sliders changes the slider position with: the slider step value from config * 10
Scroll + ALT
- on numeric data fields changes the value up/down by 0.1
- on array data fields, if the array has four elements changes the fourth array element value up/down by 1
- on sliders changes the slider position with: the slider step value from config * 5
Scroll + Windows Key
- on numeric data fields changes the value up/down by 10
- on sliders changes the slider position to min/max
there seems to be some sort of limitation on the game’s edit fields or something; when your value gets high enough it will not show more than one number below the decimal. So editing large values is best done by hand.
Coffee Mug
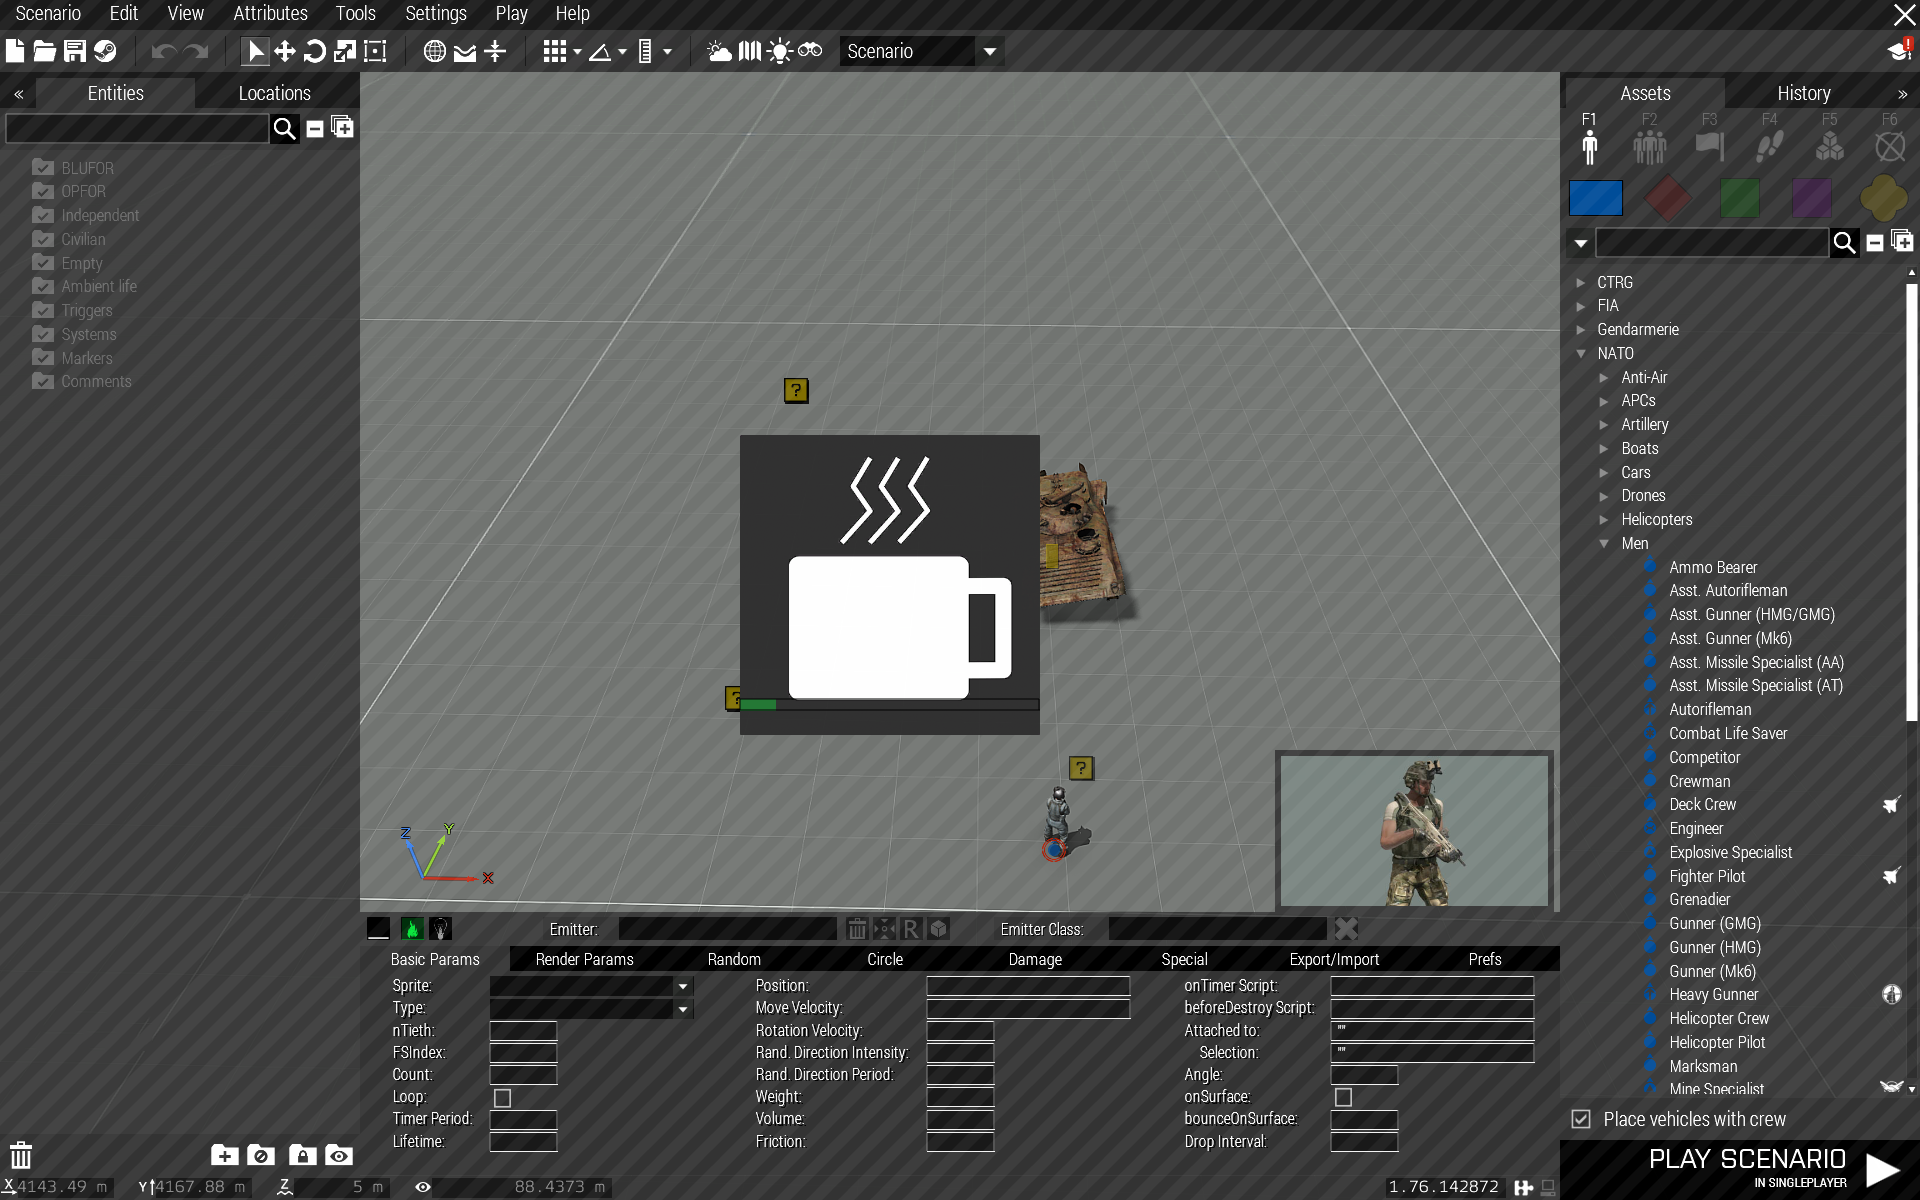
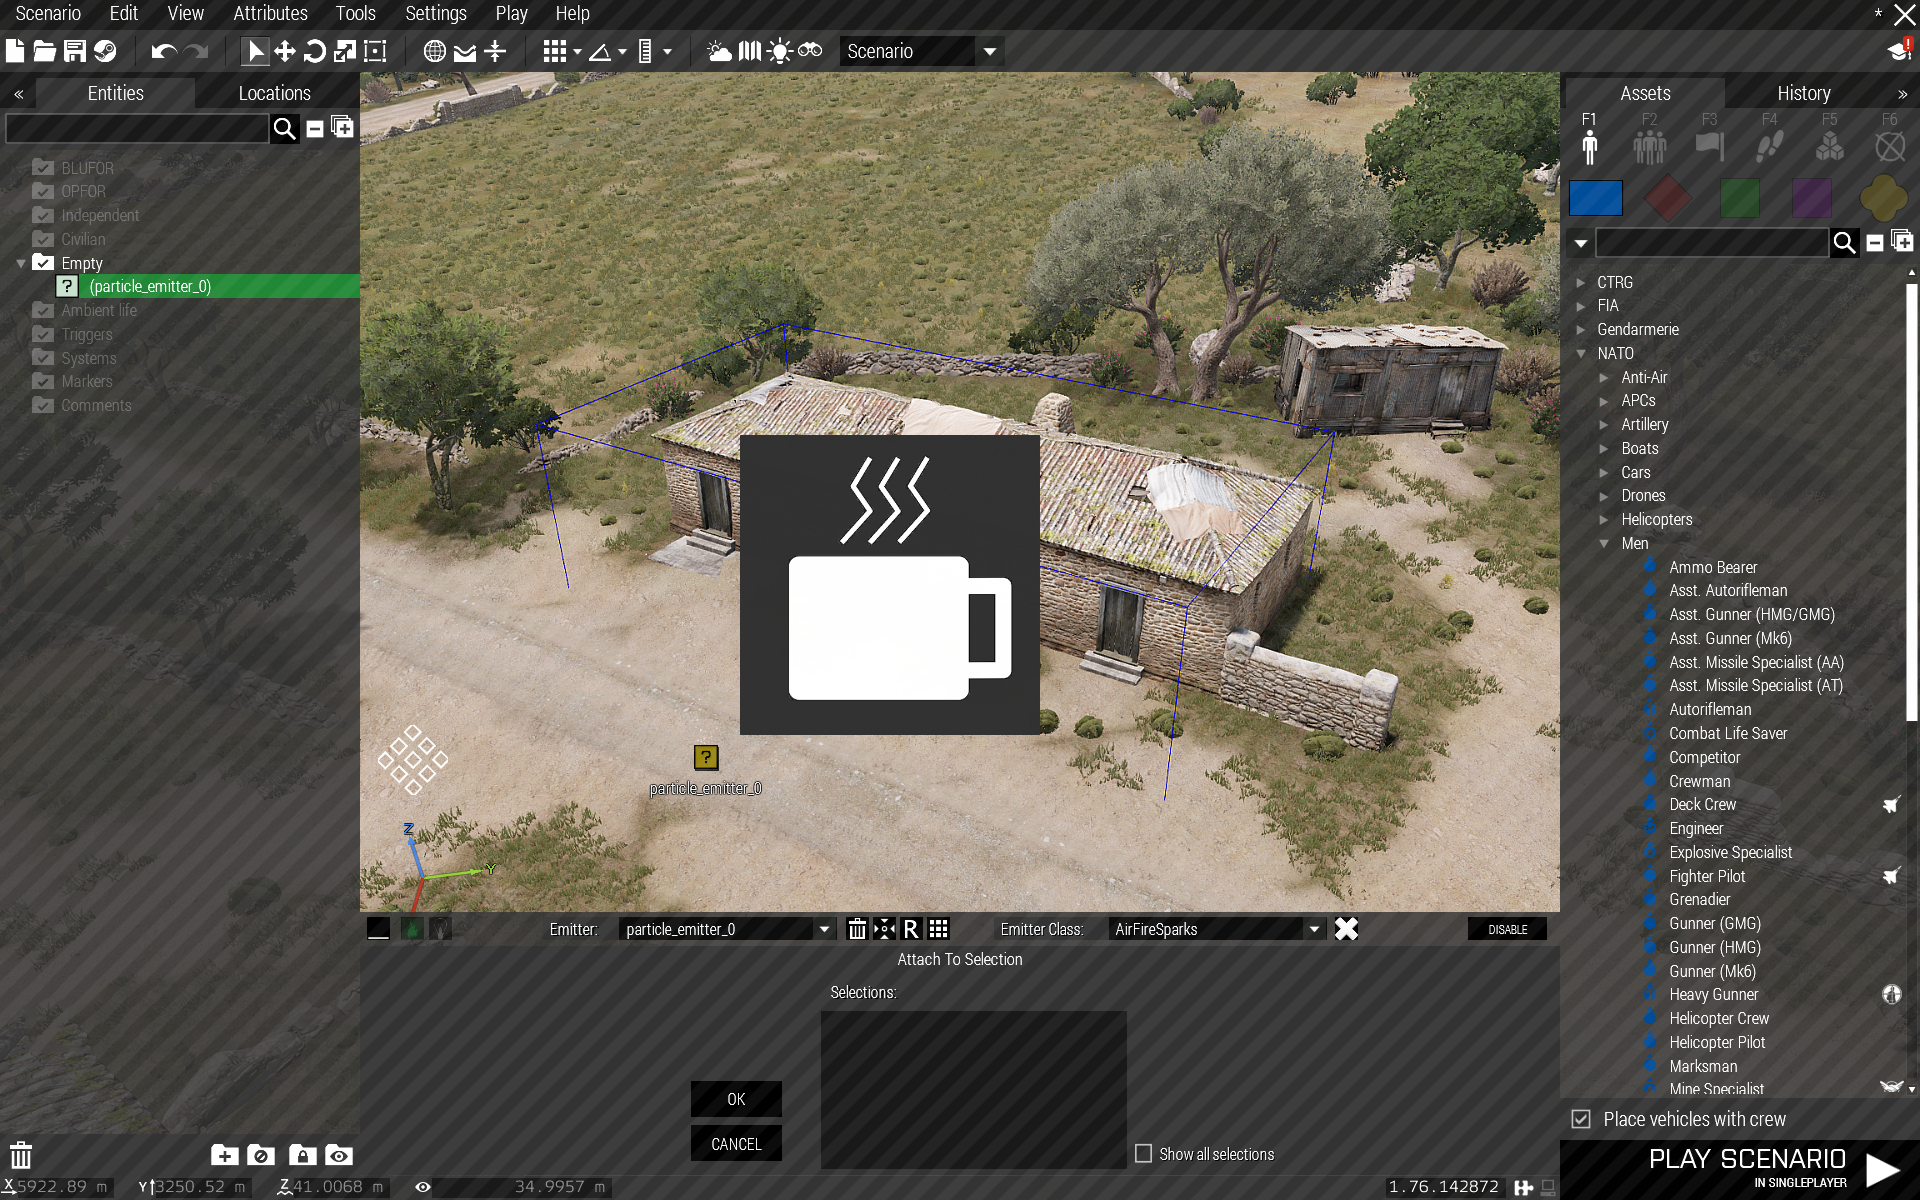
When the tool does something that takes a while like loading up a scenario into Eden (previously edited with this tool), or returning to Eden and so on you will get a coffee mug shown and Eden is disabled until the operation is finished.
There’s two types of these “coffee mugs”, one is with a progress bar that will show the progress of the operation, other is without the progress bar and used on operations that can not be “measured” via scripting; such operations that are so heavy the game “freezes” while performing them.
Inserting Emitters
When inserting emitter(s) over water and Eden Surface Snapping is on the emitter(s) will be created on water surface. If Surface Snapping is off the emitters will be created at seabed.
If Surface Snapping is on inserting emitters on an object will create the emitters on that object surface. However, due to the nature of the object detection being a bit fiddly this may not work 100%. Also as the cursor position is in 2D and you’re viewing a 3D scene what may appear to be on object for you may not appear so for the tool.
Inserting emitters on map view is disabled because there seems to be no way to translate cursor position on the Eden map view into cursor position in the 3D view. Basically the map view is just an overlay on the 3D view so the cursor positions are as if you were moving it in the 3D space even though the map is shown.
Emitter Sets
As touched upon in the examples emitters can grouped with each other to form emitter sets or you can place a default emitter set defined in the tools preferences. Emitter sets will behave as if it was a one single emitter when you move them, attach them, sync them with triggers, or delete them.
You can however select single emitters within a set and edit their parameters, either from the Eden entity list on the left panel or from the tools own emitter list, you can also select next and previous emitter in the list with ALT + Q (next) and ALT + Z (prev).
You can also de-group single emitters from a set if it’s a custom grouped set; default emitter set can not be de-grouped. To de-group, select the emitter from the set, move the mouse cursor over empty area and press CTRL + ALT + G
Default Emitter Set
This is the emitter set that can be inserted either with SHIFT + INSERT or just with INSERT depending on your selected settings in the Prefs leaf, as discussed earlier in this manual. In the Prefs leaf check the Toggle default emitter set box and then press the Build Default Set button and the following dialog opens up:

This is pretty straight forwards stuff:
As you can see the default emitter set can consist from up to 4 emitters, it can be one but that doesn’t really make sense.. Anyway, when the box next to the Emitter X is checked it means that emitter is “active” in the set, unchecked of course means it’s not.
The “factory default” set is as shown in the image, using some of the games basic particle and light classes to form a flame with smoke, sparks and light.
- Emitter type:
This can be either Particle or Light, self-explanatory.
- Effect type:
This is a bit more complex thingy; the effect type can be either a Class, a Preset you have saved, or an emitter you have inserted.- Class:
The same thing as you would select from the Emitter class list. - Preset:
Emitter preset you have saved previously. There are no “factory presets” available. - Emitter:
Selecting an emitter from the list will give its parameters to the default set emitter in question. This can be any previously inserted emitter, be it a single emitter or an emitter part of a set.
- Effect:
This is the effect to be applied; in case of Class selected in the previous list this lists the available classes, in case of Preset lists the available presets and when using an emitter this just shows “Custom”.
Pressing OK confirms the new selections as a new default emitter set which will be the inserted when you insert the default set from now on.
NOTE that previously inserted default sets of course stay as they were, only changes the set to be inserted after making the changes in this dialog.
Pressing Cancel returns you to the Prefs main leaf without making any changes into the set.


