—-
User Tools
Sidebar
This is an old revision of the document!
Table of Contents
Examples
I guess the easiest way to get hang of the tool is with some “practical” examples as done with the attribute emitters. I’m going jump right into the deep end and use as many of the features the tool has as possible.
Baking Oven
Load some of the vanilla terrains. I’m using Malden on this sample, at pos ASL [7195.34, 8076.05, 210]; so open debug console and exec the following code:
get3DENCamera setPosASL [7195.34, 8076.05, 180];
get3DENCamera setVectorDirandUp [[-0.484988,0.714168,-0.504743], [-0.283566,0.417564,0.863268]]
and you can see the stone building with the broken oven (or whatever it is):
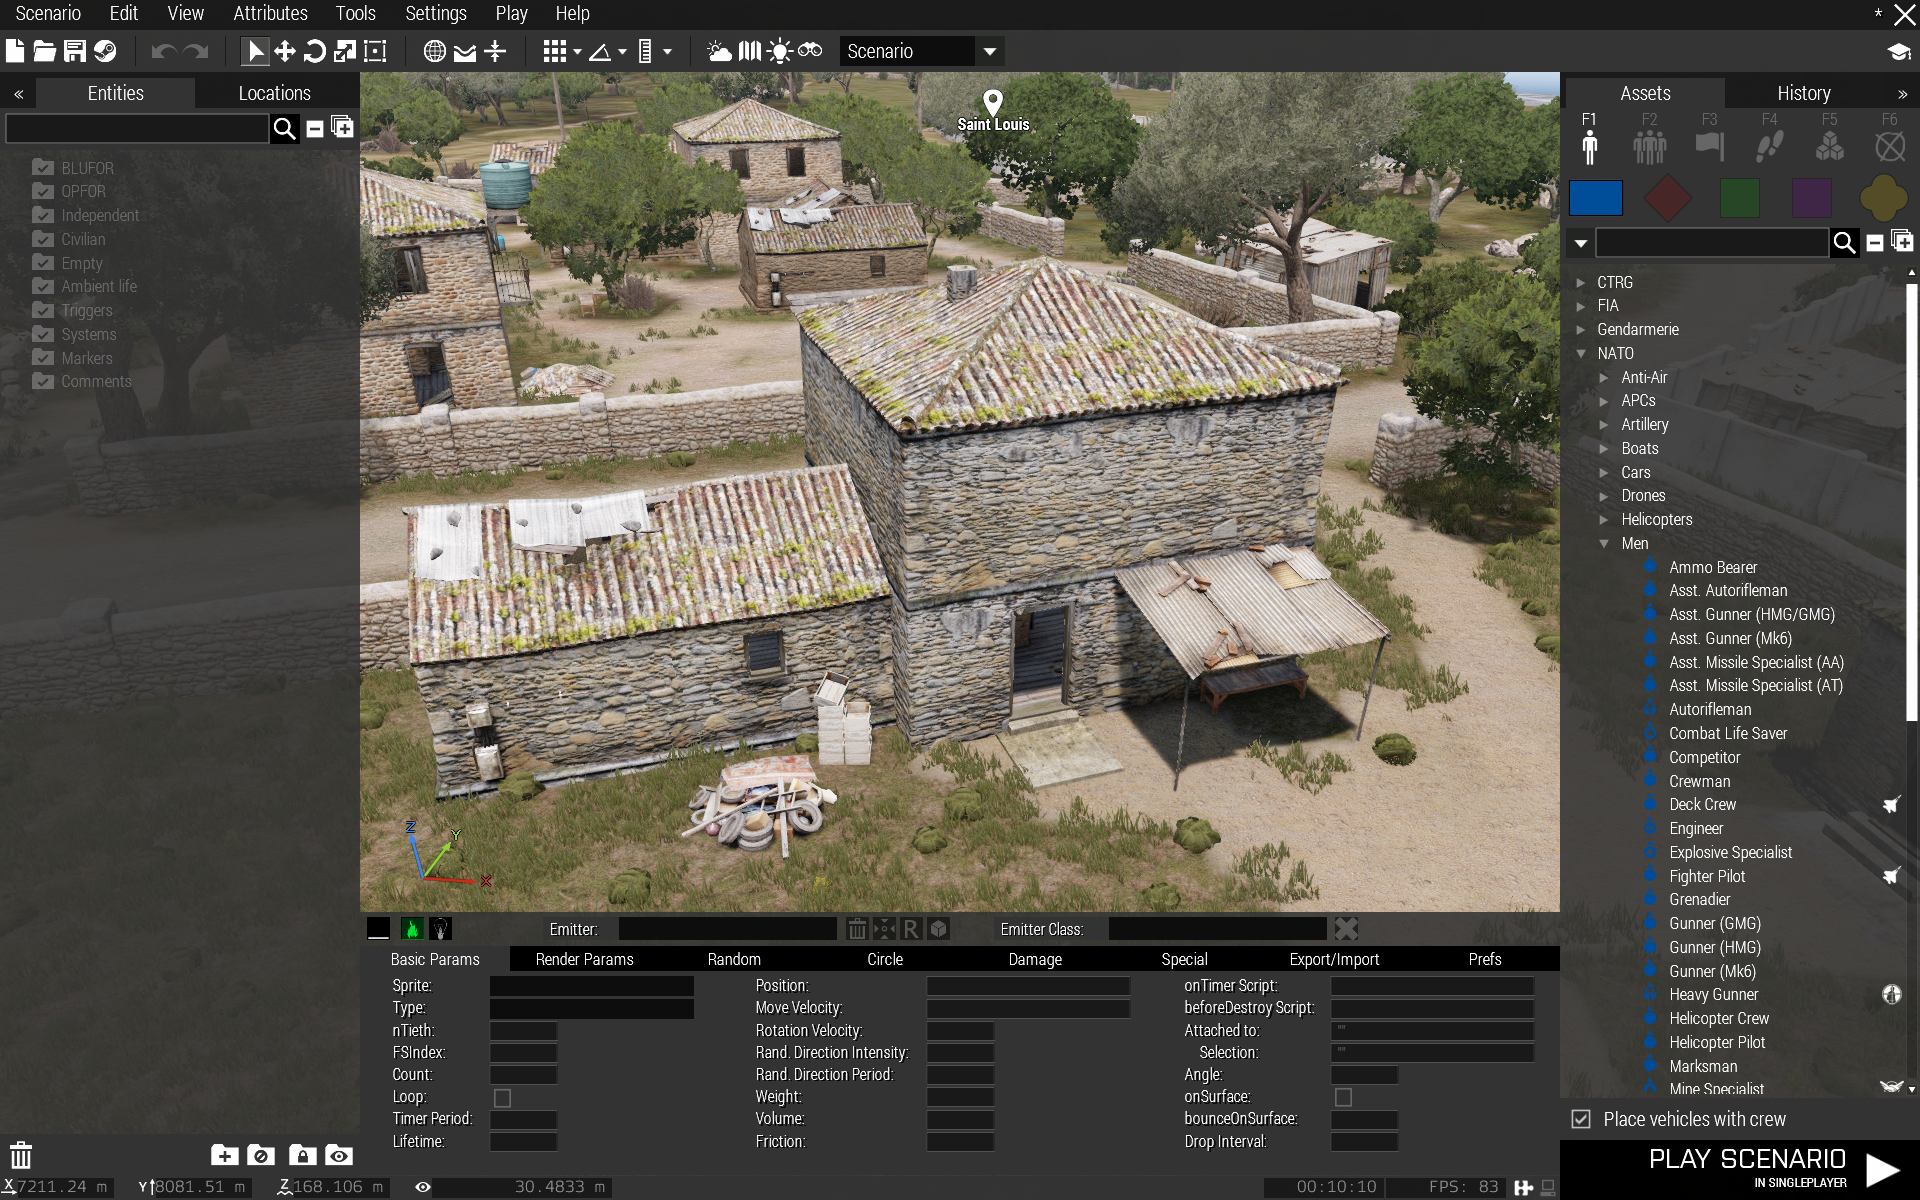
Select the particle editor (ALT + F1), go to the tool Prefs leaf (CTRL + 8) and check the Use default emitter set box. Move to the baking oven, disable Eden Surface Snapping, point the mouse cursor somewhere near the oven and press SHIFT + INSERT. The default emitter set appears, maneuver it into the baking oven using the translation widget and you now have a fire in the oven:
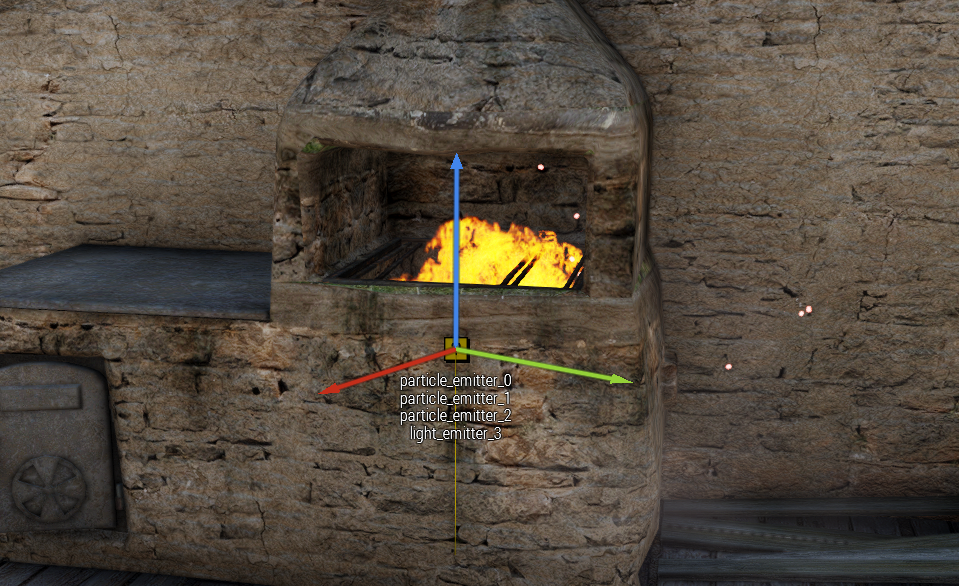
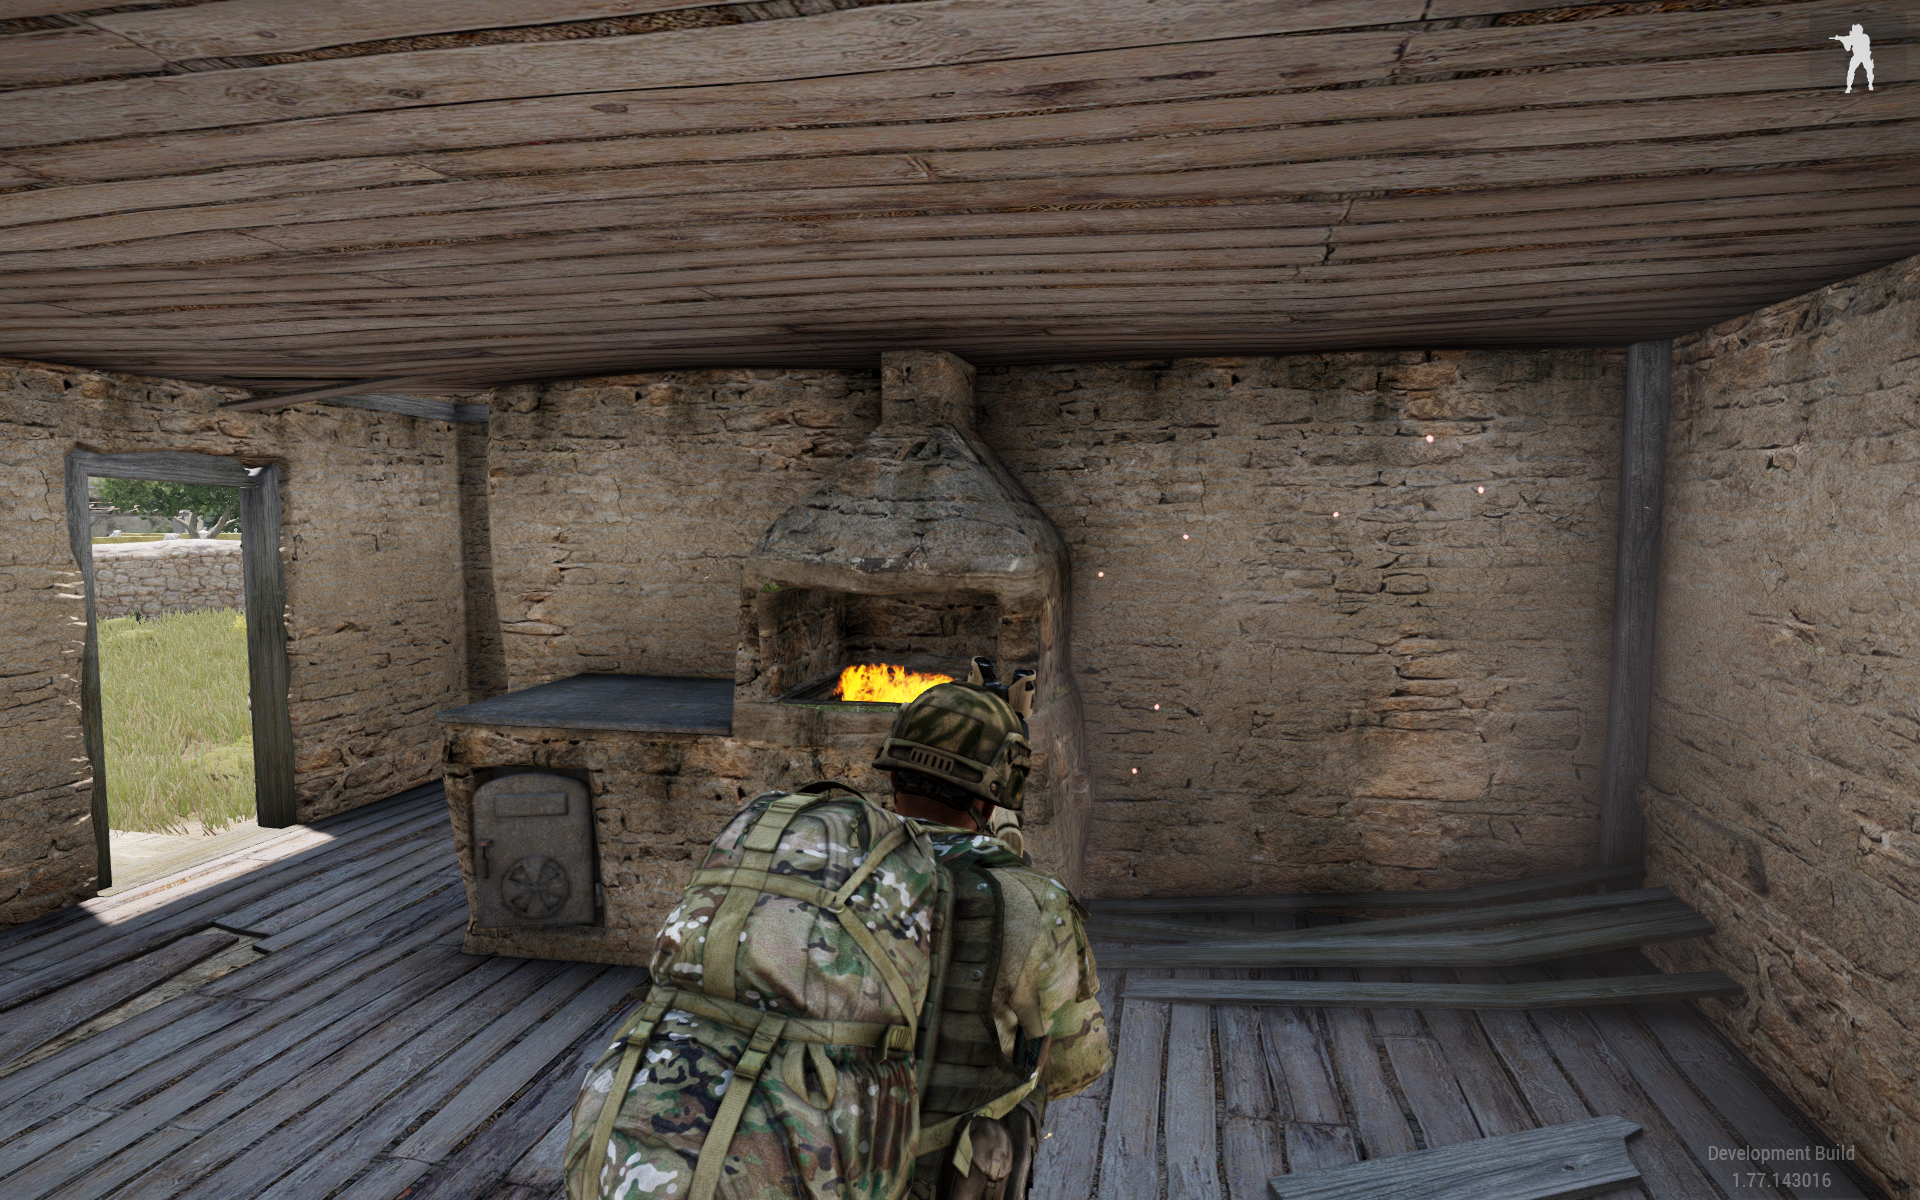
Let's add smoke coming from the chimney.
Move camera outside and position it so that you can see/access the chimney, press INSERT to insert a single emitter and select SmallDestructionSmoke class for it:
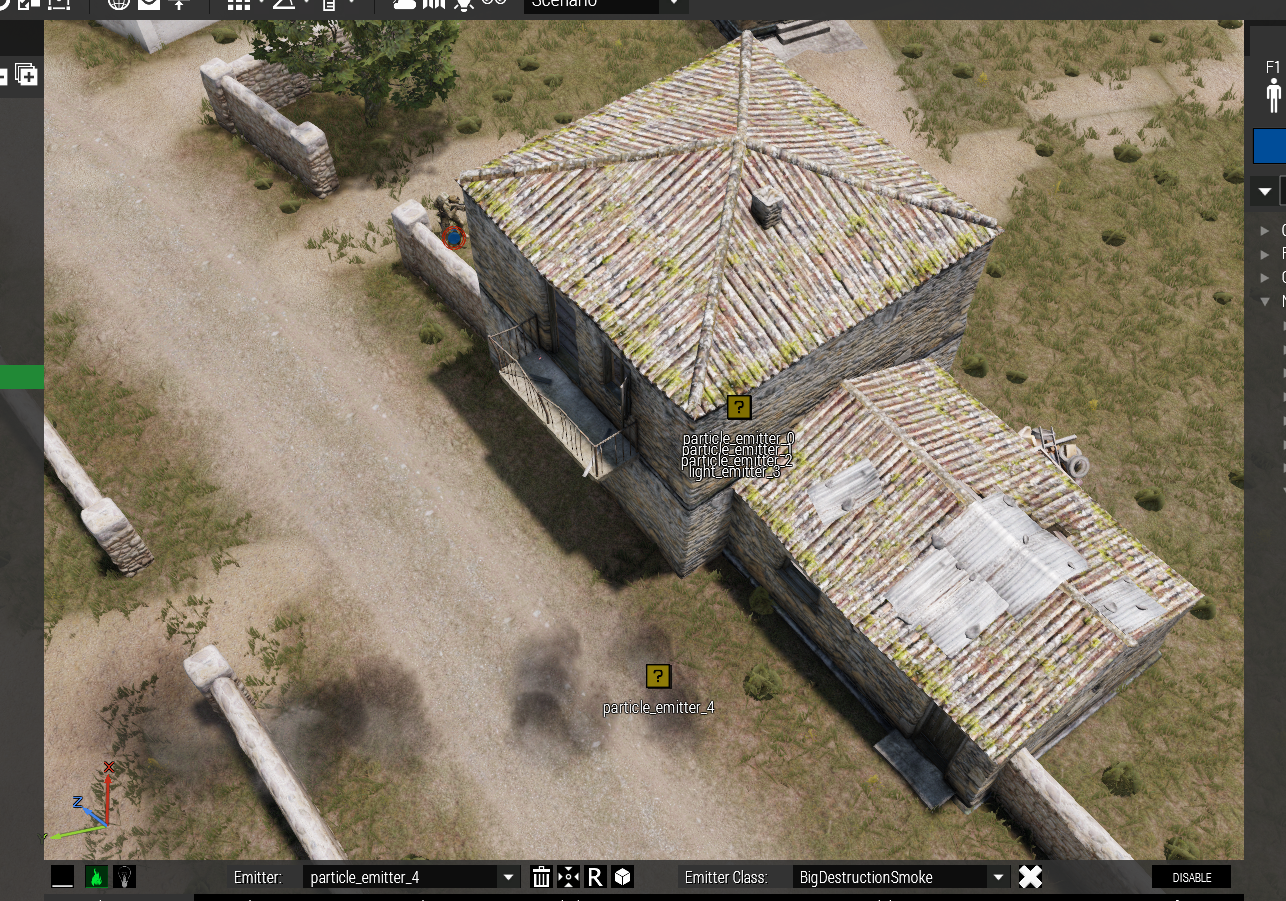
Go to the Basic Params leaf and change lifetime to 20.
IMPORTANT NOTE:
When you change the lifetime param you can see how shortly after you have typed 20 the parameter field changes color briefly to yellow. This means the input is being validated and only after the field turns back to white is the input validated successfully and applied to the emitter. In case of faulty input you get a red Eden notification, the field turns red for a moment and then the field gets applied with either the default datatype for that field or the last known validated input.
You have to wait for the validation to finish until you can change a value in any other param field.
This makes things annoyingly slow but if there wasn’t such a validation faulty data could be “injected” into the emitter causing errors which in turn could cause tools database corruption which would mean the scenario would most likely be FUBAR….
You can also change parameter data with the mouse scroll wheel, see details in Inserting data into data fields.
Then in Render Params leaf using frame nr 0 set color alpha to full, change to frame nr 1 (click the right pointing arrow button) and set color alpha to about half way.
You have two ways to set the smoke on the chimney, either drag the emitter over the building while Eden Surface Snapping on, or use the attach feature of the tool:
Click on the Attachmode selection button on the tool’s top menu (or press SHIFT + A) until the button changes from ![]() to
to ![]()
The box looking one means basic attach and the globe looking one means global attach.
Basic attach means that when attaching emitter/emitter set it will be attached to the Eden entity on it’s default position when placed in the world (like at soldier’s feet).
Global attach means what is says, you can freely attach the emitter/emitter set anywhere on an Eden entity or most terrain objects. Global attach can be a tad annoying to use because the object surface detection is checked from many directions so which ever, the cursor or the emitter itself, collides with the surface there’s the surface position so the emitters may behave “oddly” and jump of to surfaces not even near the cursor. But that is a feature, not a bug.
Anyways, choose the global attach method, point the cursor somewhere (but not at the emitter!) and press ALT + A. You will hear a sound, the emitter will move to the camera “aim” center and a globe will appear above the navigation widget. It indicates you’re in the Global attach mode.
To move the emitters do NOT click left mouse button yet because that attaches the emitter and exits the global attach mode.
Instead press and hold down the right mouse button and move the mouse around, the emitter will follow the camera aim center. Moving it around like this you’ll notice how the emitter follows for example terrain object’s shape. When the emitter is over an object surface a green “reticule” appears to indicate this:
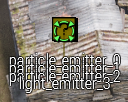
NOTE that the way the object surface detection is done with this attach method is such that even though the emitter may appear to be over an object the reticule may not appear, meaning the tool determines it not to be over an object…
Move the emitter on the chimney and press left mouse button:
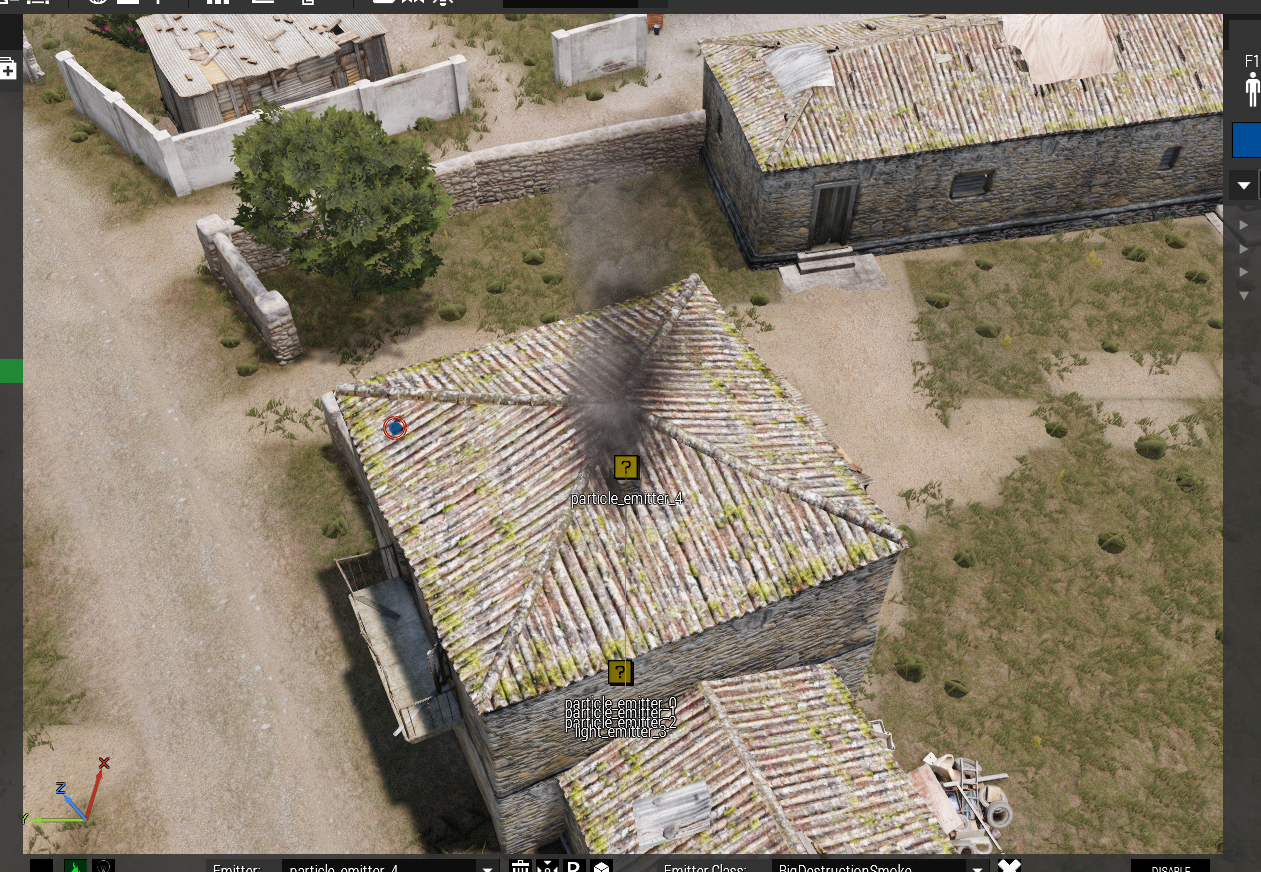
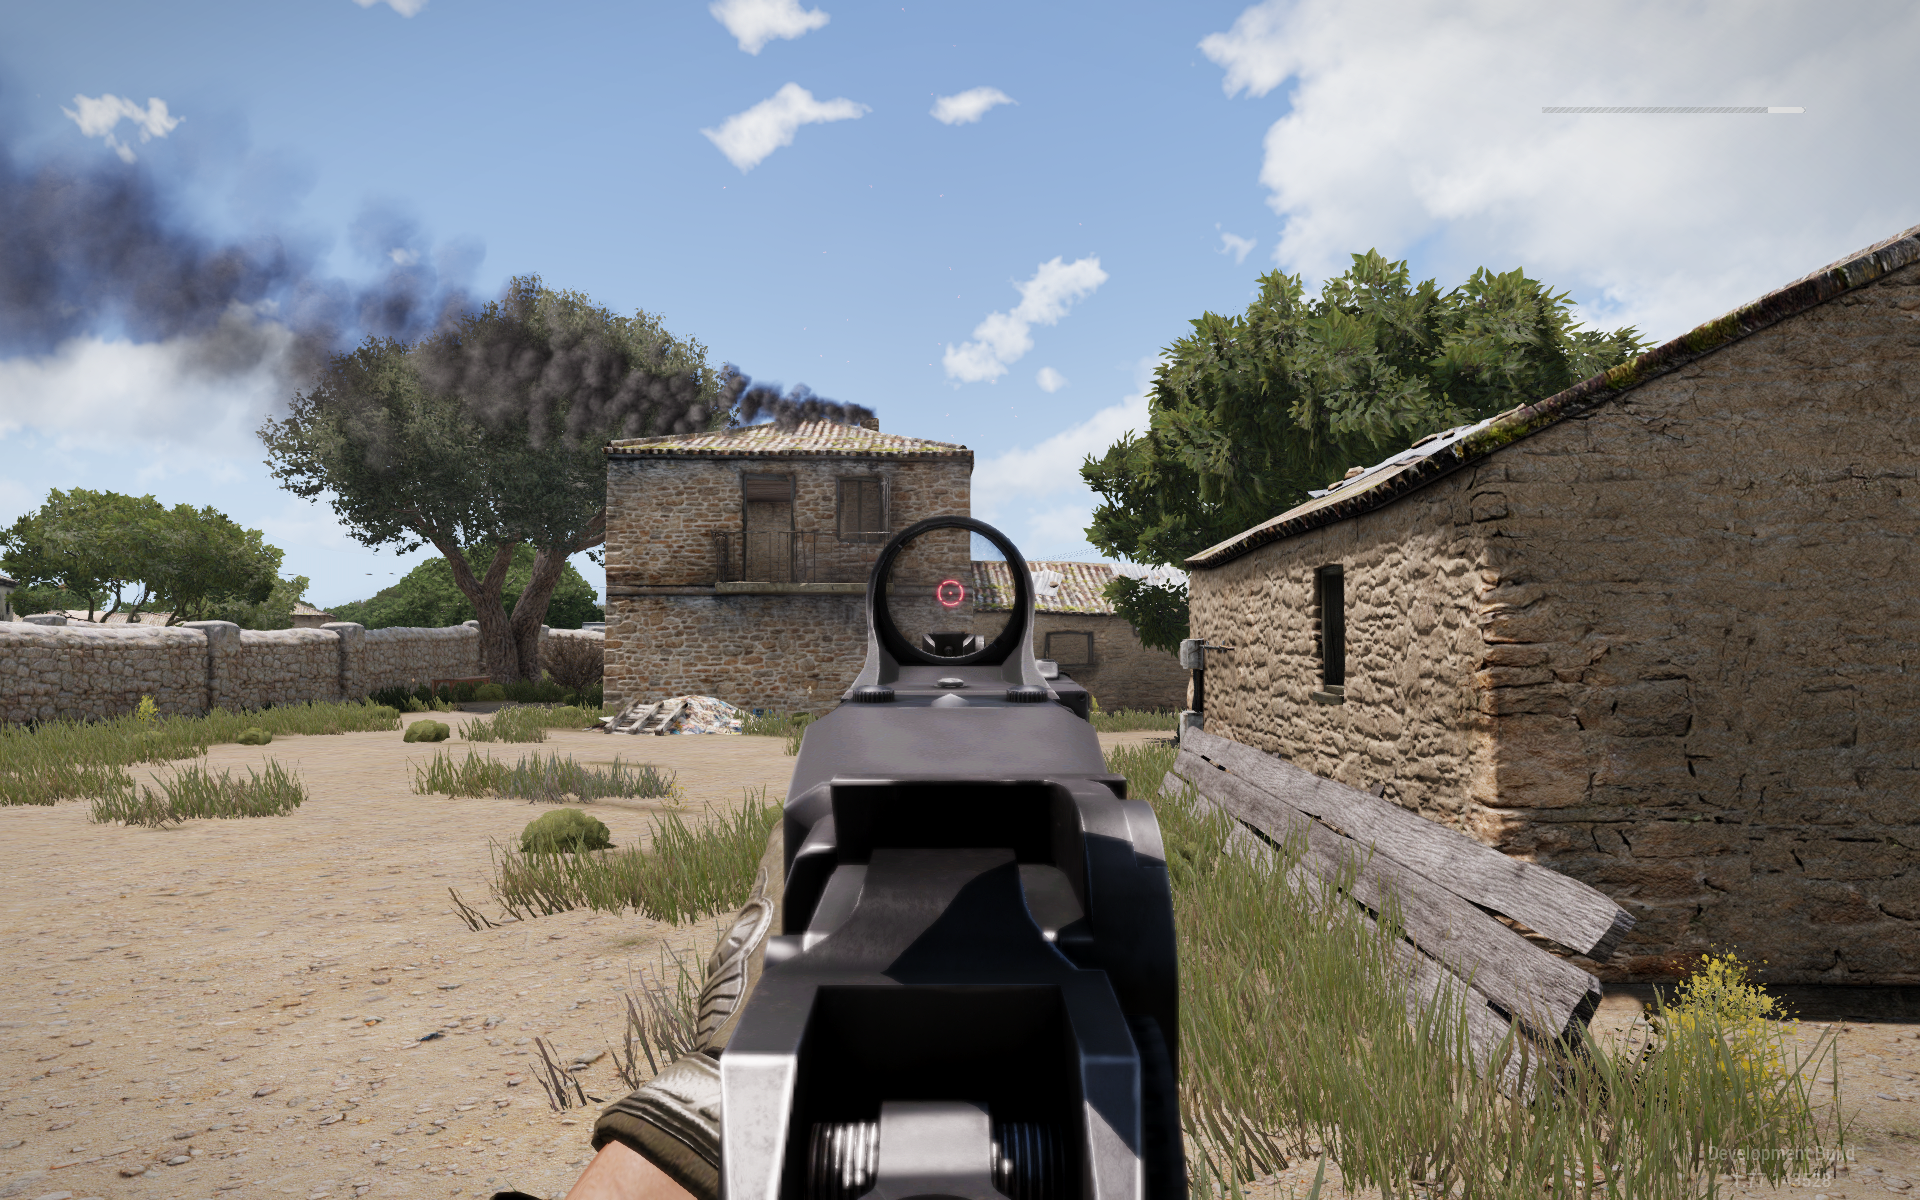
Now the smoke should look something like this, it also gets thrown around by the wind:
Truck On Fire
Another Global attach example:
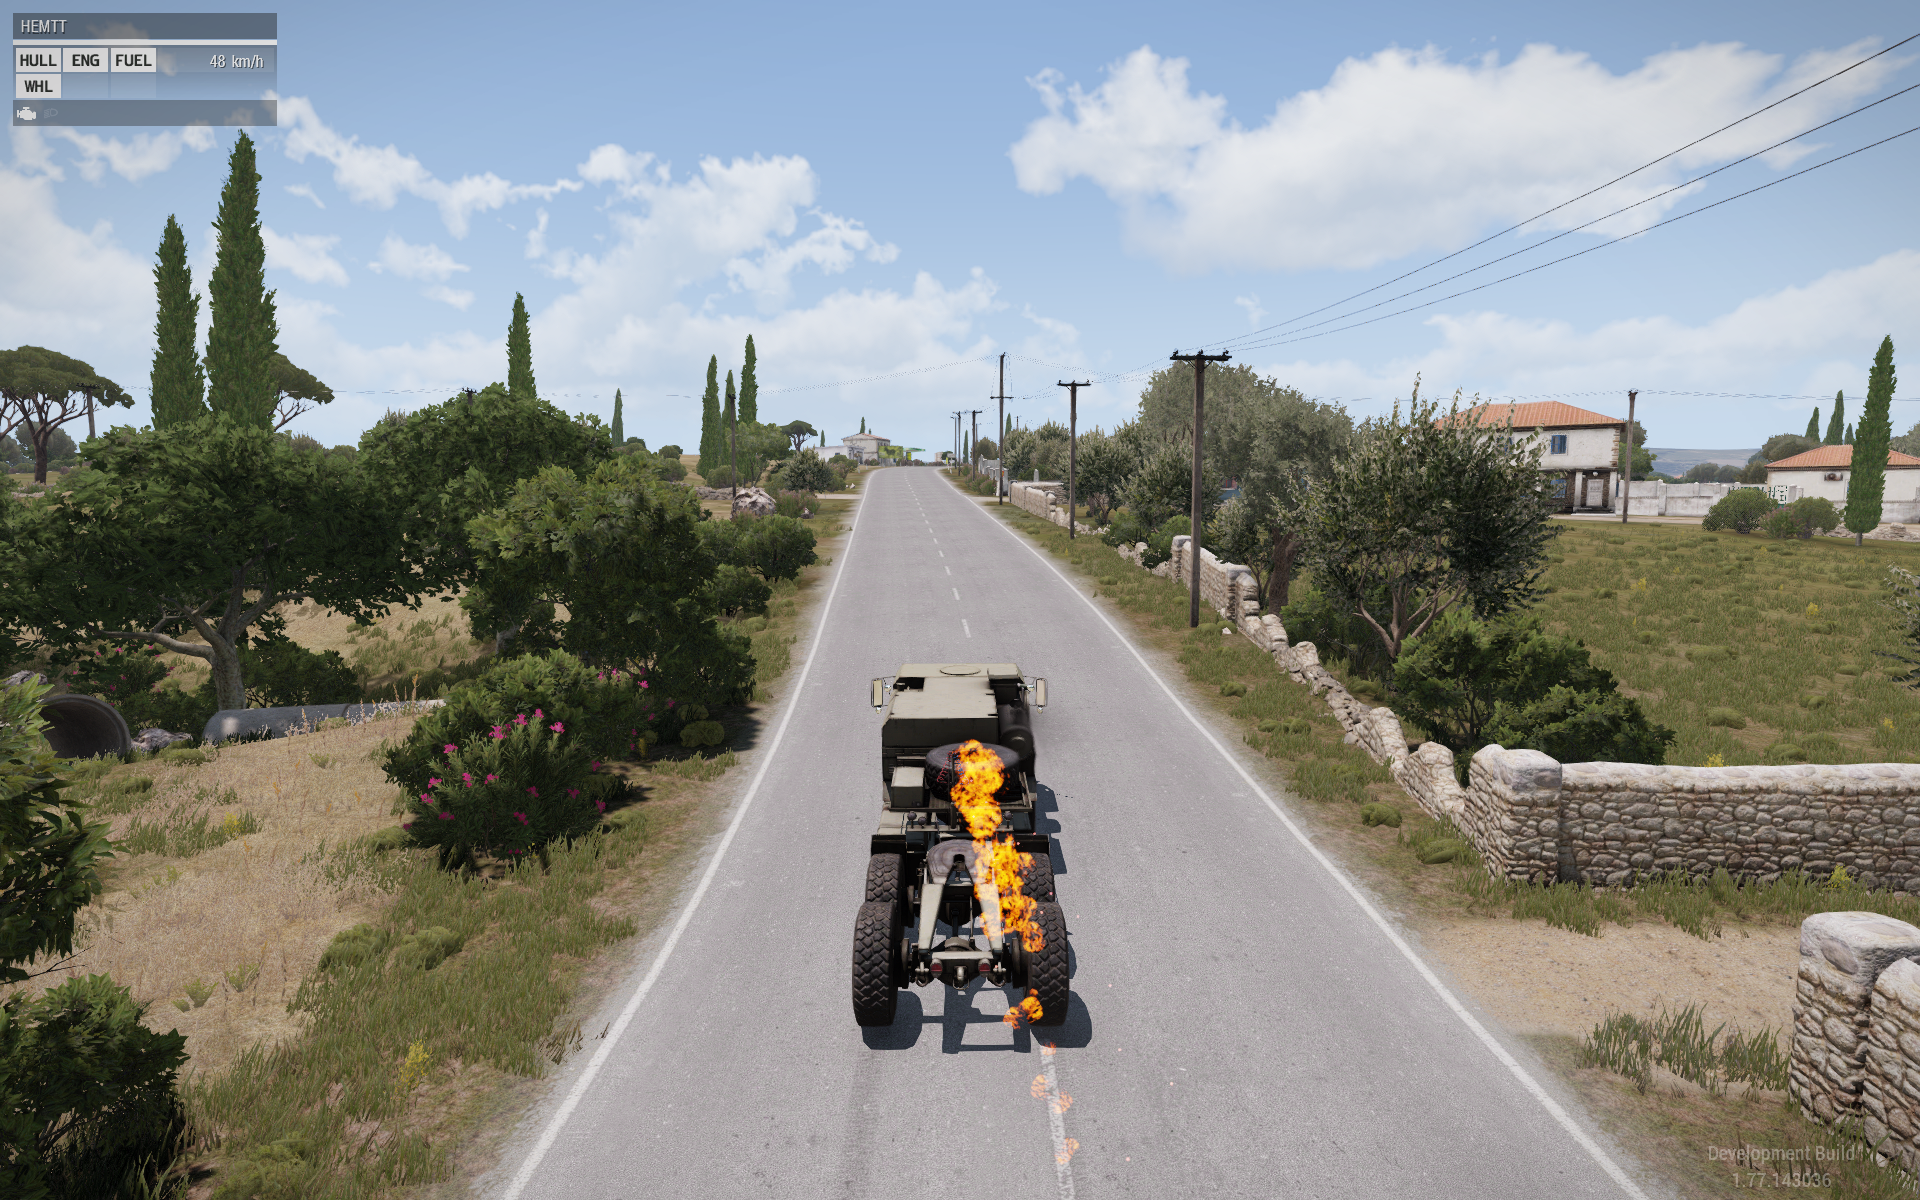
Place a HEMMT truck (player as driver), insert a default emitter set next to it (SHIFT + INSERT), select the Global attach mode from the Attach mode selector button, press ALT + A and move the emitter set over the HEMMT’s spare tire like in the previous example by holding down left mouse button and moving/targeting the camera. Once on the spare tire press right mouse button.
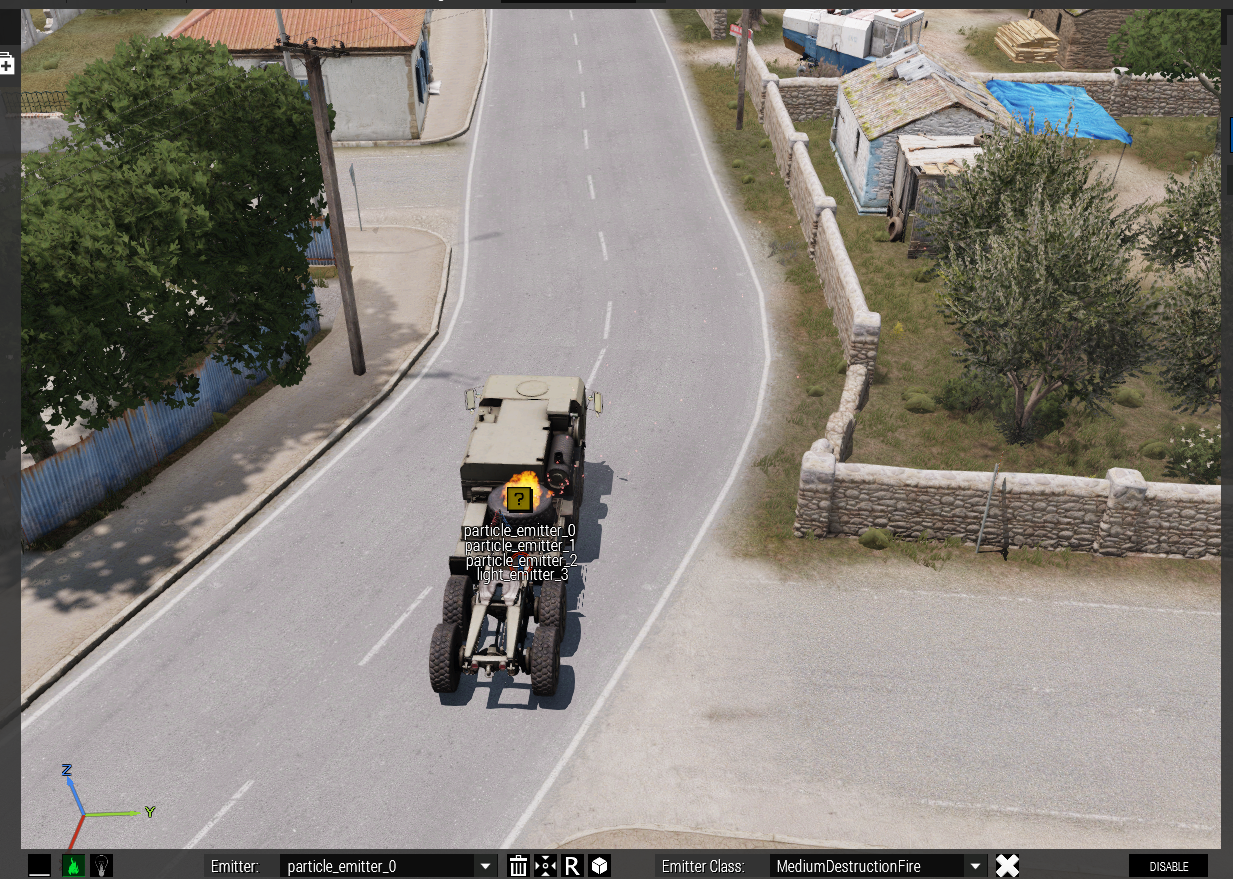
You can then preview and drive around with a burning spare tire:
